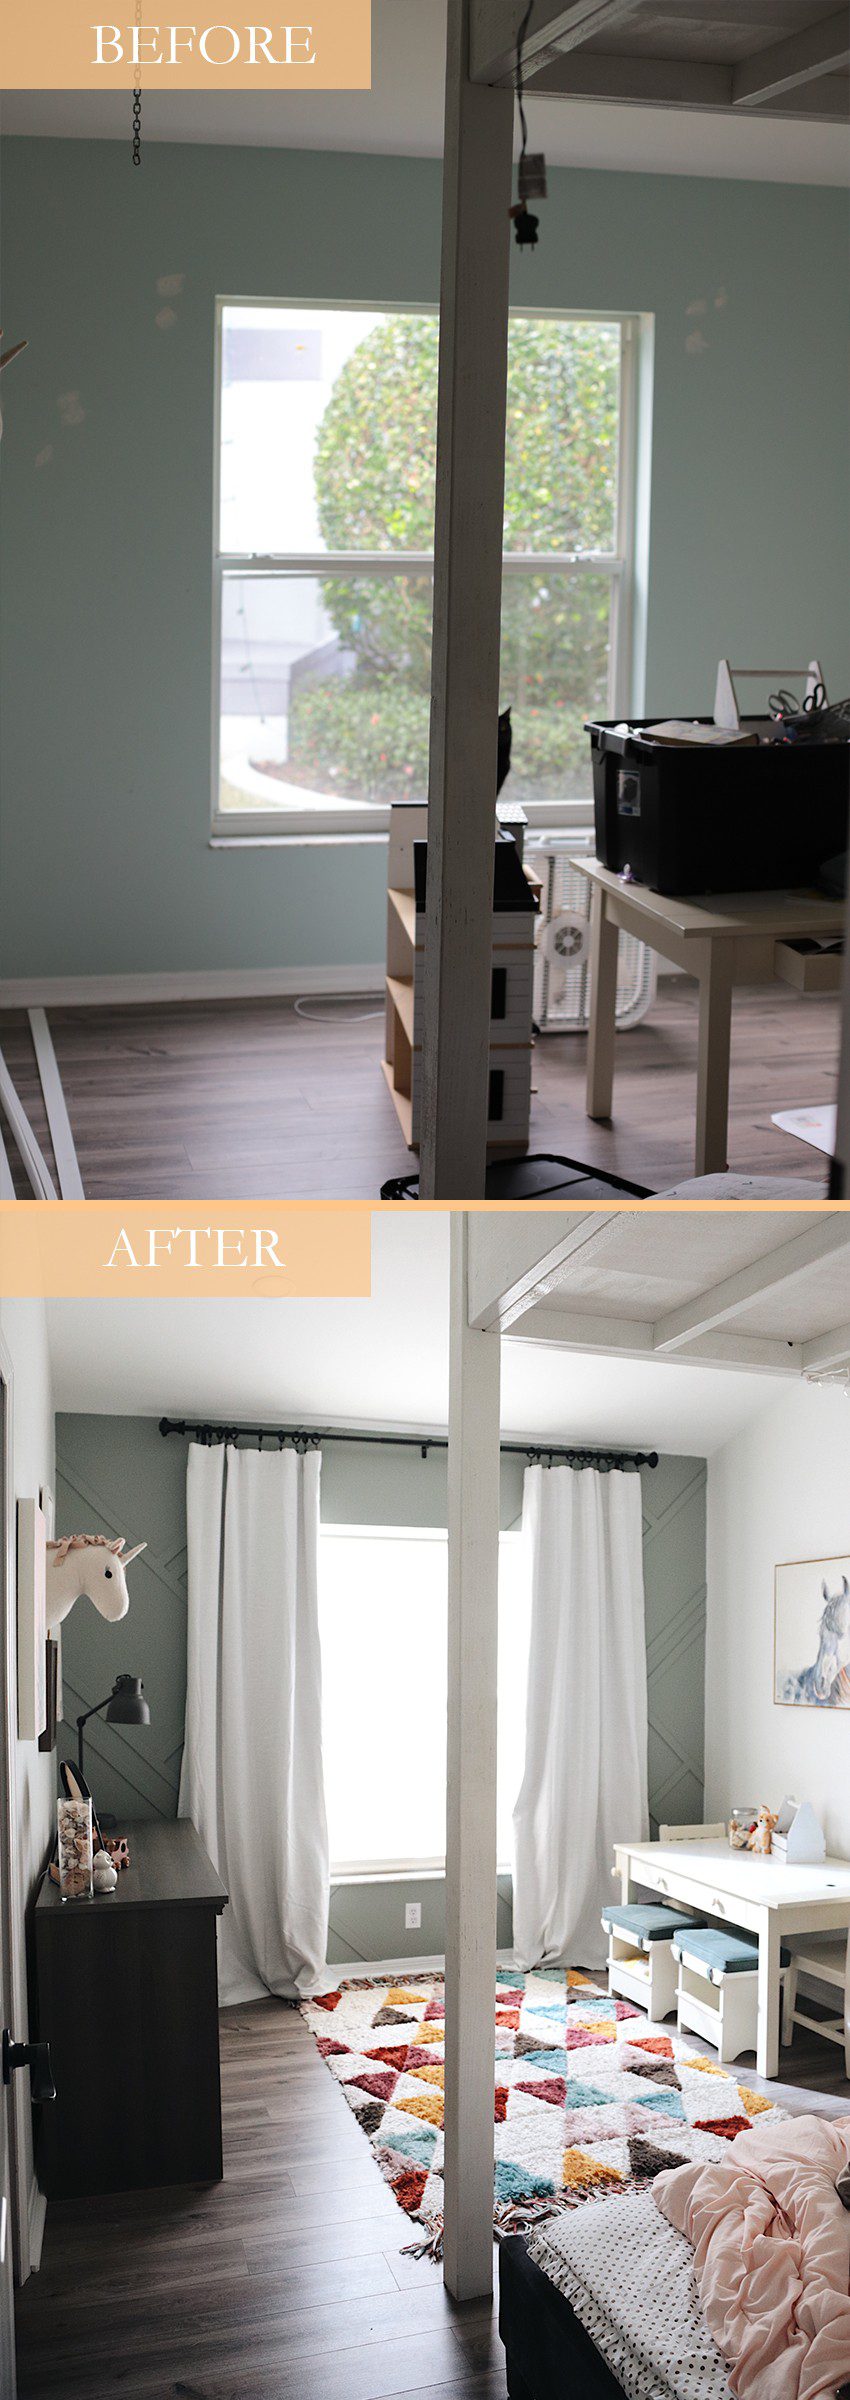
We’re all about that gorgeous accent wall to make each room unique and this wood feature wall in our girl’s shared room is no exception. We’re sharing the simple DIY accent wall tutorial so you can create your own wood feature wall!
We haven’t shared too much about our shared girl’s room yet, mainly since it was one of the rooms we didn’t have to do much when we moved in. Our focus was on the bathrooms, kitchen, and main living areas. But now? I couldn’t wait to create a focal wall in this shared space.
Since our 13-year-old girl and our 3-year-old girl share this room, we knew it needed a style that would be classic and timeless with just a bit of whimsy added in so that both girls would feel comfortable. Plus, storage for ALL the girls’ things.

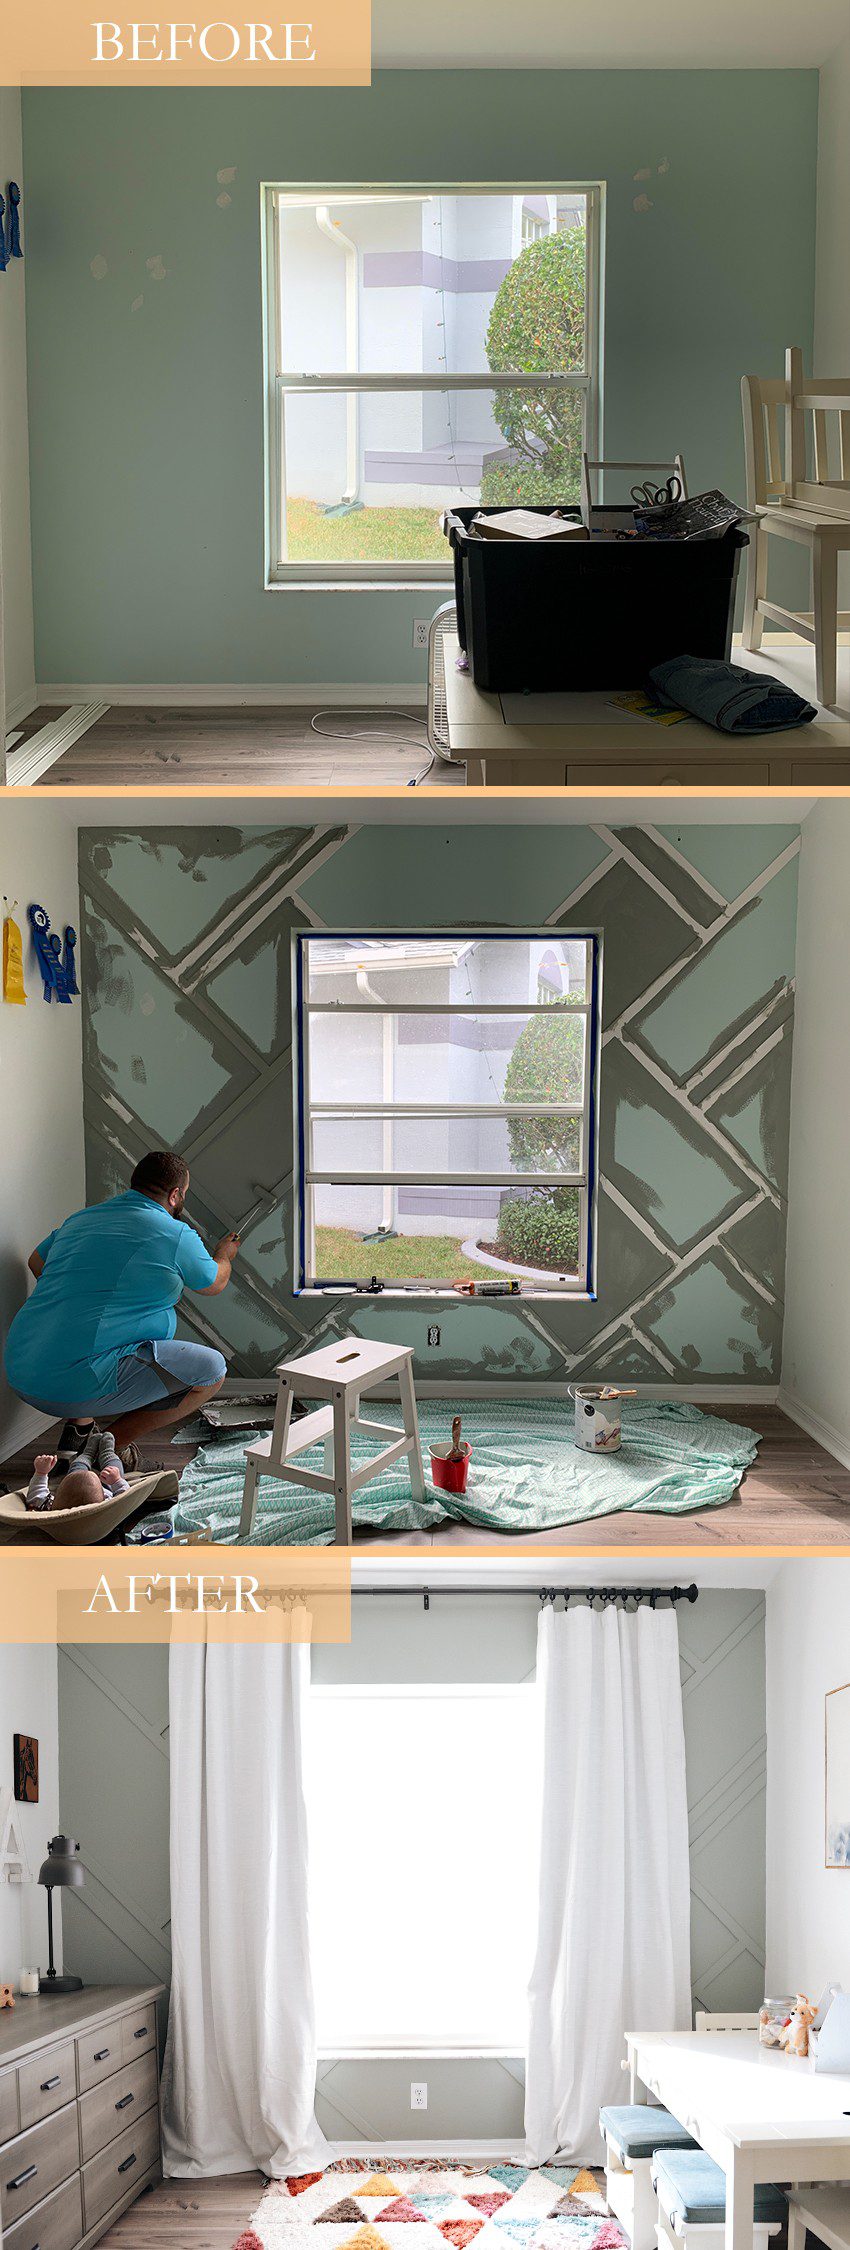
The before photo here is from the house listing and shows exactly how the room looked when we purchased the house. Initially, we scraped down the popcorn ceiling, added recessed lighting and replaced the flooring throughout the house, and those changes made their way into the girls’ room as well.
Aliyah had also really wanted a teal wall when we first moved in, and since we weren’t tackling their room for a while, I let her paint it. I knew that I wanted to add a really gorgeous wood feature wall here, and was SO excited to finally get to it… and it just so happened to be right before Christmas!
After the huge difference that the black grid wall made in the dining room, and with how easy it was to pull off, we went with a more geometric pattern in the girls’ room to create our wood feature wall. I LOVE how it turned out!
curtain rod | finial | dresser | paint | shade | curtains
Table of Contents
How to DIY a Wood Feature Wall
Gather the supplies for your accent wall; here’s everything you need:
- 1 1/2″ lattice strips
- Speed square
- Measuring tape
- Pencil
- Miter saw
- Adhesive
- Nail gun
- Spackling
- Caulk
- Sander
- Sanding paper
- Paint (we used Secret Moss by Valspar)
- Paintbrush
- Paint roller
Instructions for a DIY geometric accent wall:
We started by clearing out the space that we were working with and then held up a lattice strip to see where we wanted our “anchor line” to go. This created is one main line on the wall that started the whole “non-patterned” pattern. Since we have the window right in the middle of the wall, the main line started to the right of the window and then continued under the window. Apart from using a speed square to make sure each line was at a 45′ angle, we didn’t measure… just held up that first lattice strip and eye-balled where we wanted it to go. Then, we measured for length.
Cut the end of the lattice strip at a 45′ angle and measure the length based on where it will go. For us, we had to cut a second 45′ angle where the lattice ended at the window.
Run a strip of wood glue or gorilla glue to the back of the lattice strip and press into place. Use a nail gun to finish securing to the wall.
From this first line, I would just hold up pieces of lattice to eyeball where I wanted the next line to go, some would run parallel and some perpendicular. For the pieces running perpendicular, we made straight cuts and made sure to secure them at a 90′ angle by using the speed square. Other than measuring for length to cut once we decided where to add the strip, there wasn’t much measuring or planning involved.
The key is to just have fun with it and try to keep it slightly random!

Once the strips were all in place, we used a spackling product that goes on purple and dries white, to fill in the nail holes as well as caulk along the seams of each of the strips. Then, let dry.
After the caulk and spackle have dried, we sanded lightly and it was time to paint!
We went with one of Valspar’s 12 new colors of the year for 2020, Secret Moss. For their 12 shades for 2020, Valspar sought to bring the tranquility of nature into a room to create naturally therapeutic, serene spaces. I love how this dusky moss green (with a hint towards gray) creates a calming escape in our girls’ room.

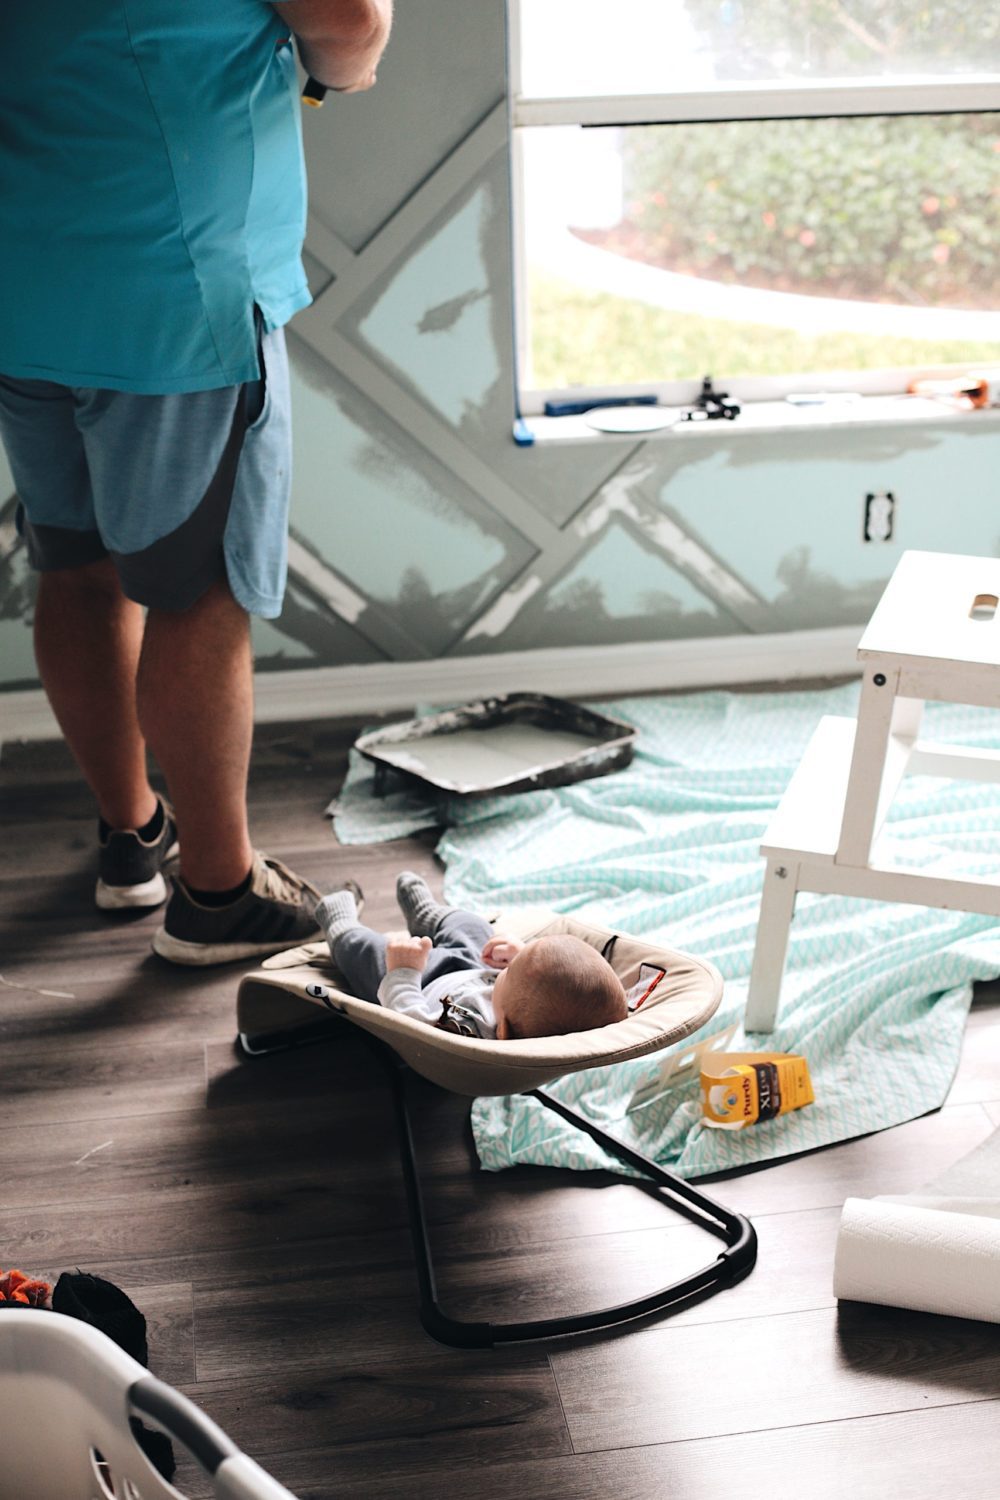

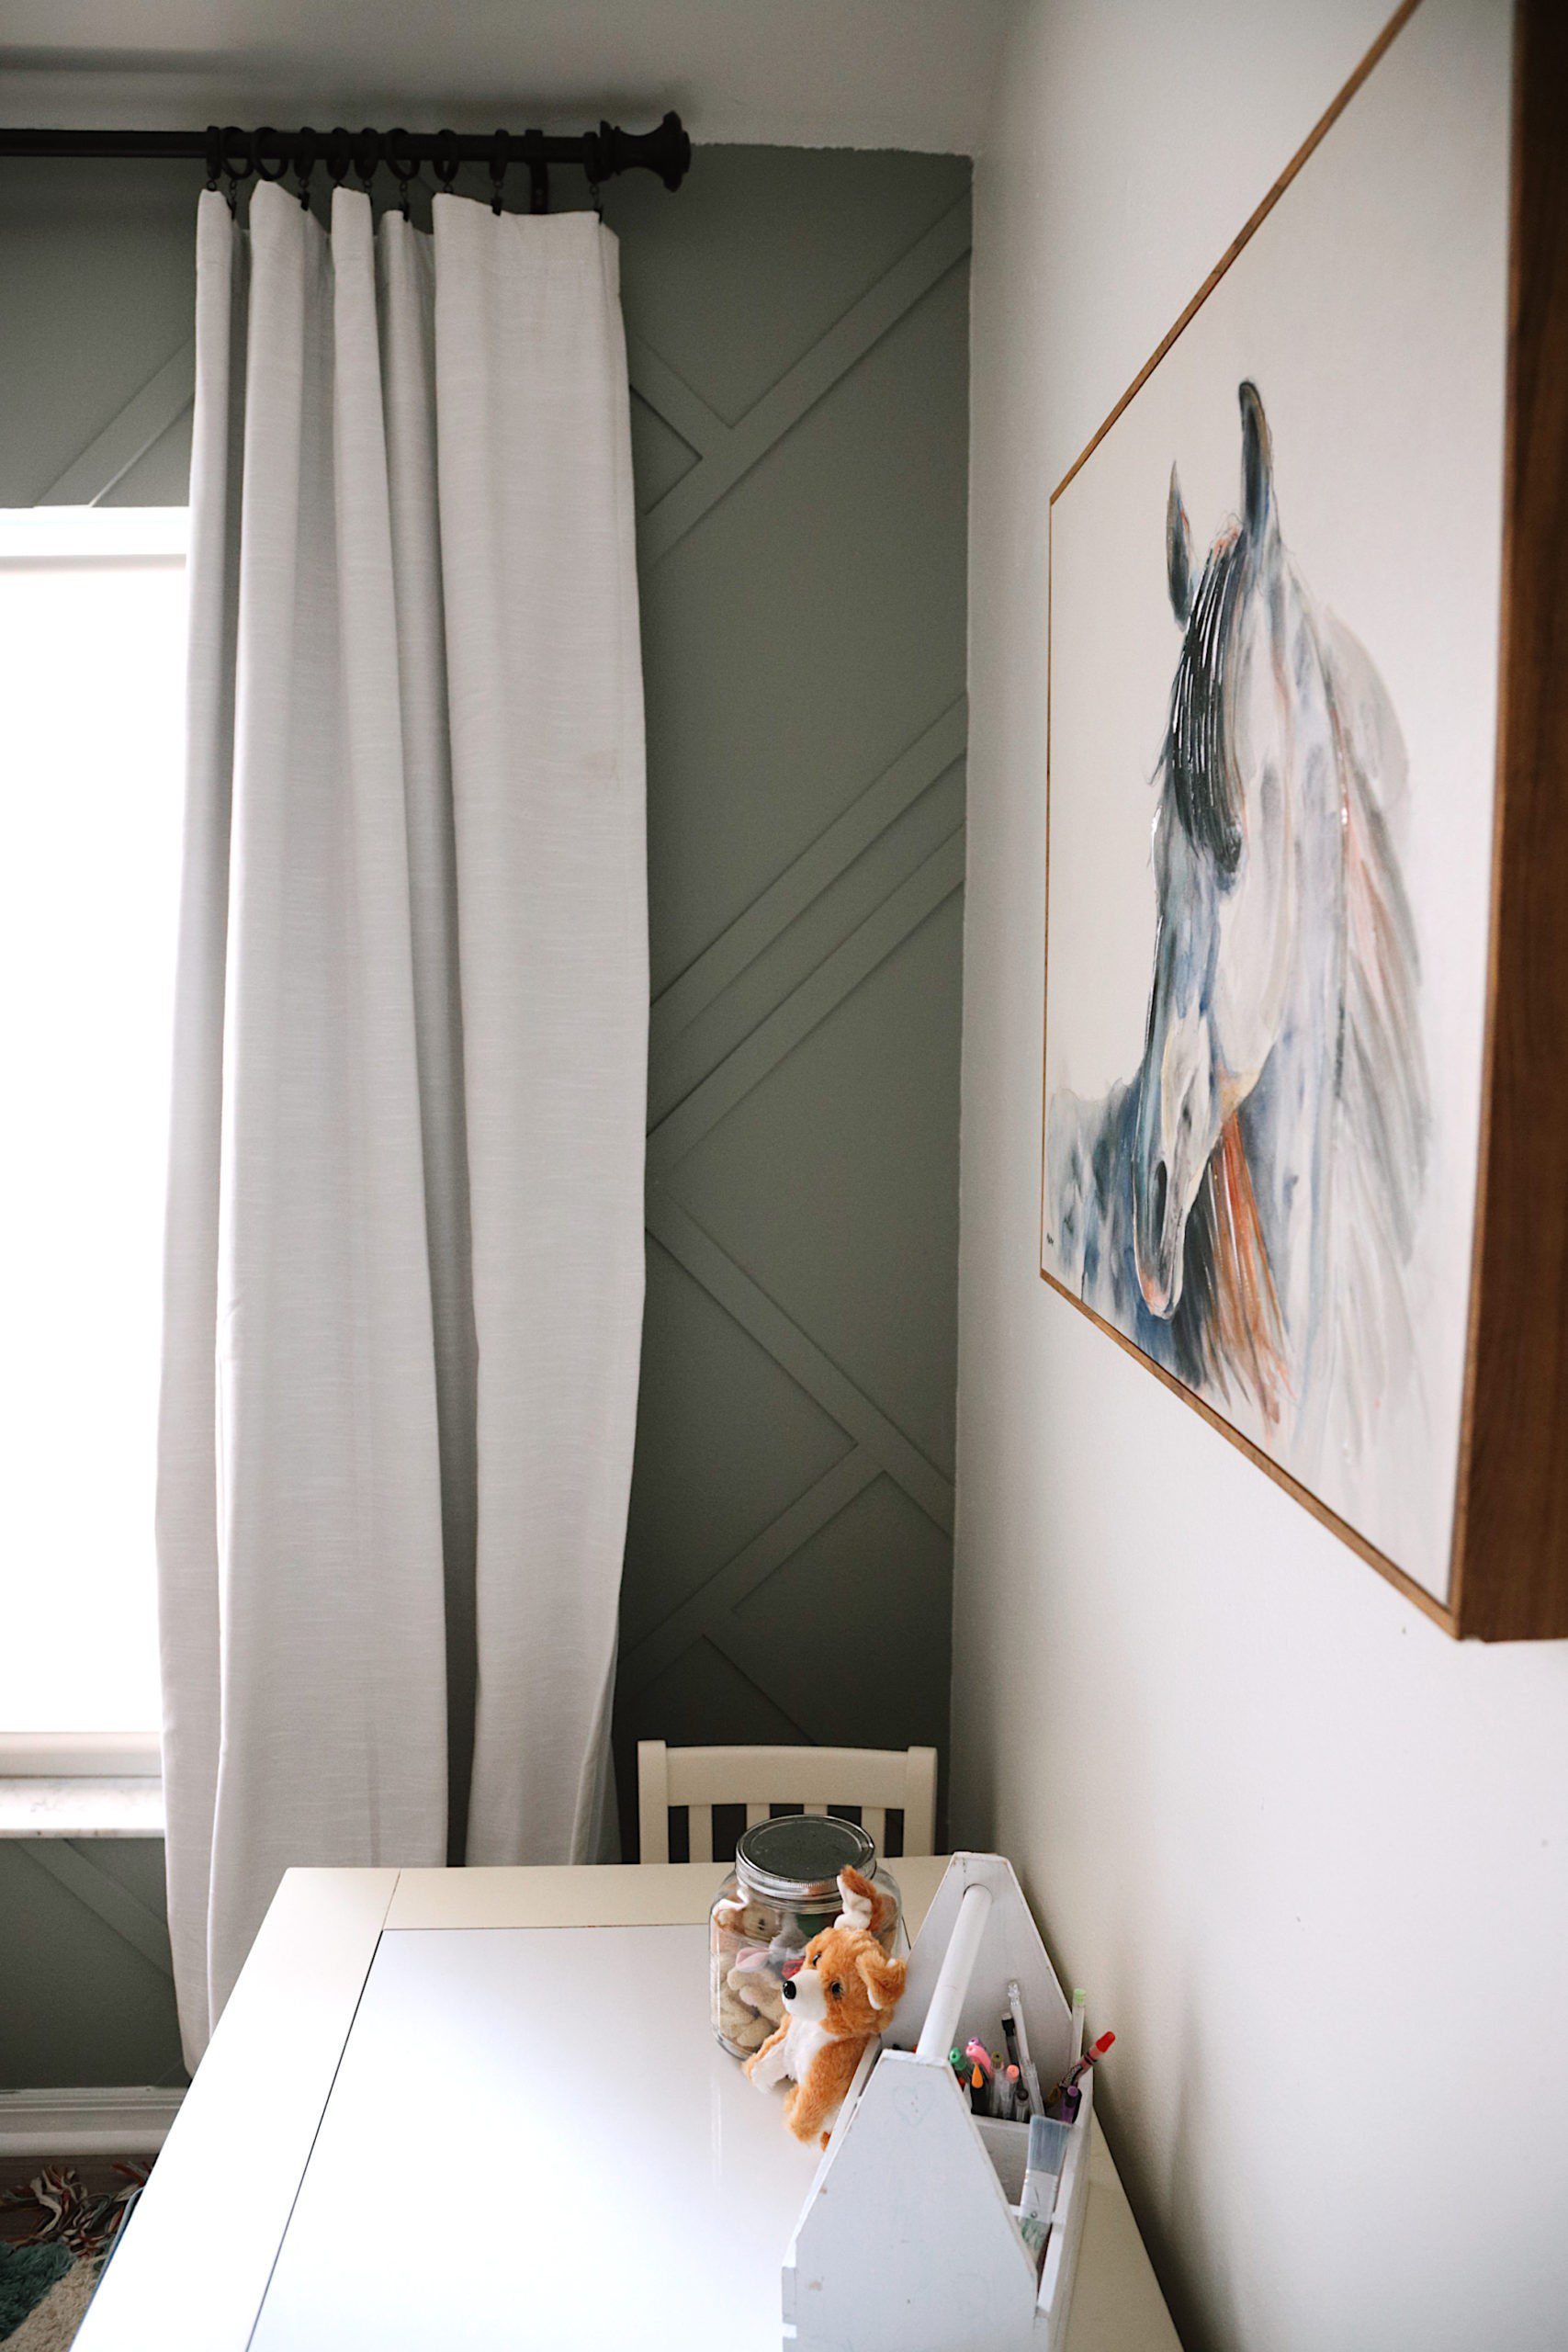
I’m seriously LOVING this wall!! It makes me smile every time I walk into their room… and that’s the beauty of DIY, it helps you truly take pride in your space. You know, like when your kid comes home from school and proudly hands you their craft project. That’s how I feel about this wall!
“Welcome to my home, hey, can I show you the latest wall we made?!”
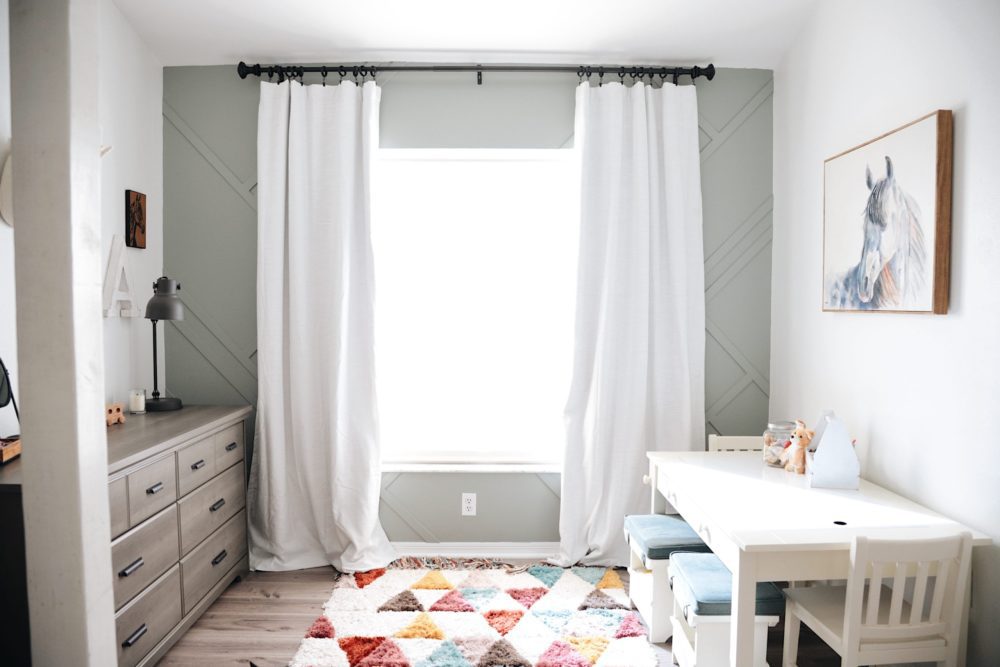 To complete the room, I needed to take care of that window, and that was next on the list. I found these LEVOLOR shades at Lowe’s and loved that there are NO cords to deal with, perfect for a kid’s room!! We opted for the solar shade since the UV protection keeps the sun’s rays from heating the room or fading the furniture. Just measure the width needed and Lowe’s will cut the shade to size for you!
Then I added light-blocking curtains for an extra layer of room darkening and design. It was fun choosing through the finials for curtain rods and we actually brought home two different designs to see which one we liked better in the space. I also made sure to mount the curtains up high to create more of an impact on the room… and keep this wall in the statement wall status.
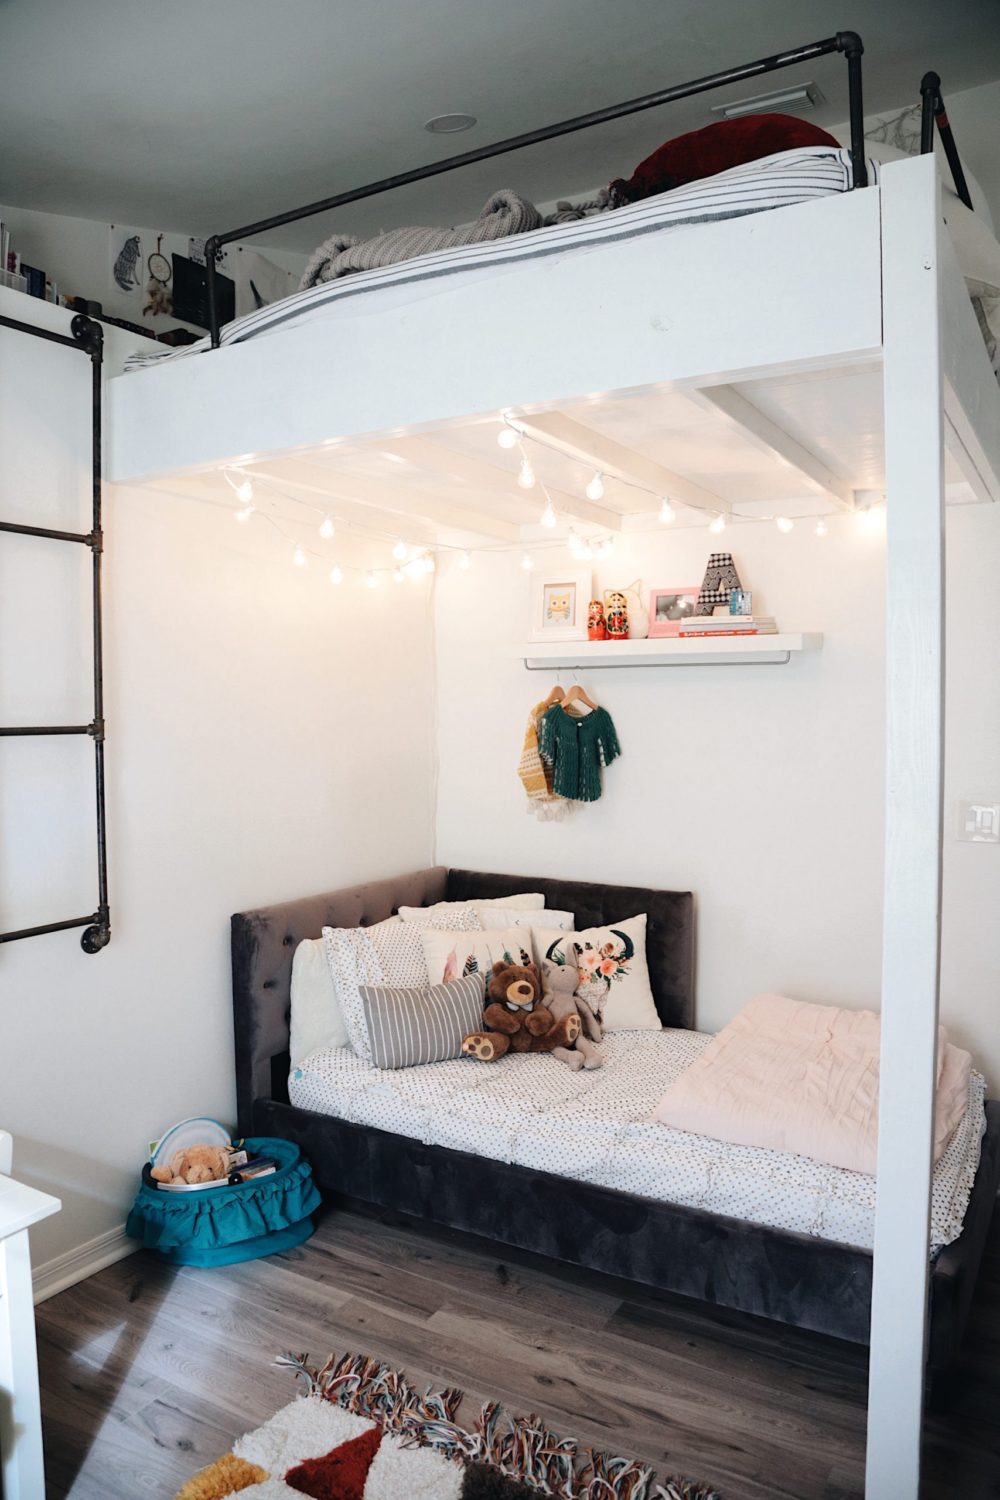
We’ll have to share Aliyah’s loft bed that we built for her (column for it shown in the above photo) soon, but that’s for another post.
A new dresser, some lights strung up under the loft and a bit of decor sourced from the house… and the girls are loving their updated space.


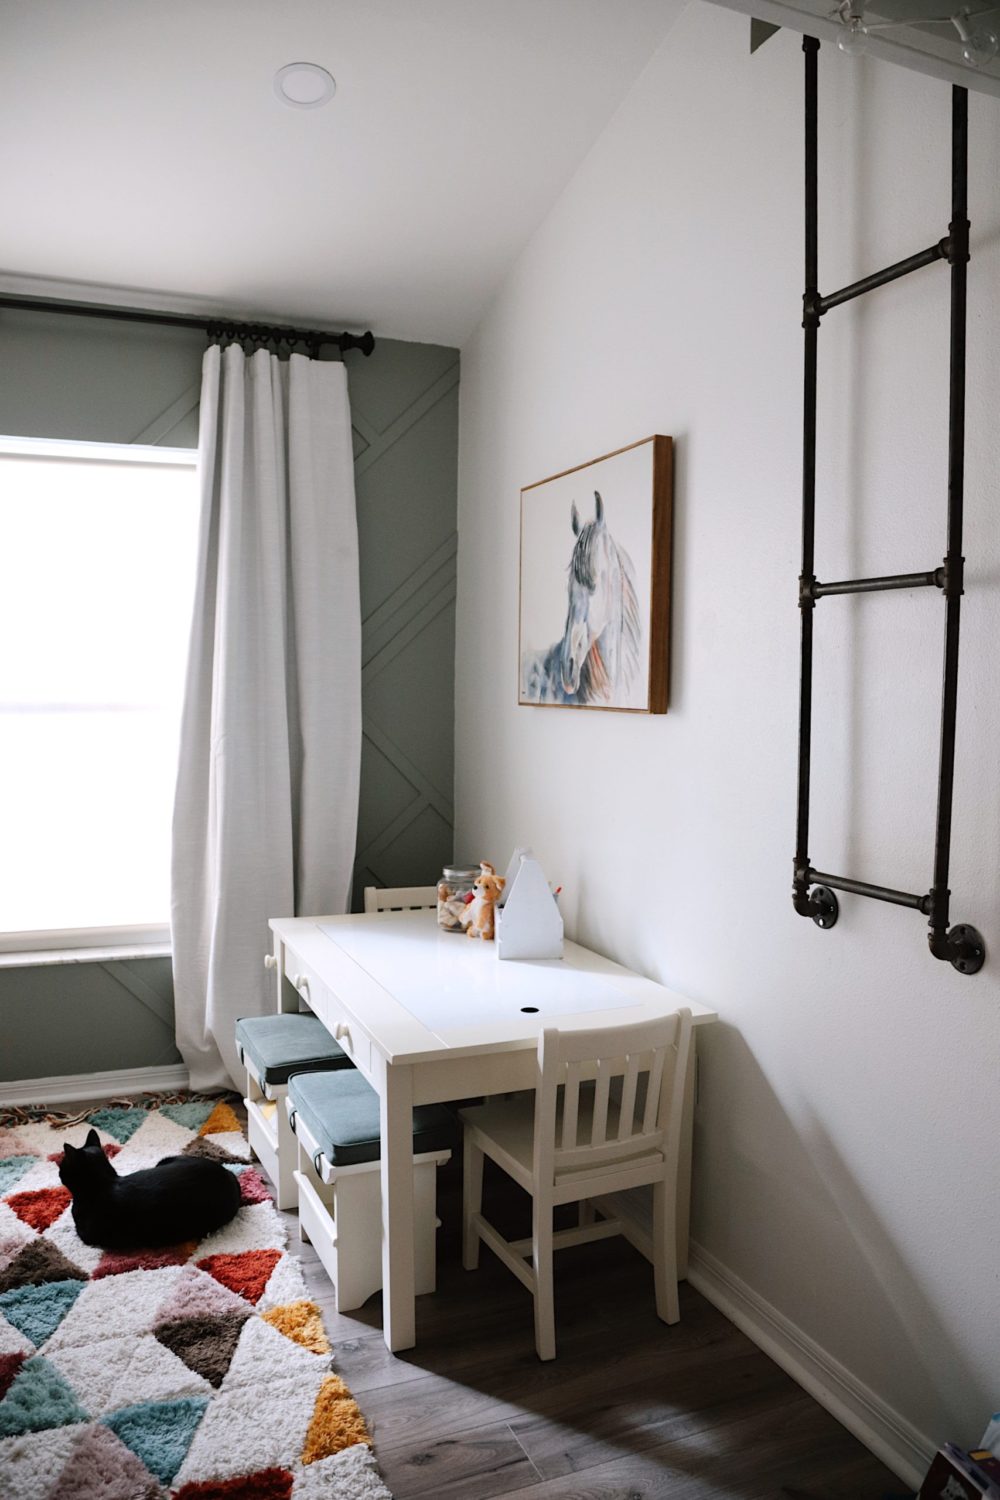

We created a similar DIY Wood Accent wall in our dining room area, though in a grid, and here’s how that wood feature wall looks now:

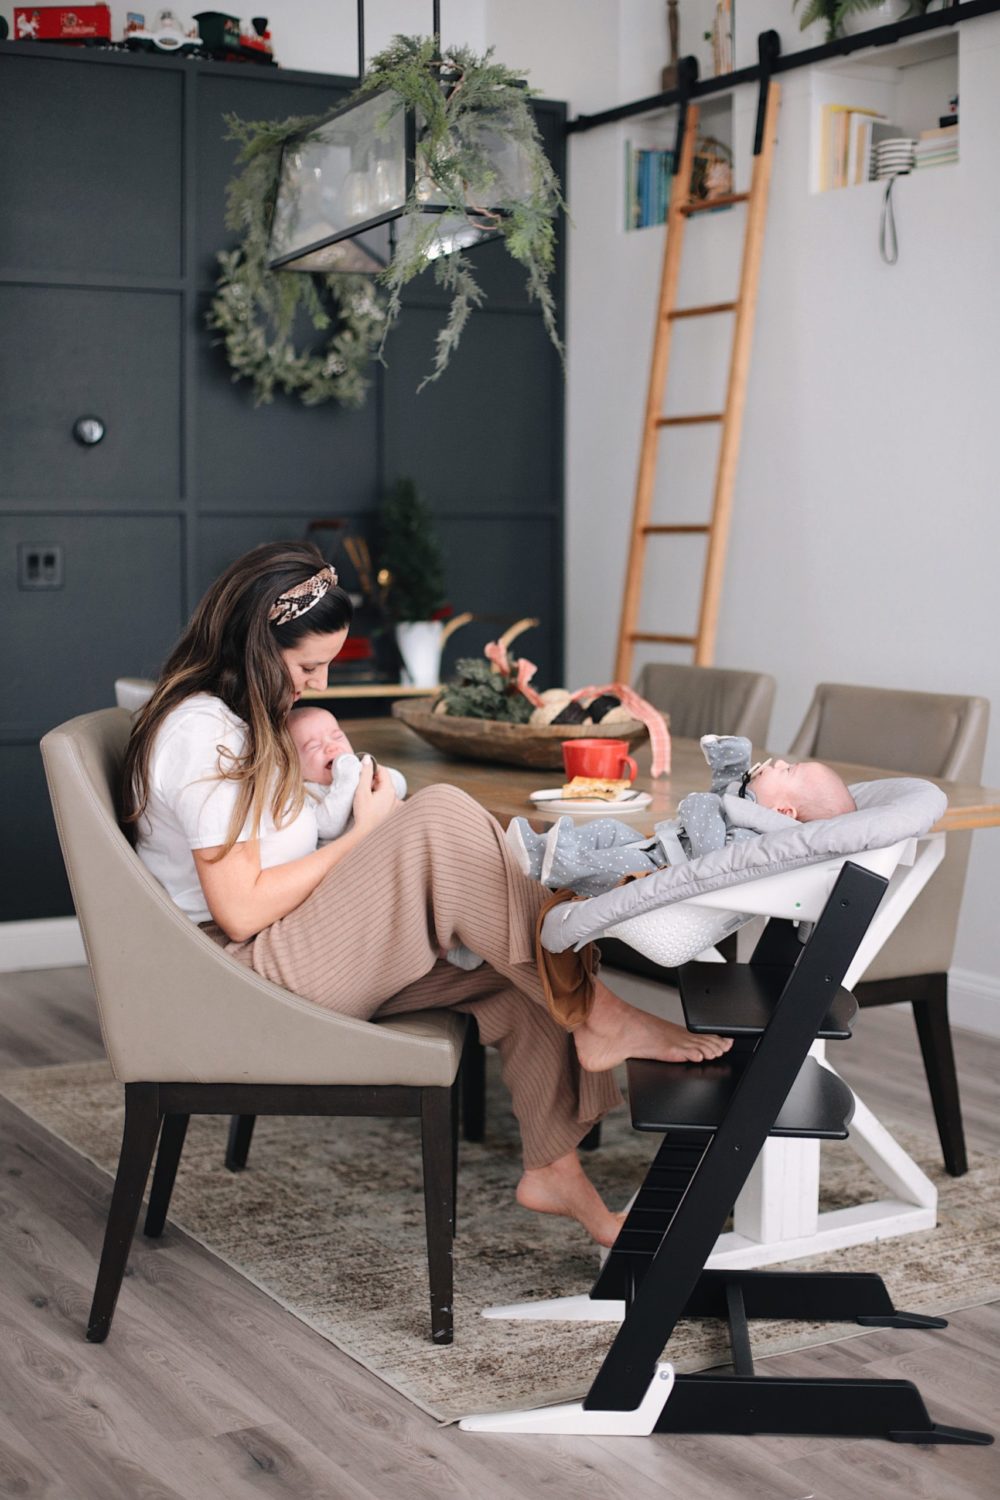
I love how the black makes the feature wall really pop and it fits with this larger, open space.
Which wood feature wall do you like better, the grid or the geometric “pattern”? I have to say, I’m so incredibly happy with both and each work SO well in the space they’re in! I couldn’t go back… and now I’m dreaming of other walls to makeover.
What do you like most about this wood feature wall? Would you do this in your own home? Let me know in a comment below!





Pam says
Both of those walls are lovely, but I think I like geometric pattern the best. I’m impressed that you did all that work yourself. It really makes those walls pop.
melissa chapman says
You did such an amazing job on that room. It is so nice that you have the skill and patience to make such a beautiful room for your girls by yourselves.
Tabitha Blue says
Awe, thank you so much!
Amber Myers says
Oh my gosh, what an amazing room. I just love this wall! It’s so welcoming.
alison abbott says
What a great job. I love the look of this wall, and the colors you’ve used. It has such a warm and welcoming feel.
Brandy says
This is excellent! I wish my parents had done something like this when I was a kid sharing a room with my sister ALL of my life.
mya kroeplin says
love this! I we actually have some of the same decor like the unicorn head lol. very cool.
Lizzie says
The wood feature walls are gorgeous! It’s amazing how adding a geometric pattern makes the room so much more sophisticated.
rika says
That looks amazing! I’ve always wanted to add the same look in my living room.
Ice Cream n Sticky Fingers says
I love this idea. My boys room needs a makeover once I buy this house. The dogs fat tail hit the edge and knocked off some drywall. I’m thinking of turning it into a small accent wall or something to secure that edge better. I love the design you did and it would look great in their room too.
Melanie says
What a beautiful transformation! My two youngest share a room, but it needs an upgrade since they are getting older. I love the details of the woodwork!
Tasheena says
I love the transformation of this space. Everything is so pretty. You did an amazing job!!
michelle says
That wall is gorgeous! I have a room that could really use some warmth too.
Landon "Lumber Master" Edgington says
great work and such a beautiful room, this is great for office room because of its ambiance. It is really takes a great hard work.
USVintage Wood says
Wow! I love the outcome of your project! Your kids will surely love the new looks of their bedroom.
wall accents wood says
Wow, the wood feature wall is stunning! It adds such a unique touch to the shared girl’s room. The wall accents wood really elevate the space and make it feel cozy and stylish.