We recently made over an accent wall in our house with a DIY grid wall, and I LOVE how it turned out! I mean, just look at the difference between the before and after. Between the bold, moody color of the accent wall, that just so happens to match our front door, and the subtle pattern that makes up a grid wall, I’m swooning.


Table of Contents
Materials needed for DIY Grid Accent Wall:


Instructions for DIY Board and Batten Grid Wall:
Measure
Determine Wood Size
Plan the Grid
The key to creating a gorgeous grid wall is to create squares with the grids. Since most wall widths aren’t completely even with the wall height, it will take a little calculation. Ideally, the squares should be 24″ or less. We decided on approx 24” square openings in our grid.
If your height or width is an even number in feet, just divide by two to see how many squares you’ll have in each direction. For example, our wall height is 8′, so that number divided by two is four, thus we have four squares in height.
For uneven numbers, you’ll have to adjust your calculations slightly… our wall was 6.25′ wide, so we divided by two to get 3.125. It’s closest to three, so that is the number of squares in width for our wall.
Ready for the formula?!
Start with your wall width, and now divide that by the number of vertical boards (# of squares you just calculated + 1). Multiply the number of boards by the width of the boards you’re using. Now subtract the product of the width of the boards from the total width of the wall. Divide the difference (the leftover width of the wall space) by the number of squares, and that will be the width between each of the vertical boards. Whew, got it?!
Let me give you an example…
Our wall is 75″ wide, and we have divided it into 3 squares. With 3 squares, we need 4 vertical boards for our wall. Each 1×2 board is actually 1.5″ wide (don’t ask me why this is the case – I believe it’s from saw blade width, but EVERY 1×2 is only 1.5″ wide, 1×3’s are actually 2.5″ wide, etc). So for us, we multiply 4 (boards) X 1.5″ (board width) to get 6″ of wall space that the boards will cover. We subtract 6″ from 75″ (our actual wall width) to get 69″ of wall left to cover. We divide that 69″ into our 3 squares (so 69 divided by 3) to get 23″ between each vertical board!
Then repeat the process for the wall height, too, making sure to take into account the height of the baseboard as well.
Install the Frame
The first boards we install are the exterior frame pieces, including the baseboard. If you’re replacing the baseboard, now it the time to do so! You want it to all line up correctly.


Install Vertical Boards
We like to install the vertical pieces using a 4 ft level to make sure the lines are straight. Don’t be surprised if when installing, you find that the walls or the ceiling aren’t exactly straight (this is actually really common). No matter, you want the grid to be straight, so using a level is really important.
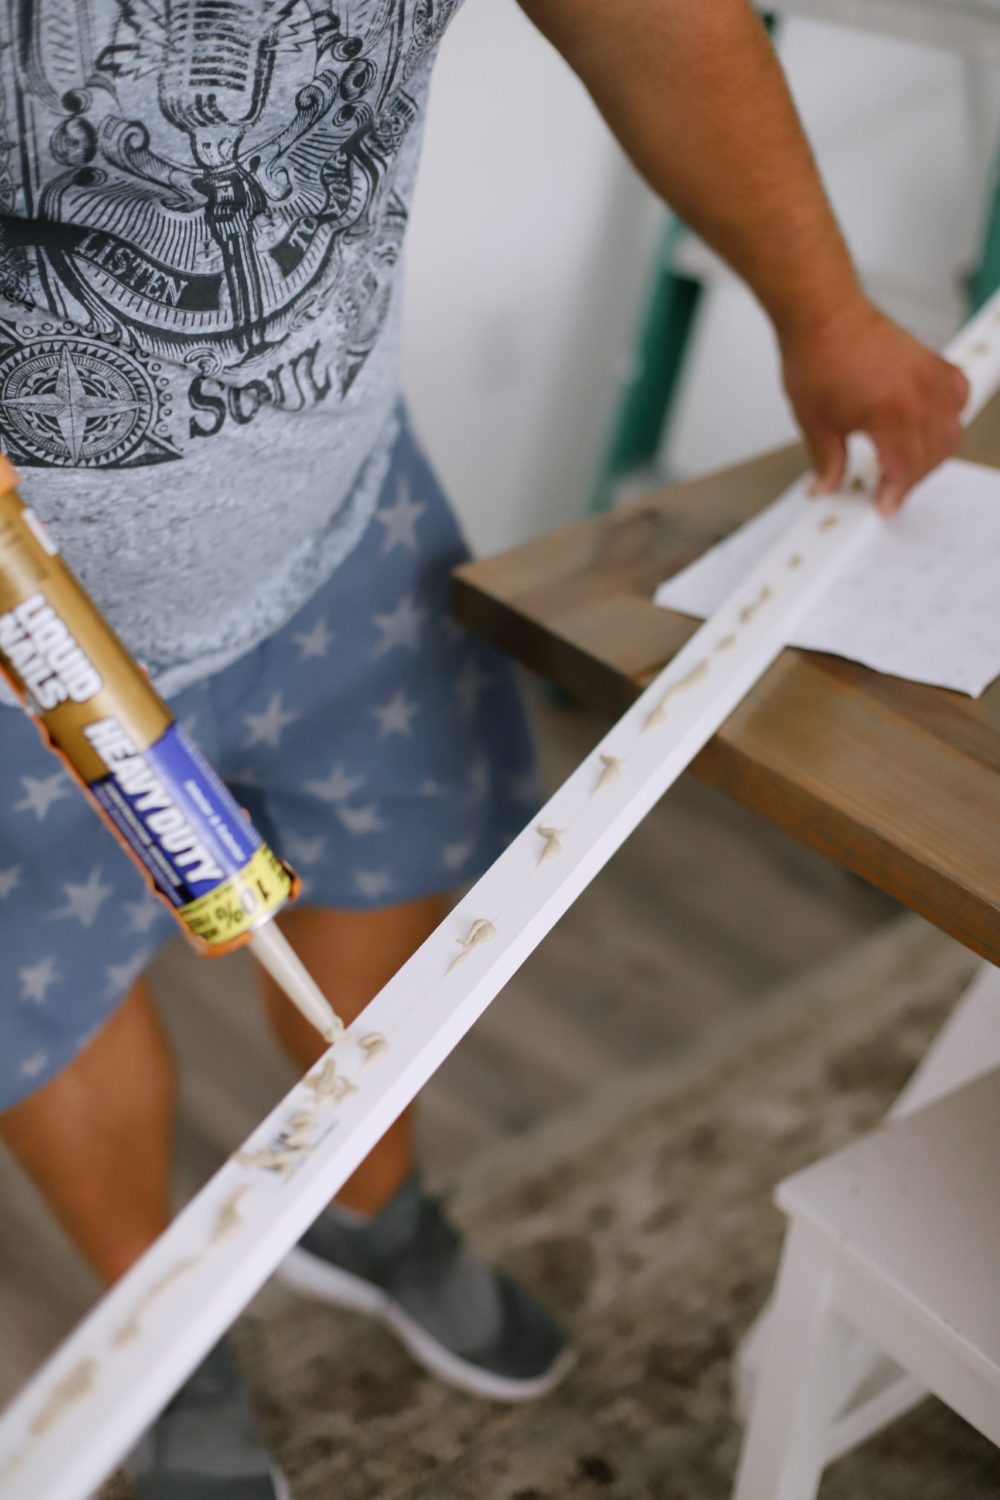
Measure from your first vertical board using the measurement in your calculations. Mark the top and bottom of where the board should be, place wood glue on the back of the board and hold in place with a level while using a finish nailer to secure it to the wall.
Install Horizontal Pieces
For the horizontal pieces, you’ll need to cut each board to size. Once the vertical boards are in place, measure the space between them again before cutting the horizontal pieces… measure twice, cut once!
It’s also really helpful to cut two extra pieces of wood to use as vertical spacers for quick measurements and install. Using the length of spacing that you calculated for your square height, cut two boards to size.
Starting at the bottom, use the spacers to measure from your board or baseboard (we ended up adding a horizontal piece right above/touching the baseboard because I just like how it looked, but you don’t have to). Within the square you’re making, place a spacer against each of the vertical boards and set your new horizontal piece above it to install. (Otherwise, measure the height and use a level to make sure the board is even).
Attach to the wall using wood glue and a finish nailer until you’ve filled each space and have your squares complete.


Fill Nail Holes & Caulk
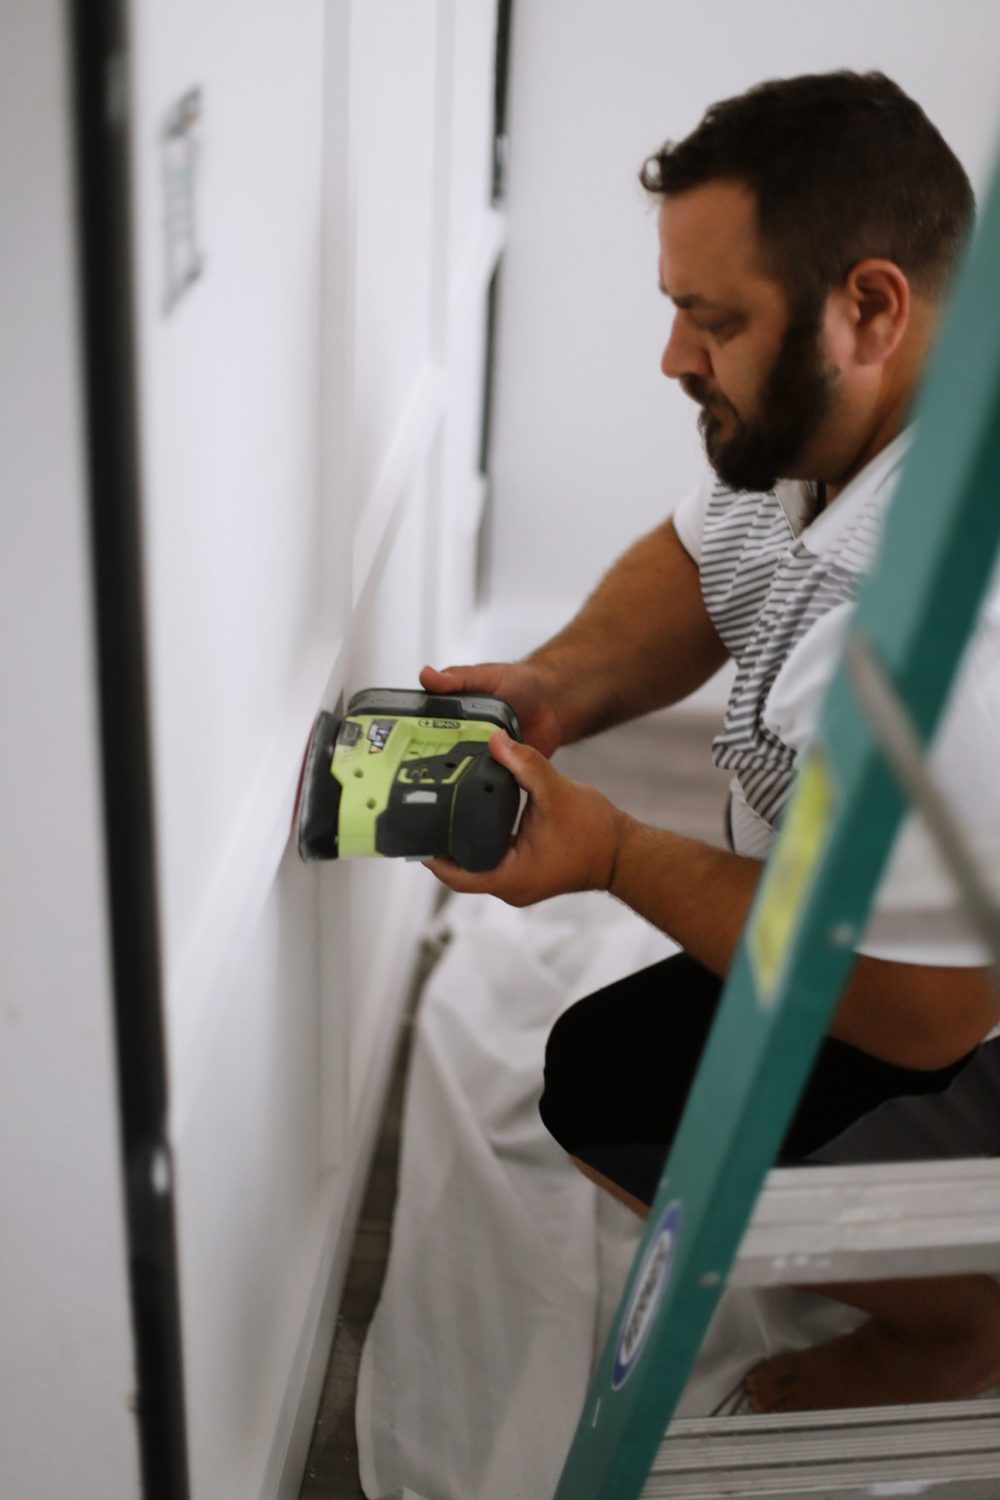
Okay, now that the math is out of the way and boards are installed, we’ve got a big portion of this grid wall complete but we’re still not in the clear. There is a lot of caulking and spackling to do with a grid wall. You will need to caulk inside and outside every square in the grid, along with the seams where your horizontal pieces meet your vertical pieces, and where your grid frame meets the ceiling (thankfully I skipped that since ours doesn’t touch the ceiling). Then, make sure to fill in all the nail holes with some light spackling paste and sand smooth with a palm sander or sanding bar before painting.
I like this product for spackling because it goes on pink and dries white so you know when it’s ready to sand.


Leave a Reply