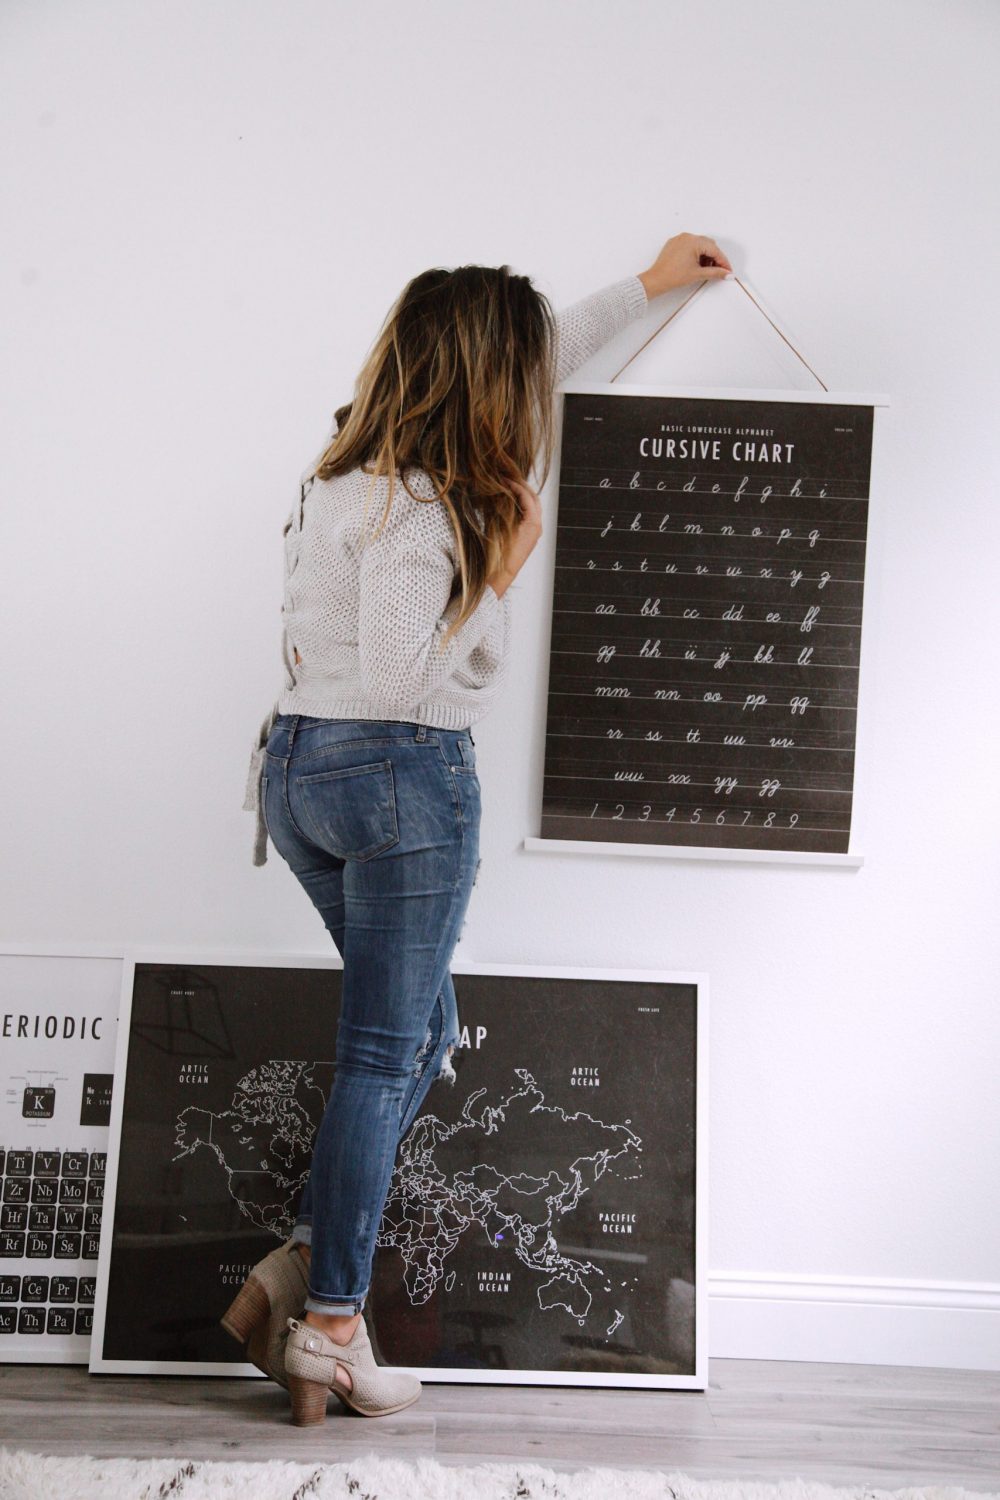
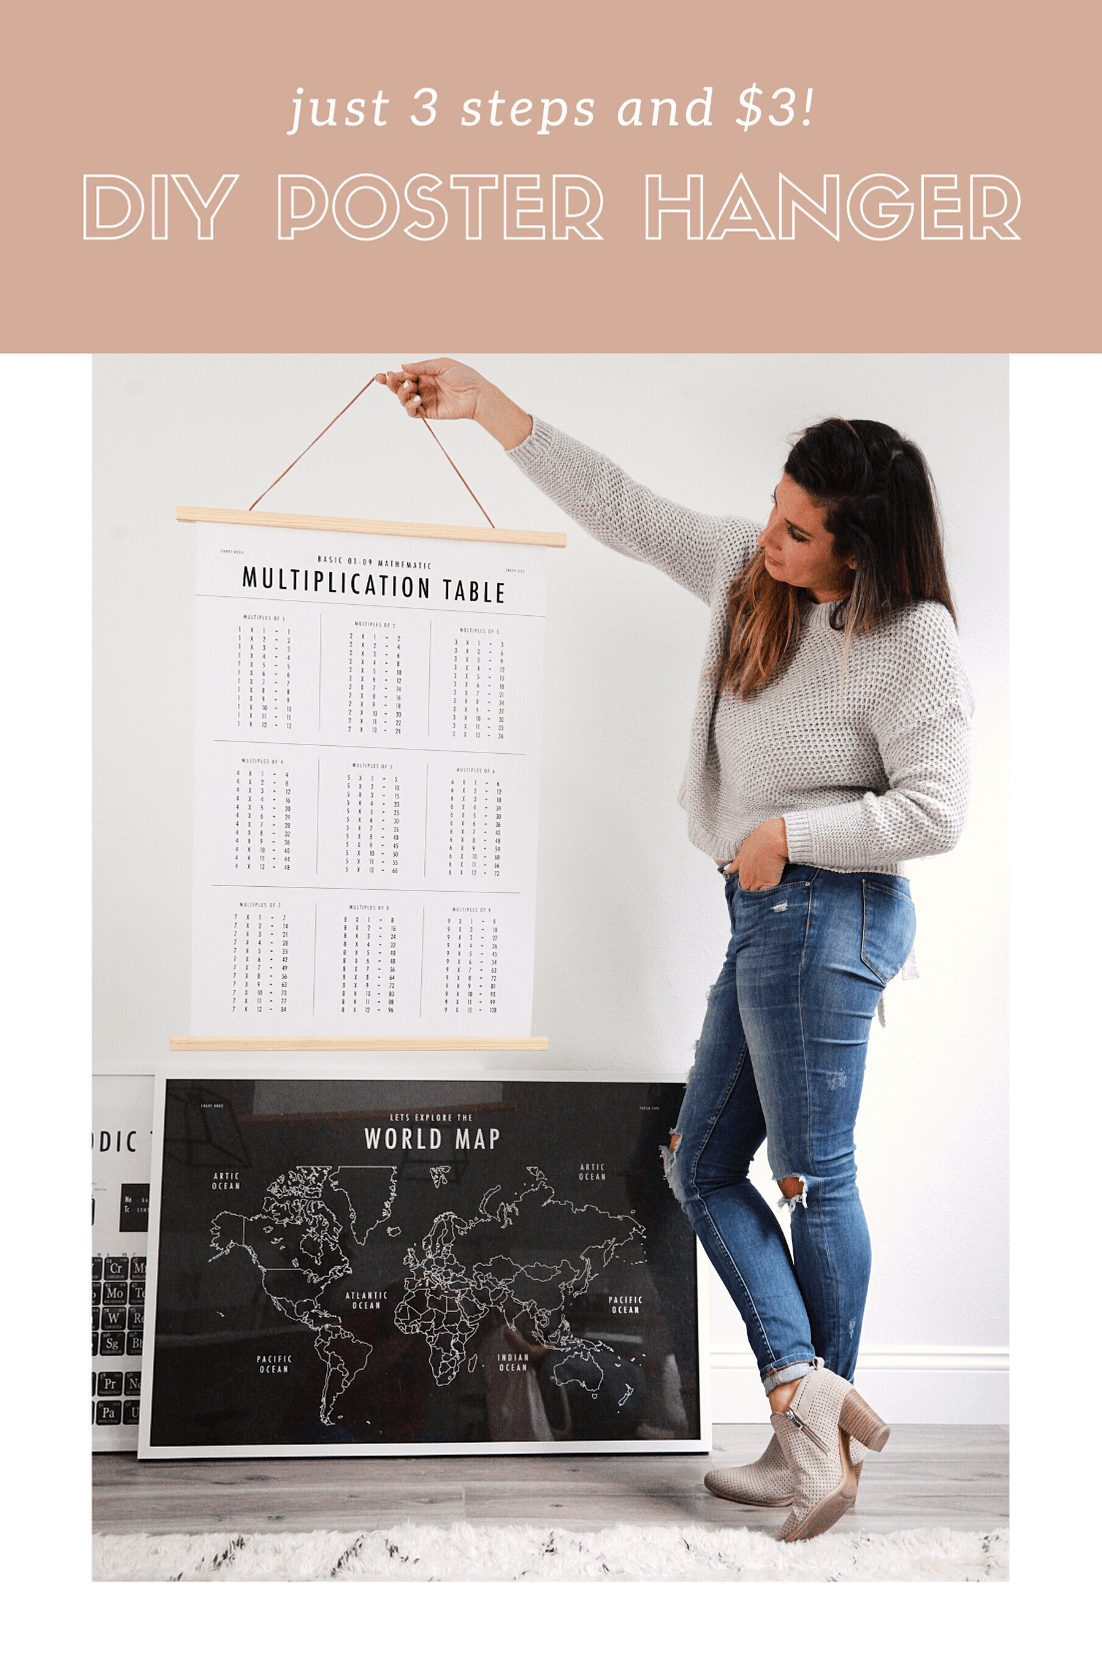
Today I’m sharing a fun, budget-friendly, EASY solution for creating a cute DIY poster hanger. You can make your own poster frame in any size, use paint or wood stain to fit your own decor, and even switch it up with the DIY poster hanger material, from suede cords to twine to fit your own aesthetic.

When we first printed our school room prints, I couldn’t wait to get them on the wall, but I only had two frames on hand. Two frames for four prints.
I needed a way to hang our other posters and didn’t want to spend the money on more frames and wanted a different look as well. Instead of shelling out money for poster hangers, which you can find some cute selections at Ikea for $6, or Etsy from $8-20, we realized that we could make some DIY poster hangers ourselves in just a few minutes for less than $4!

Table of Contents
How to Make a $3 DIY Poster Hanger
Supplies:
- Wood moulding – This simple screen moulding comes in 96″ pieces for $2.88, and you can make one 24″ frame with it. Have it cut in-store or use a simple saw to cut them on your own.
- Stapler and/or wood glue – We used both, although you could get away with using only the glue. I preferred the extra stability of the staples and already have a full stapler at home.
- Suede cord, leather cord, twine, or other hanging material – I used suede leather because we already had some in our craft supplies. Even buying 77 yards on Amazon for $7 and using 20″ per DIY poster hanger, you’d be able to make over 100 of them! The cost per DIY poster hanger would be $.06.
- Optional: paint or stain if you’d like to change the color of the wood.


We have our farmhouse school room prints hanging in our DIY poster hangers!
How To:
- Measure the poster you are hanging, and cut your wood moulding to size, adding about an inch of moulding for either end of the poster (for example, for a 12″ poster, you may want a 14″ long frame). Cut four even pieces to create a DIY poster hanger. If you really aren’t worried about the back-side of the hanger, you can get away with just two pieces, one for the top and one for the bottom of the poster. If you are staining or painting the pieces, do so before the next step.
- Add your artwork or poster to the top and bottom rod by using either staples and/or wood glue.
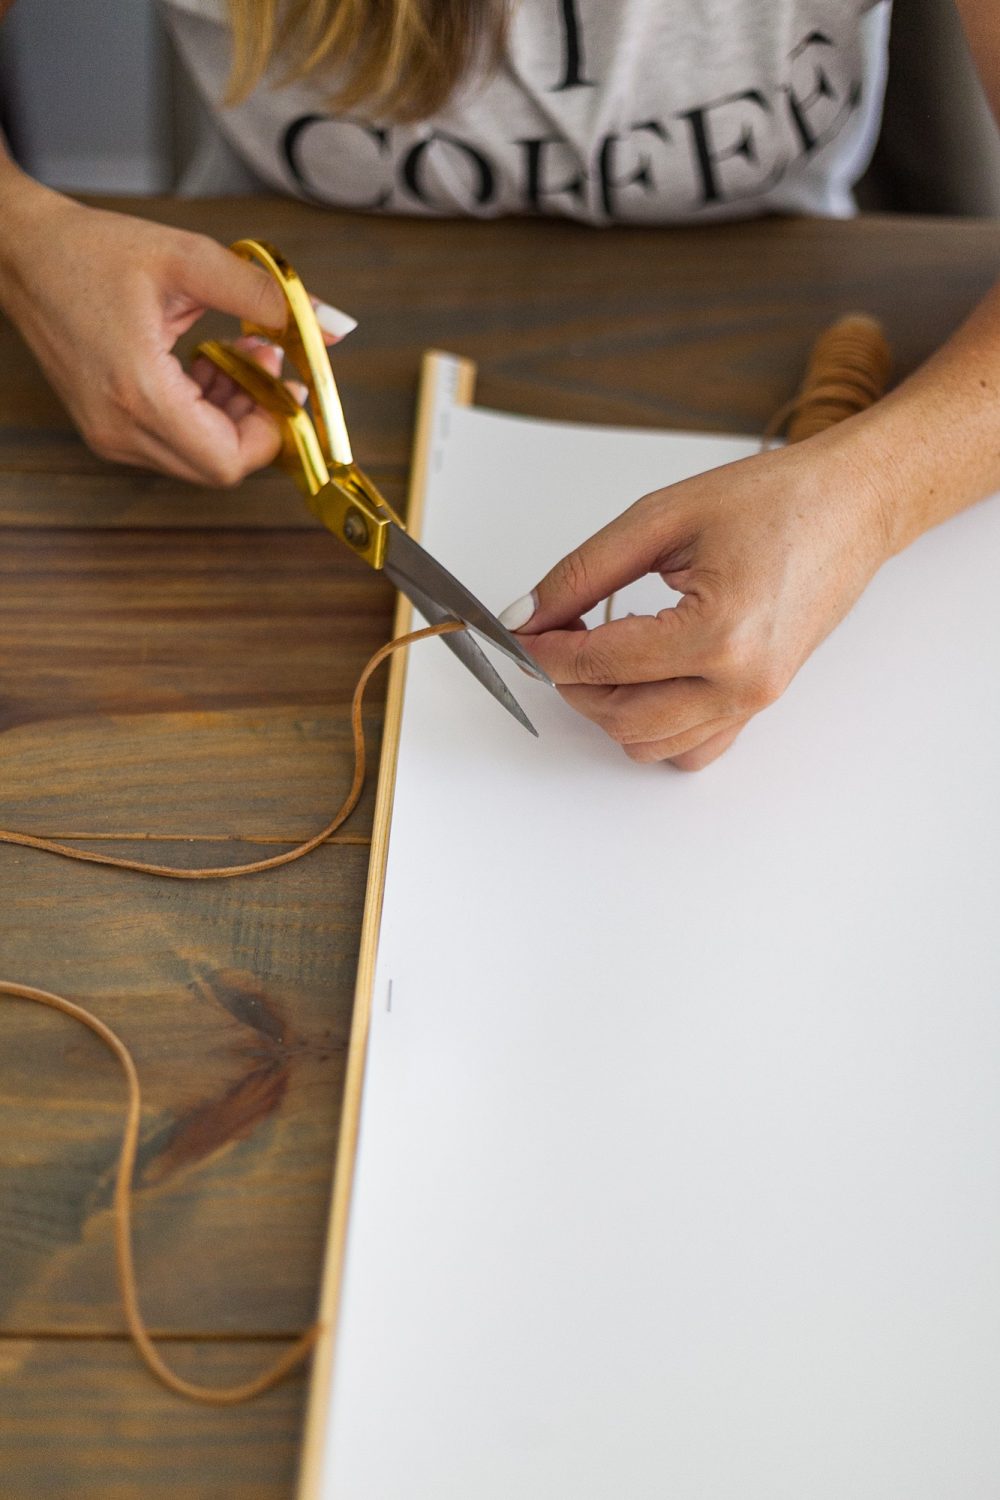
- To add the cord, cut the cord to size, measuring first. Secure with staples and add the backside of the DIY poster hanger with the wood glue! Both DIY poster hangers are easy to do and sturdy, whether adding the backside or not, I just like the additional weight and finish of a two-sided hanging poster.
“There’s one simple, essential guideline you should definitely keep in mind—always display the artwork’s center 57 inches from the floor.”
Park West Gallery

Check out these school room printables!
Who is ready to take on these DIY poster hangers and get some art on the walls this weekend?
You can see ours hanging in our School Room Makeover post where we converted a portion of our garage to a homeschool room!
“There were an estimated 2.5 million in spring 2019 (or 3% to 4% of school-age children). It appears that the homeschool population is continuing to grow.”
National home education research institute

Have you made a DIY poster hanger before? Let me know in a comment below!


Leave a Reply