With the season of holidays, parties and entertaining coming upon us, I thought it was time for a new table with room for more people, more food, and subsequently more stories and memories. This DIY Farmhouse Table was born out of that need and I couldn’t be happier with the result!
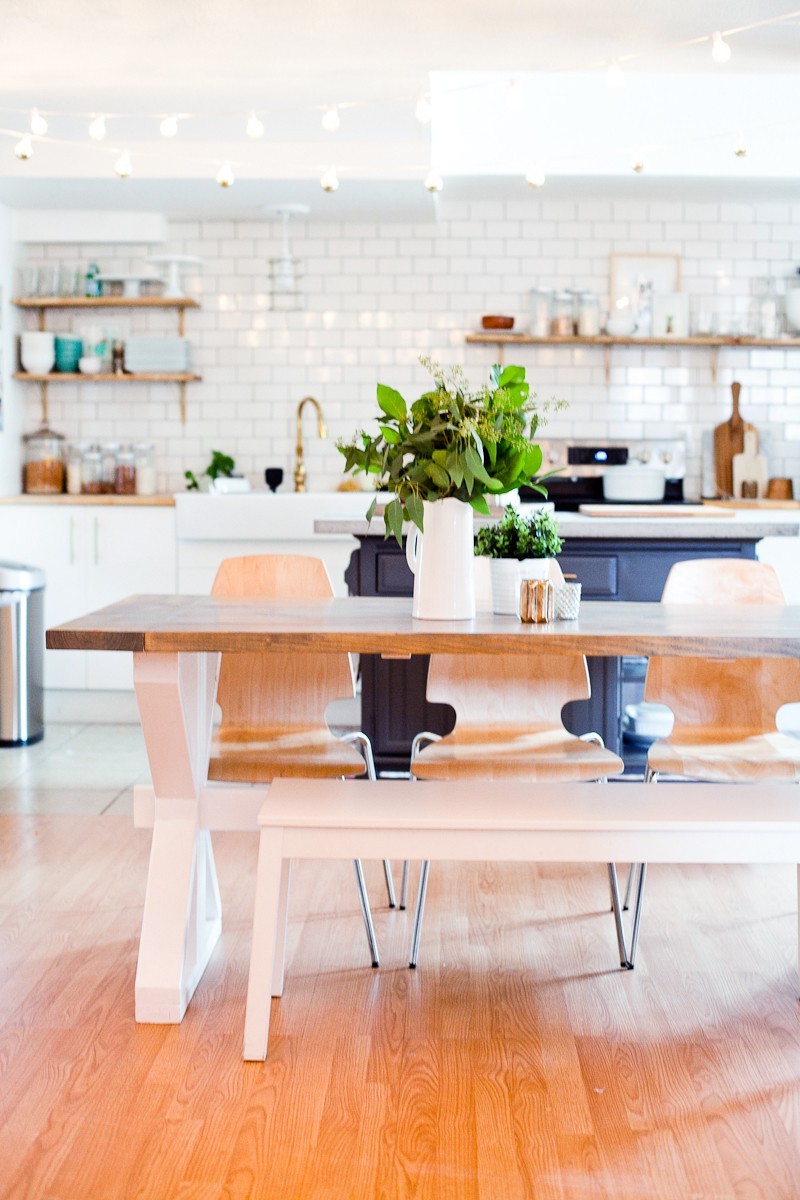
While I wouldn’t quite consider anyone in our household “handy”, I think we’re becoming more and more so as we knock projects off our list and learn as we go! Just this year we’ve created this kitchen in our studio where there wasn’t one, and now, we’re building tables! I’m going to share with you just how we did it. Yes, this project does take a little time and patience, but in the end it’s so worth it (most things in life that take time and patience are right?!)… and now we have this gorgeous, solid and sturdy table for under $100!
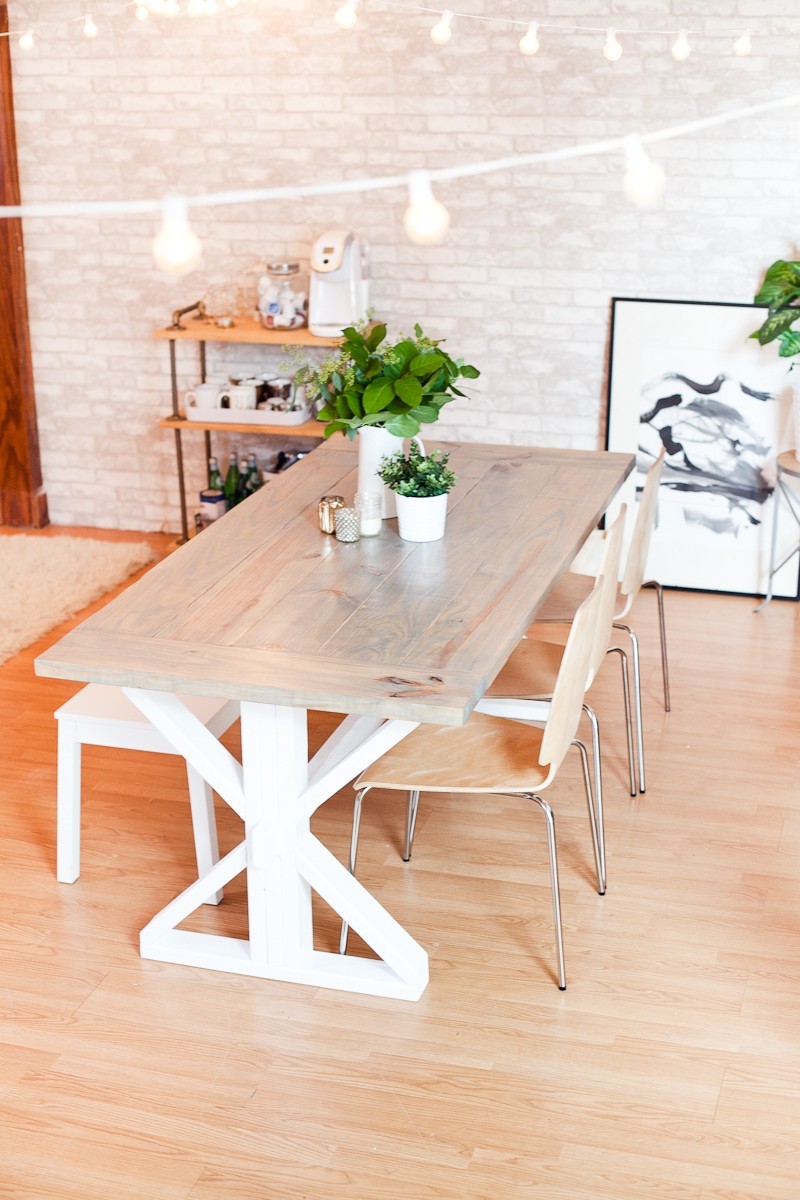
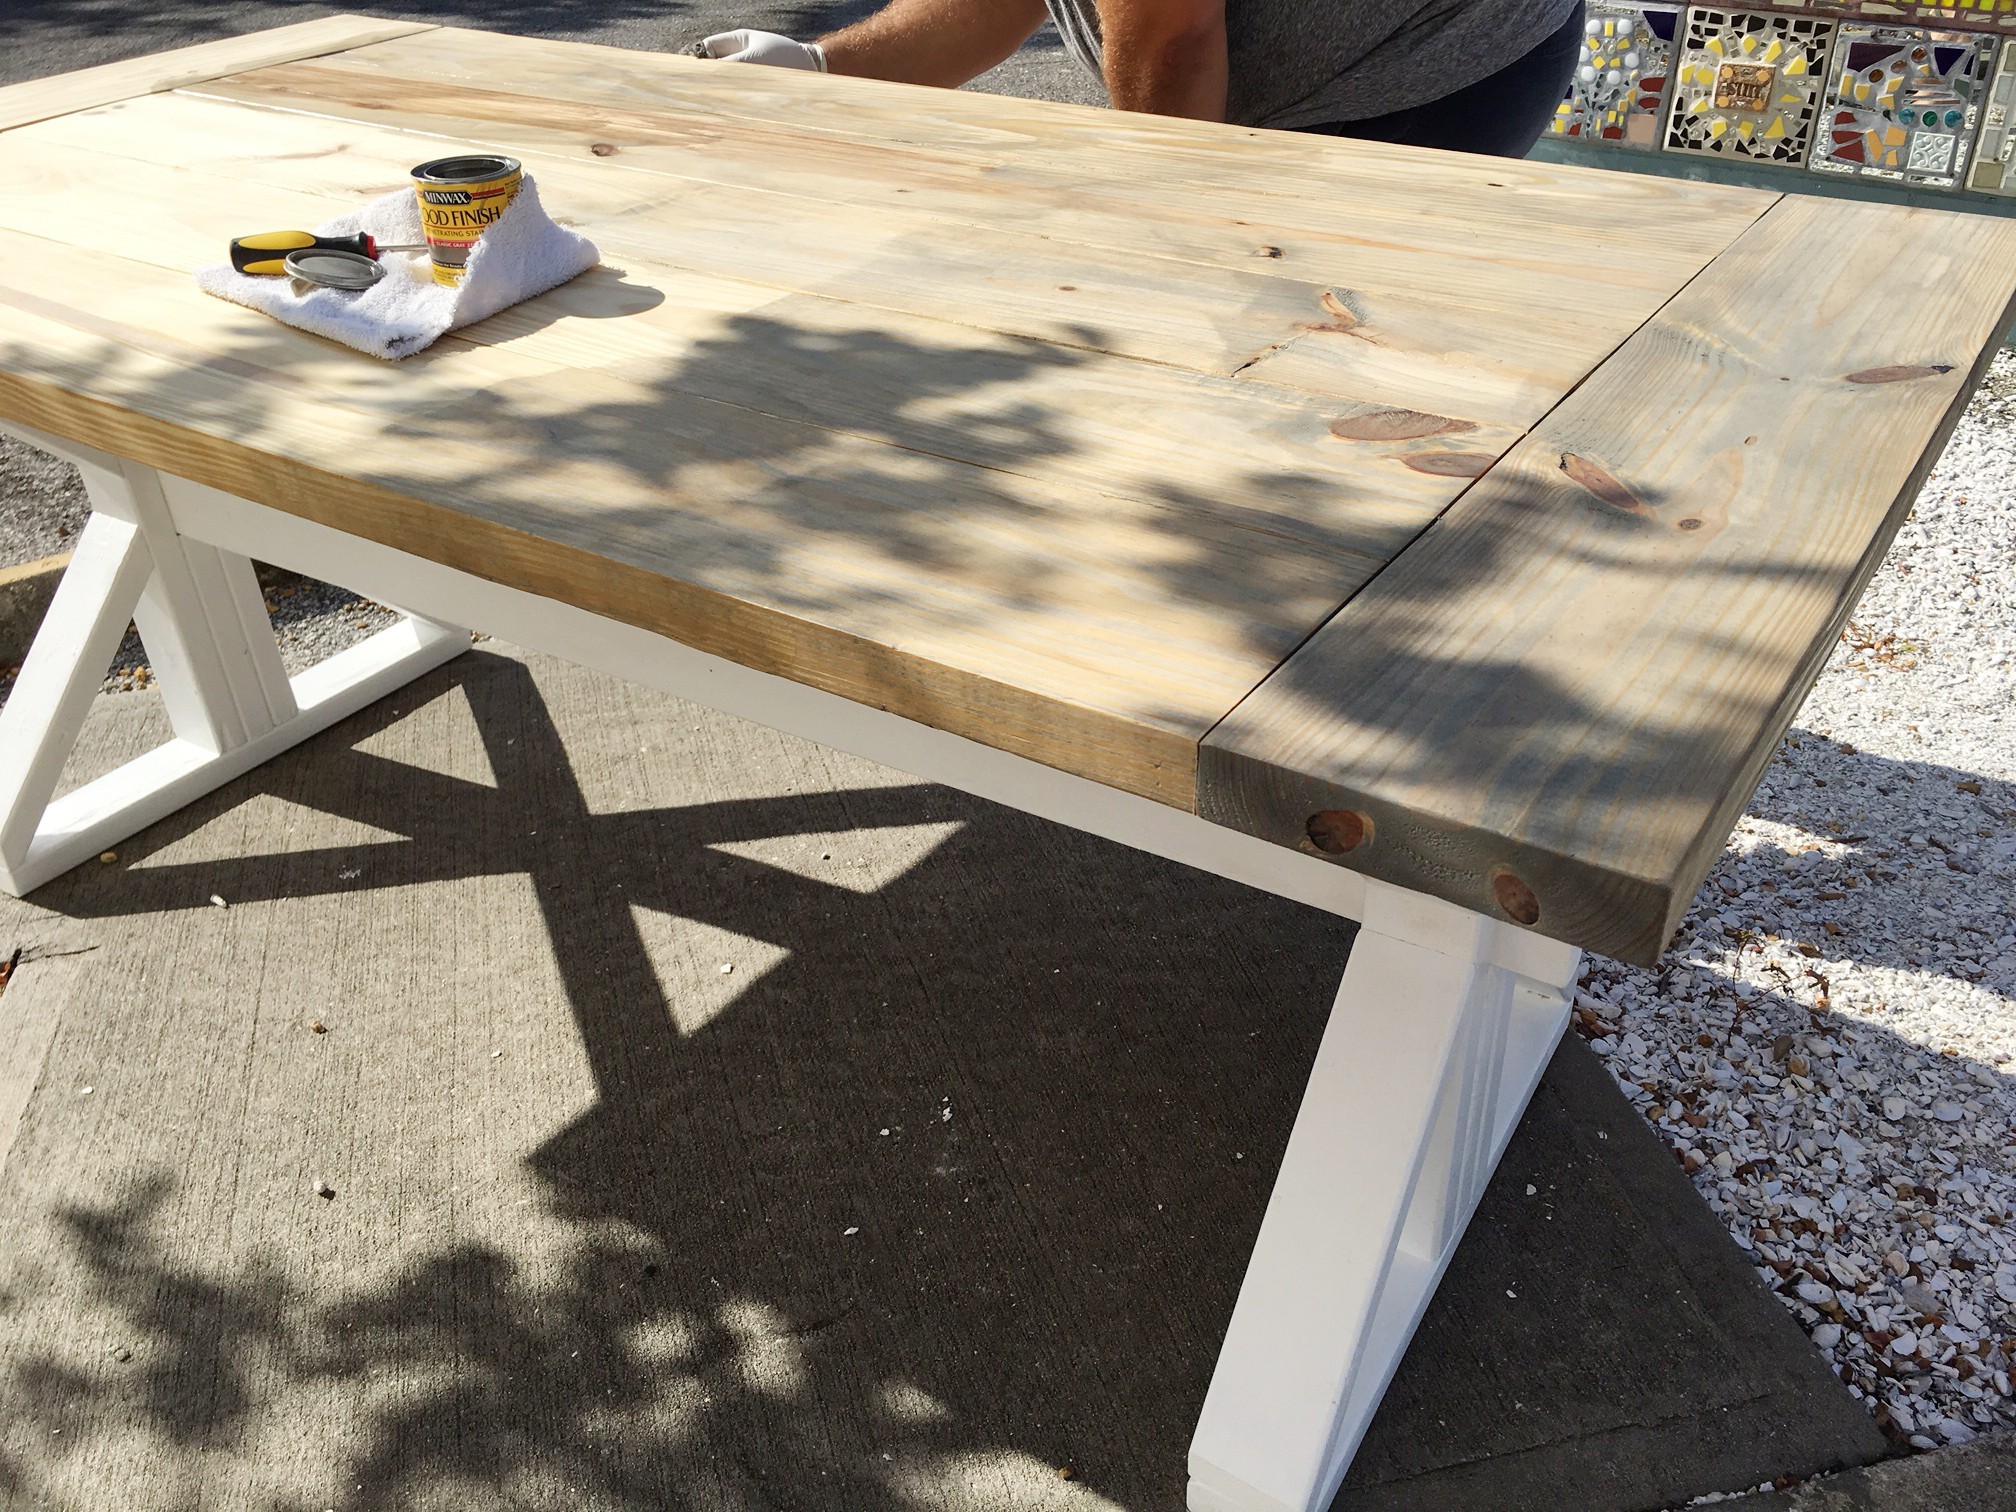
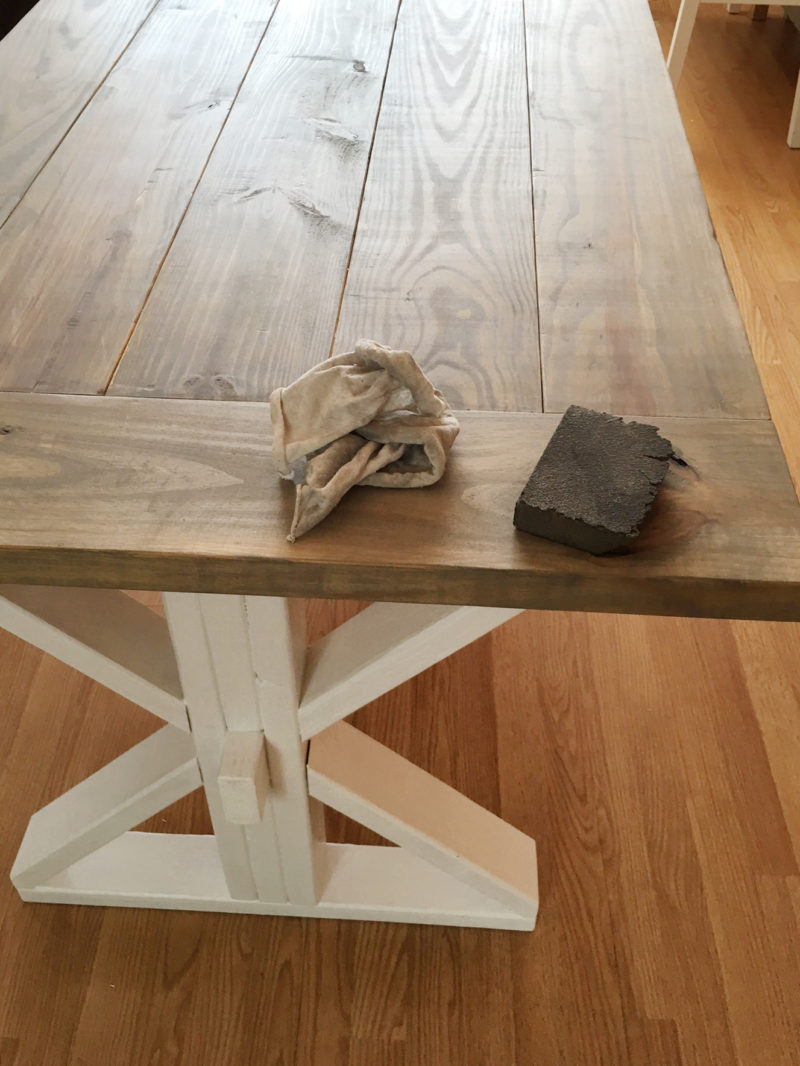
I also have to say, while browsing the wood stains, I kind of fell in love with the idea of this gray colored stain, although I wasn’t sure how it would turn out and bought a backup stain as well. But, oh, I didn’t need that backup, the gray stain is stunning, seriously. The photos don’t do the color justice and I’m more than happy with how it all turned out.
The instructions for building your own farmhouse table may seem a little long, but trust me, just take it a step at a time. It goes by pretty quickly once you get started.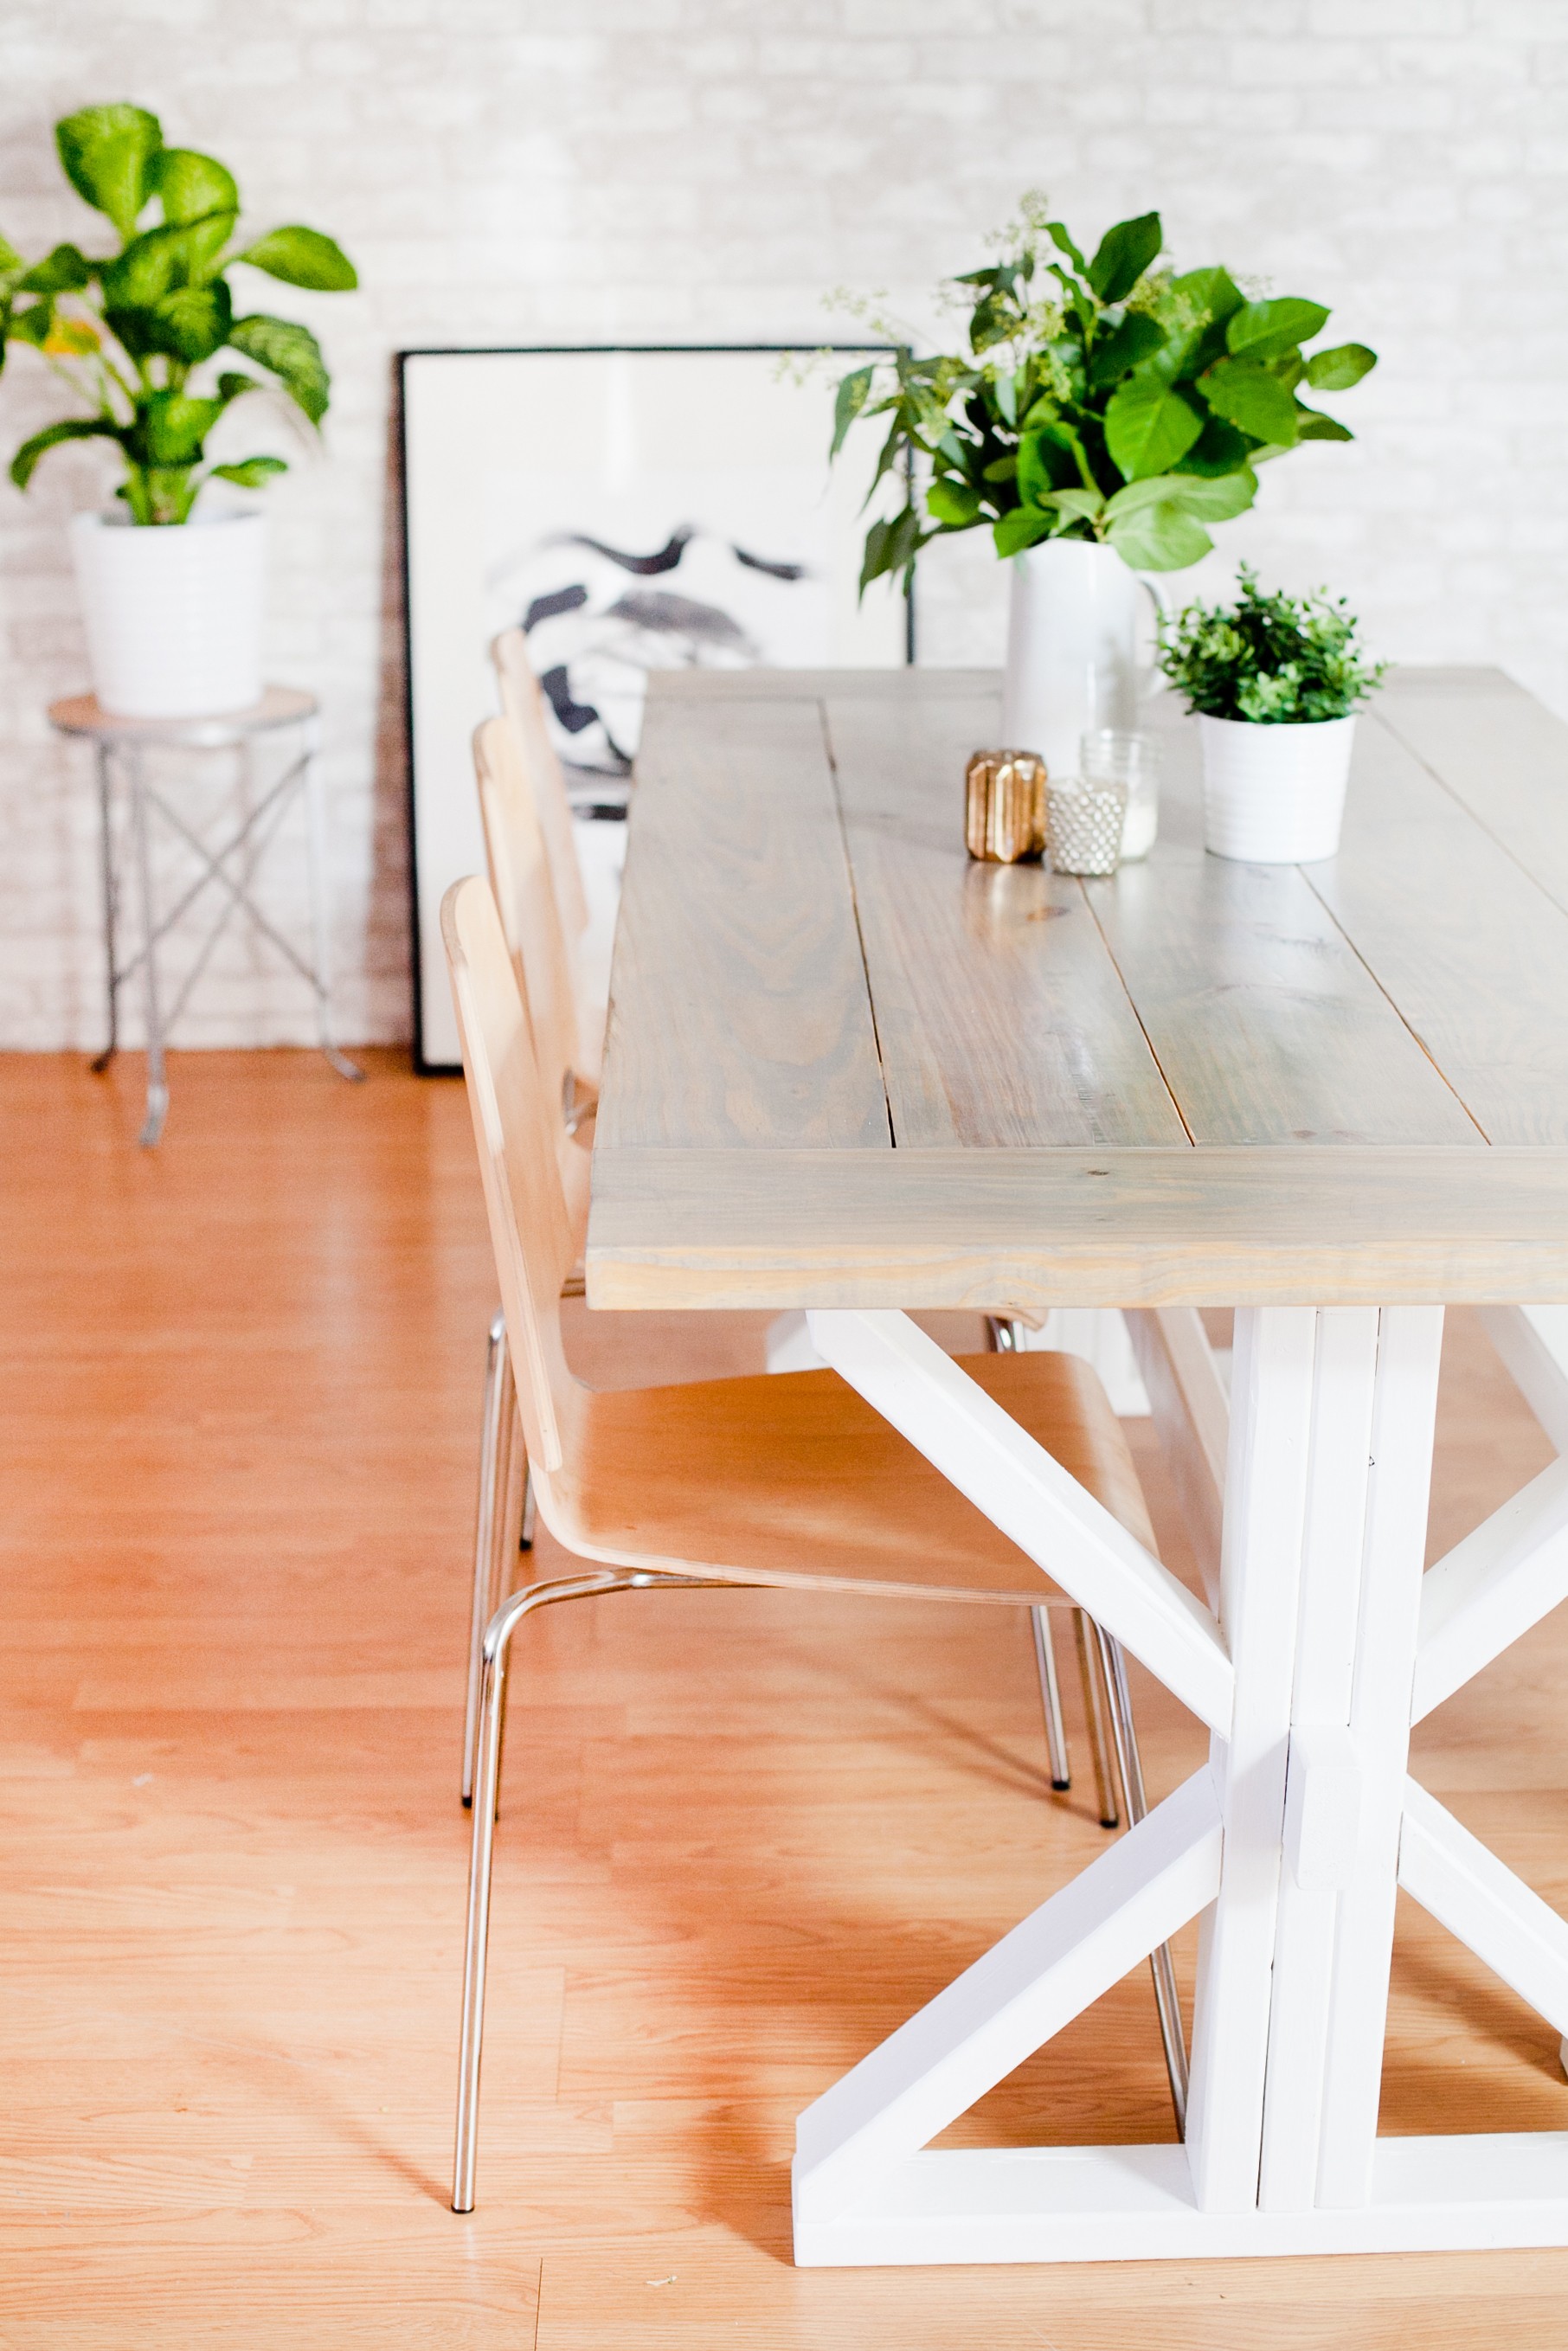

How to build a DIY Farmhouse Table:
DIY Farmhouse Table Shopping List:
3 – 2×8 @ 10 feet long
1 – 2×8 @ 8 feet long (breadboard ends)
5 – 2x4x8
Wood glue (Tite Bond 8oz)
1/2 pint Wood Stain
1/2 pint Polyurethane
2″ paint brush (cheapest you can find) for applying mini wax
Rags for applying stain (use scraps from old towel if desired)
Tools:
DIY Farmhouse Table Cut List:
8 – 2x4s at 26”
4 – 2x4s at 11.25″
8 – 2x4s at 17” with a 45 degree angle on each edge
1 – 2×4 at 69″
5 – 2×8 @ 60″ (table top planks)
2 – 2×8 36.25” (breadboard ends — MAKE SURE to measure your tabletop pieces laid out before cutting)
Take cut list to home improvement store and choose your wood. Make sure to check wood to find straight pieces. Thankfully, most home improvement stores will cut the wood for you, and it’s is why you bring the cut list along with you. This will save time and space for loading in your vehicle and assembly. Oh yeah and keep the scraps!

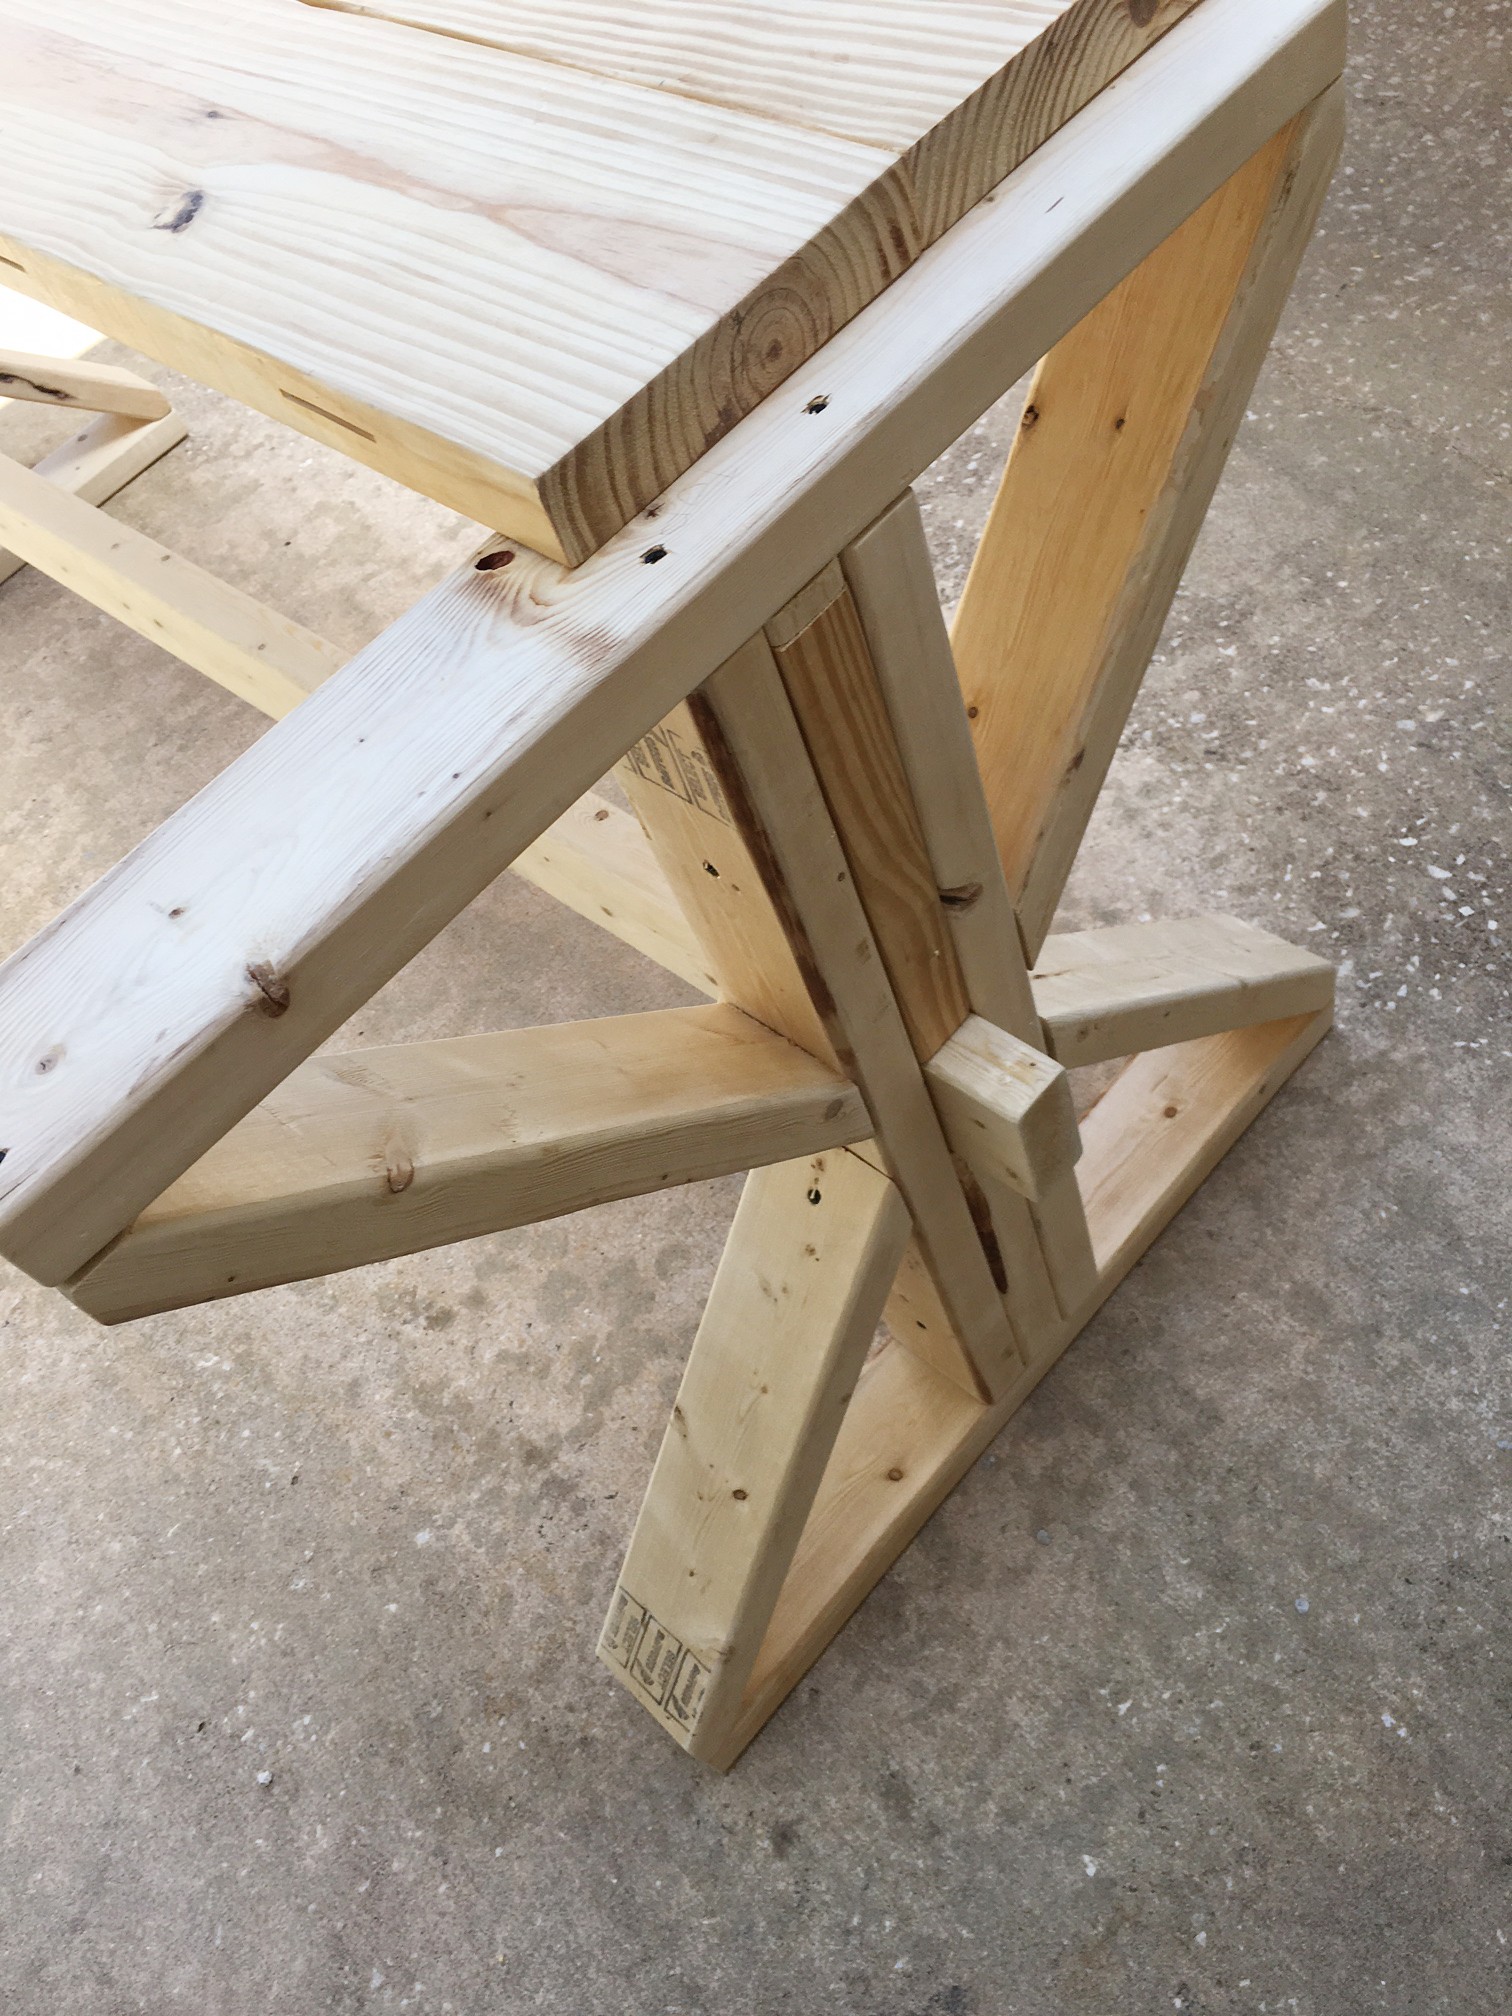
Begin building legs with 4 – 26″ and 2 – 11.25″
- For each leg, use one 26″ across top and one across for the bottom.
- Measure 13″ to center of top board and mark 3/4″ on each side of that mark. This mark will be for your 11.25″ board to connect. Do same on other 26″ piece. Place 11.25″ board in the center. Then place two 26″ boards on both sides of the center 2×4. Shape should resemble a Roman number 1.
- As you’re building the legs, check the gap that forms in the middle, you should be able to fit a 2×4 snug through the center. Screw the pieces together using 2 1/2″ screws.
- Next grab the 4- 17″ pieces and cut each end at 45 degree angles creating a trapezoid shape when finished.
- Place the 45 inside the leg and decide what your end will look like. We choose to cut ours flush to the top and bottom portion of the leg. Once you decide what looks best, draw your lines and cut to suit. Screw the angled boards onto legs using 2 1/2″ screws and repeat until finished.
- Repeat entire process for the other table leg.
- Use remaining 2x4x74 and run through the center of your table legs to connect.
- Space the table legs approx 60″ apart. Legs should sit 60″ from center to center so that your table top seam will be centered over leg. Decide how much you would like to leave at end. Cut to suit.
- You can now choose to use wood filler to fill in any imperfections or just paint or stain as is.
Now on to our table top.
- You will be using 5 – 2x8x60 boards side by side and 2 – 2×8 short pieces perpendicular for the breadboard ends.
- Sand all pieces..
- Take two 60″ boards and mark every 12″ from one end with a pencil.
- Using a biscuit joiner or cutter tool, set desired height with a slim board or other uniform flat surface to shim the tool so that it cuts in the center of the 2″ side of the tabletop boards. Make cuts at each mark on the boards and make sure the biscuit cutter remains at the same height for each cut.
- Repeat with other board.
- Place a biscuit in each cut on one board and put boards together to ensure a level fit. Make any corrections needed if boards are not flush or you can even sand the boards for a more level fit after table top is assembled.
- Take boards back apart and turn the boards up on their side (with the biscuit cut side up) and place a line of glue. Don’t be shy with it, the wood will soak up the glue.
- Place boards back together with a biscuit in each cut and use wood clamps to ensure a tight fit.
- Repeat this process until all five 60″ boards are glued together.
- Leaving clamps and glue to set for 18-24 hours to ensure a good hold.
- The next day you can choose to attach the breadboard ends with biscuits or use pocket screws.
- If using the jig, flip the table top over (upside down) and make a hole on both ends of every 60″ table top board and about 4 holes on each breadboard end. This is how you will connect the breadboard ends to the table top. Use your 2.5″ pocket hole screws to connect.
- You are now ready to stain the top. Stain according to package directions and let dry overnight.
- Once dry, flip the tabletop upside down and use 2 1/2″ wood screws to attach the top to the legs.
- Flip the table over (right-side up) and apply the polyurethane coat. Let dry completely according to package directions before using your new table!


I’m STILL swooning over this table that makes you just want to pull up a chair and stay awhile, and I’m absolutely looking forward to more family meals, friends for brunch and entertaining around the table!


Charles Peter says
Thanks for sharing this post!!!
I have always such kind of tables,searched almost everywhere,couldn’t find an economic table anywhere.Glad you posted this.Thanks a ton.
http://bestessaywritingservice.co/
KarenHeinz says
Good post
Cat says
Where is your lovely island from?
Tabitha Blue says
Hi Cat! It was a makeover project we did! https://freshmommyblog.com/a-modern-diy-kitchen-island-makeover-on-a-budget/
Cat says
Thank you!