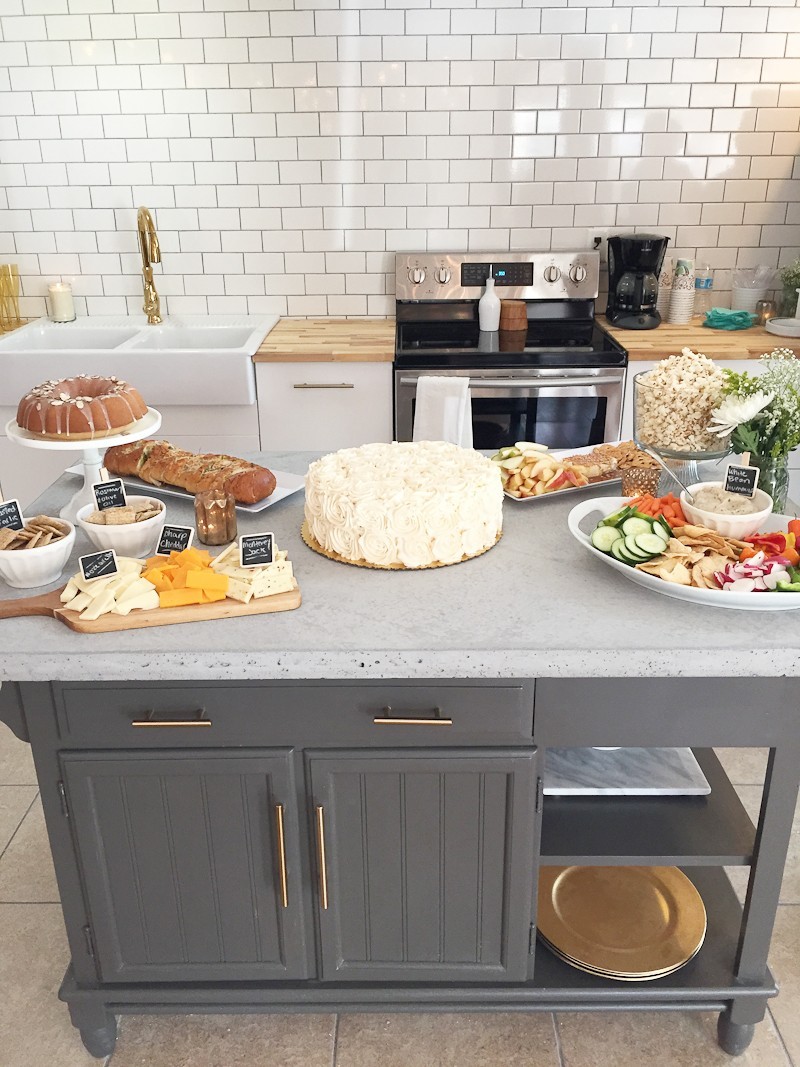
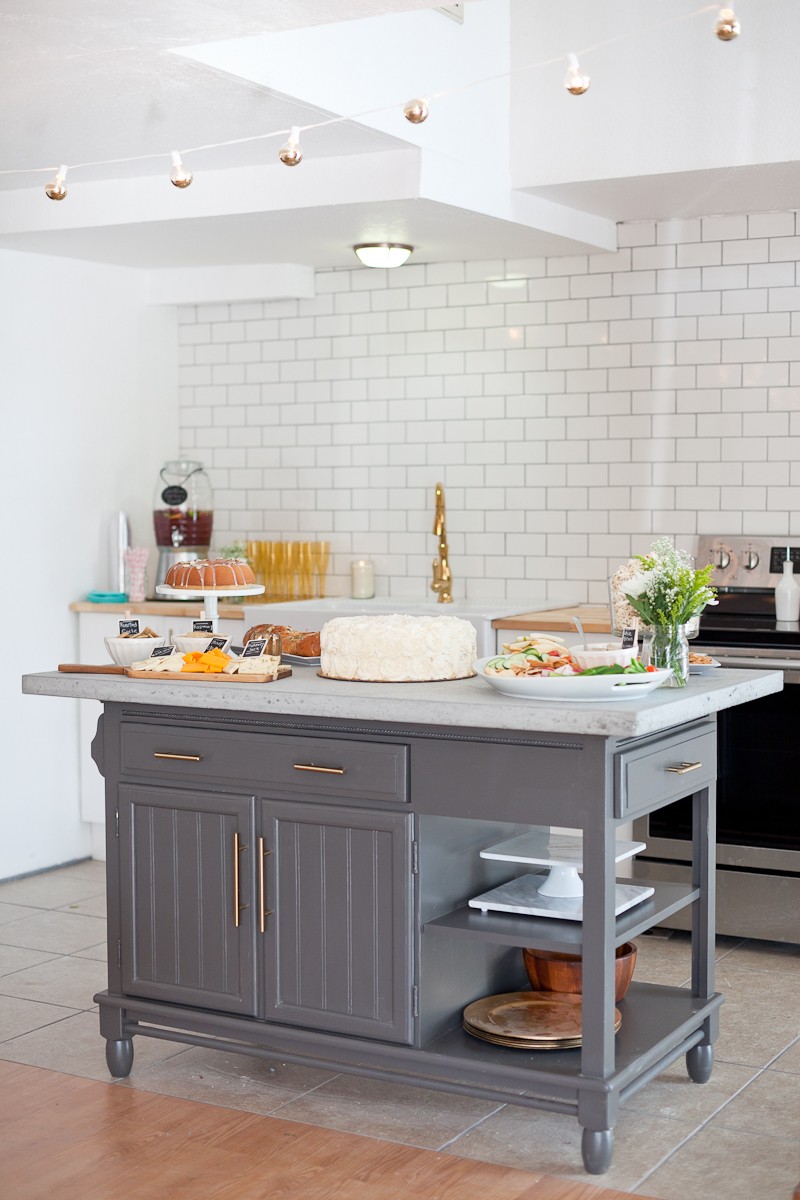
Isn’t it amazing what a little paint can do?! Particularly for something simple like this modern update and kitchen island makeover on a budget. 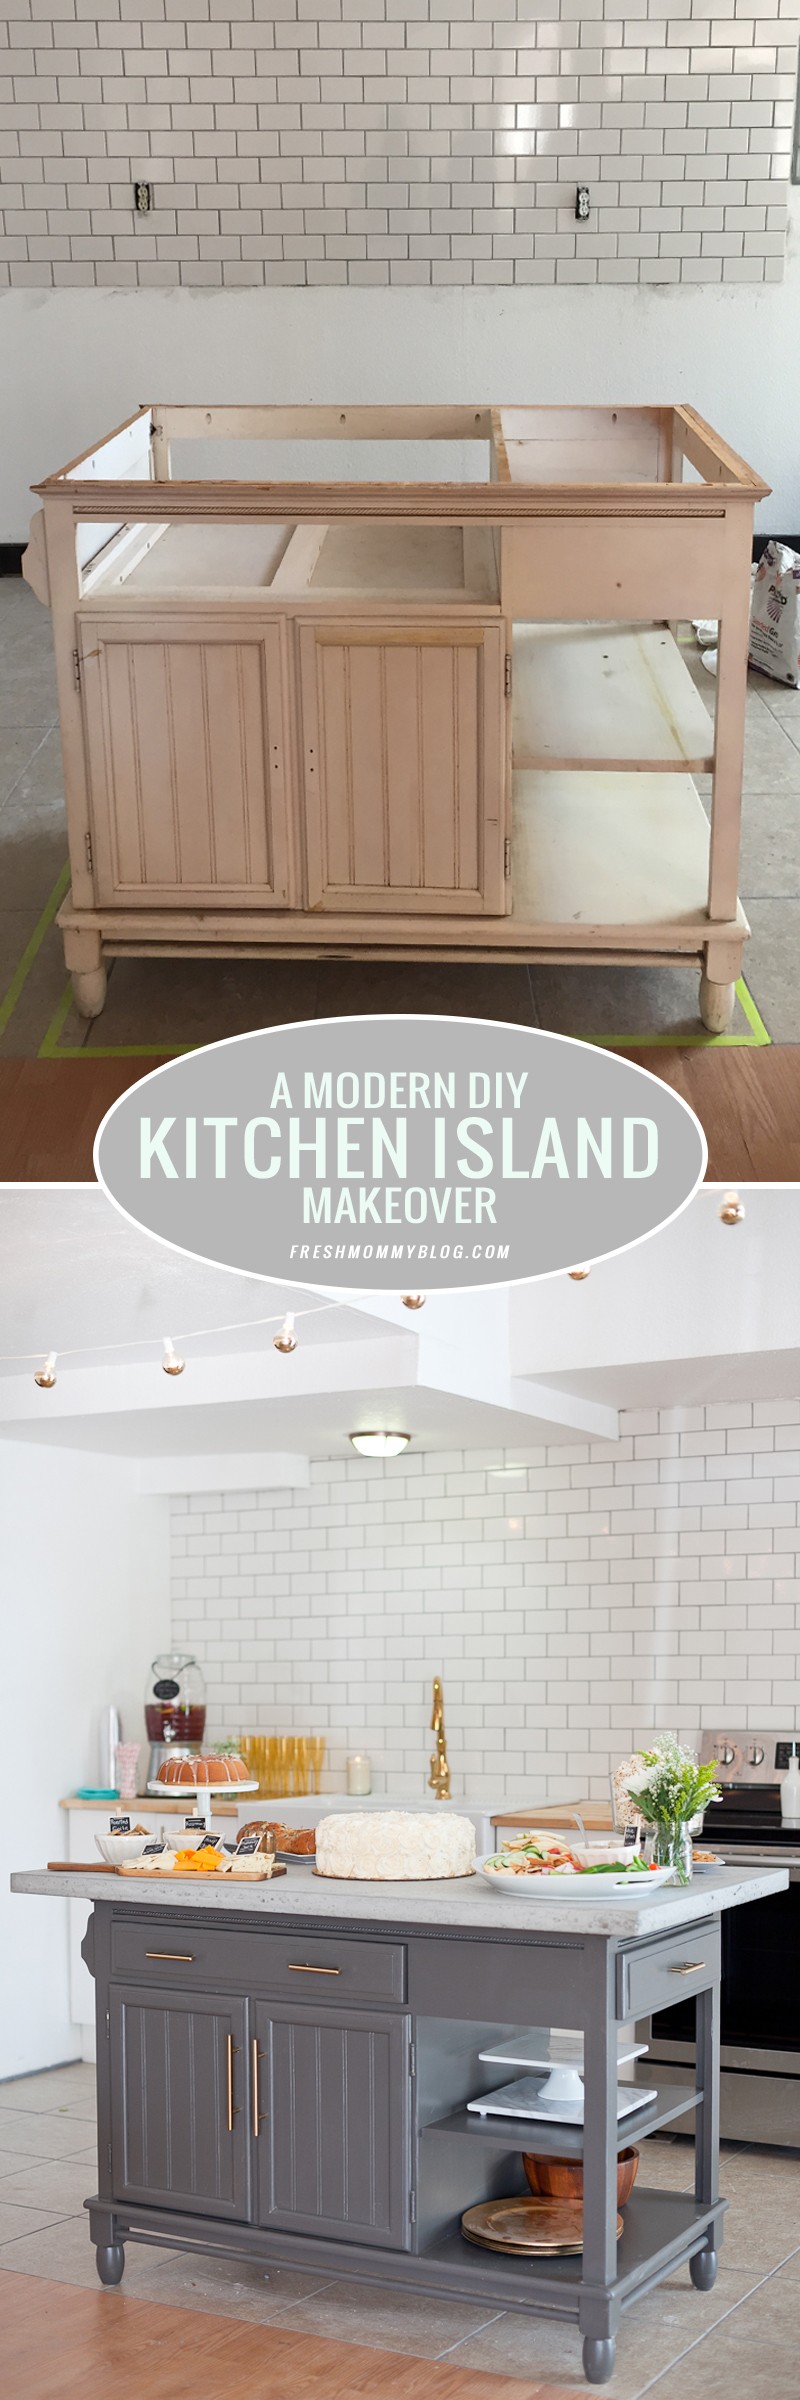
While we were planning out our kitchen space at the new Fresh Collective Studio, we knew we wanted a small island to for some major multi-purposing uses: as a kitchen island of course, as a centerpiece and serving table for food during events, as a workspace for workshops, something with a different countertop and colors than the kitchen for video and photo shoot purposes, and the list goes on.
The kitchen island also had to fit into a rather small footprint while still offering a good useable worktop, have storage and would need to be mobile, or in the least, not fastened to the floor so that it could be moved if necessary.
In keeping our needs of the space in mind, I give you our very simple and easy-to-make-happen (even for those with low carpentry skills and big dreams like me) modern DIY kitchen island makeover…

We started with this Craigslist find–that my husband found for me, thanks love!–and totally scored it for a steal. See that checkerboard pattern that is filling the bottom of the truck? Yeah, that was the countertop that came with it. We took it with us, since the previous owner needed it moved and at the time I wasn’t sure what I was going to do for a top, I just knew that I didn’t want to keep it as-is! At this point, I had started pricing out different white countertop options, like marble, granite, and many others.
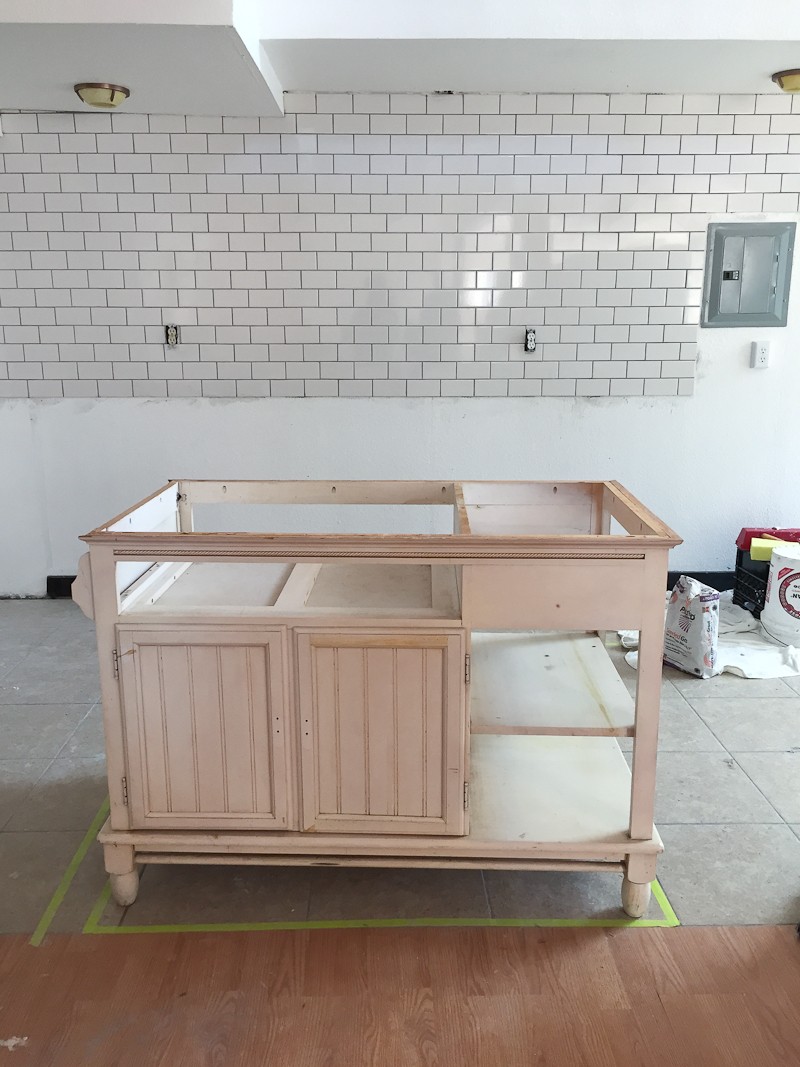

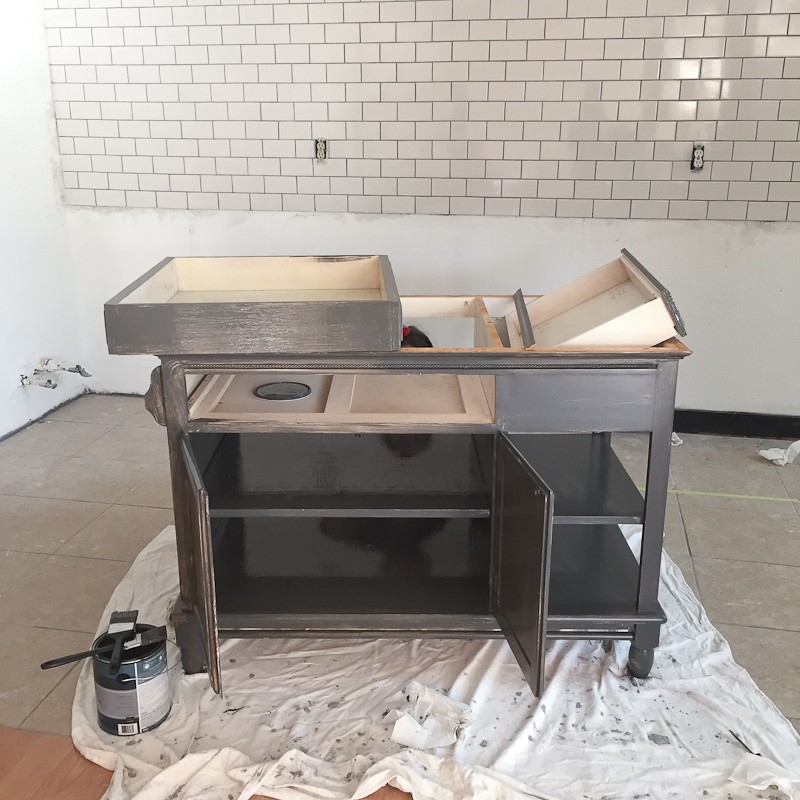
And… this is how she looks when we placed her in our under-construction kitchen space. Not that the kitchen is totally completed yet, but I just LOVE how far it’s come! Yes, it’s maybe been a little slower-going than anticipated, but aren’t all projects usually that way?
Anyway, before we picked up the island, we measured along on the floor exactly how everything would fit. In some of the photos above, you can even see the kitchen cabinets that were being built and we ended up taping off the area for the island and for the cabinets on the floor as well, just to make sure there would be enough space to walk about the kitchen. You can also see the outline or a second line on the floor around the island, this is from measuring out the size of the countertop I wanted, so yes, we took ALL of those dimensions into consideration.
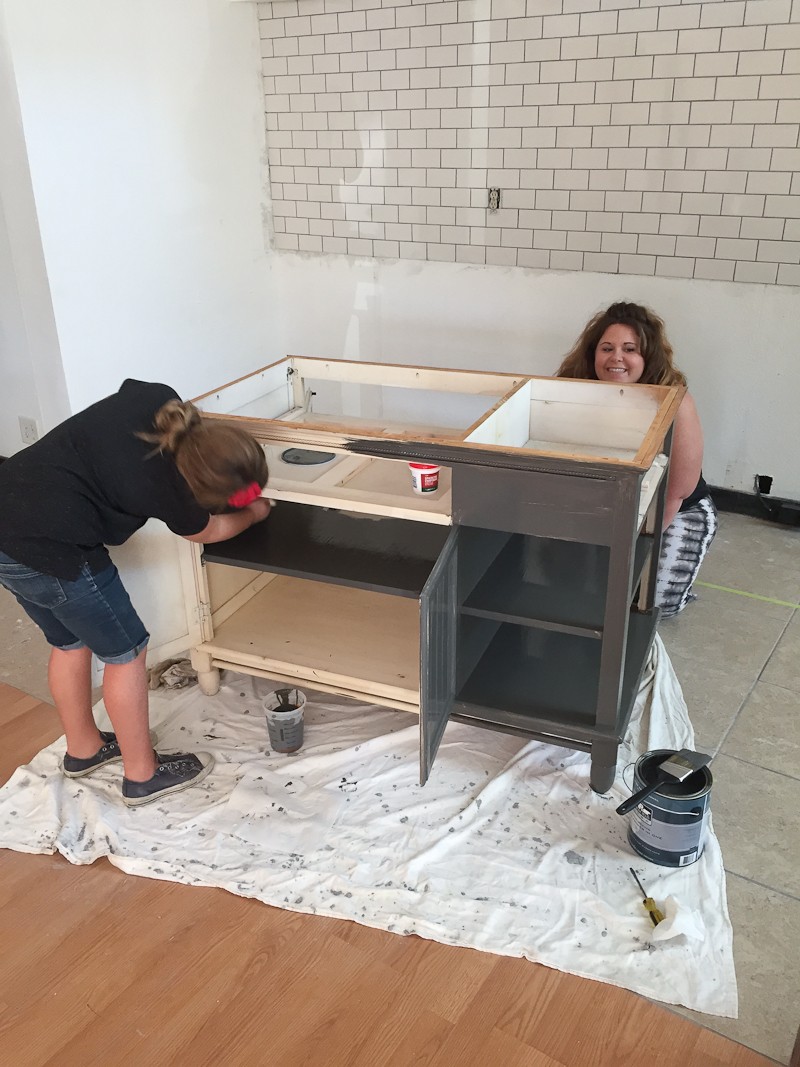
The one thing I DID know ahead of time, I wanted a rich gray for the base and a light colored countertop. Once we got the island into our space, it was time for a little DIY makeover love! I called in my reinforcements for painting, because this pregnant mama isn’t really supposed to handle the stuff. Although we kept it WELL ventilated with doors opened and the painting happened pretty quickly, so never a whiff was sniffed.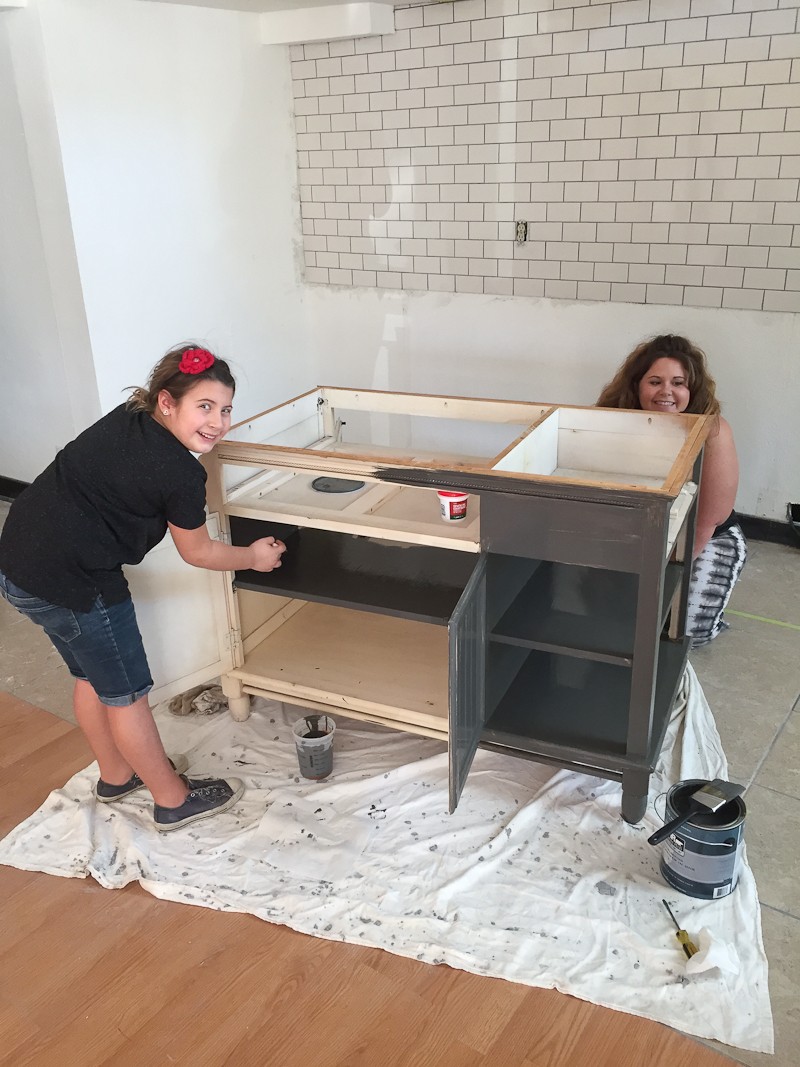
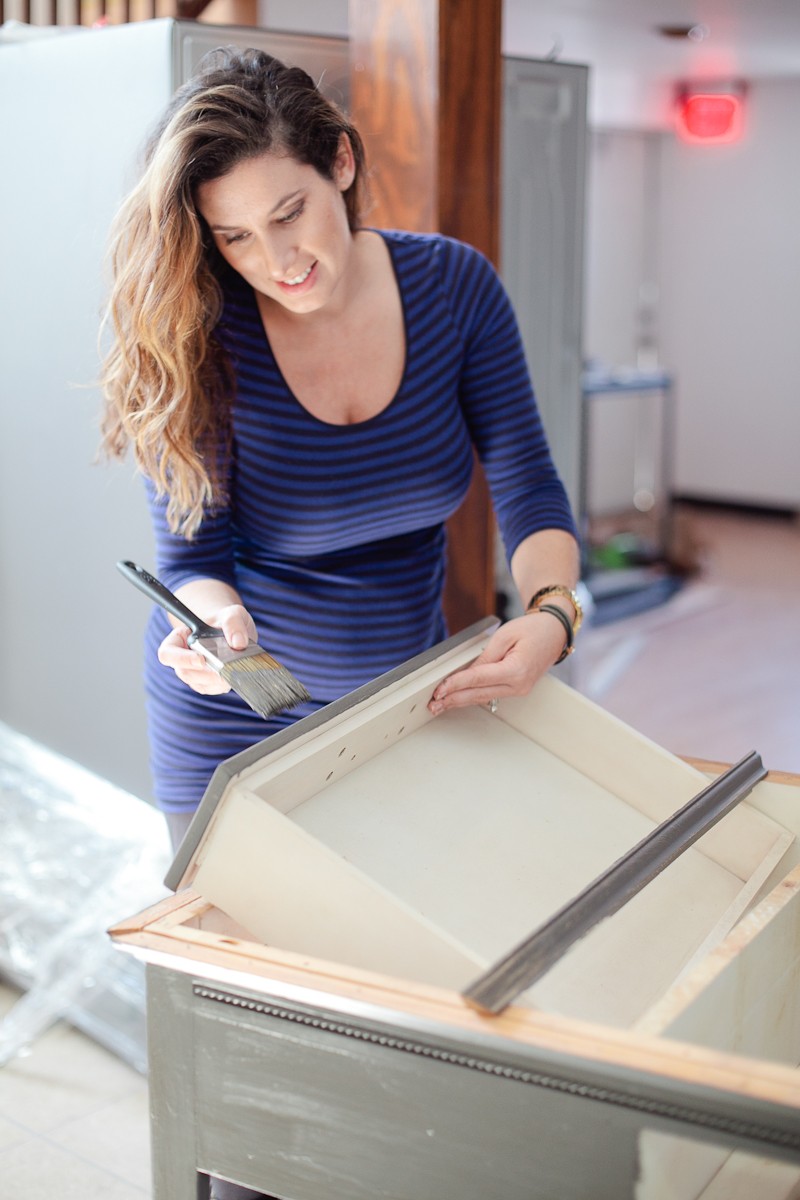

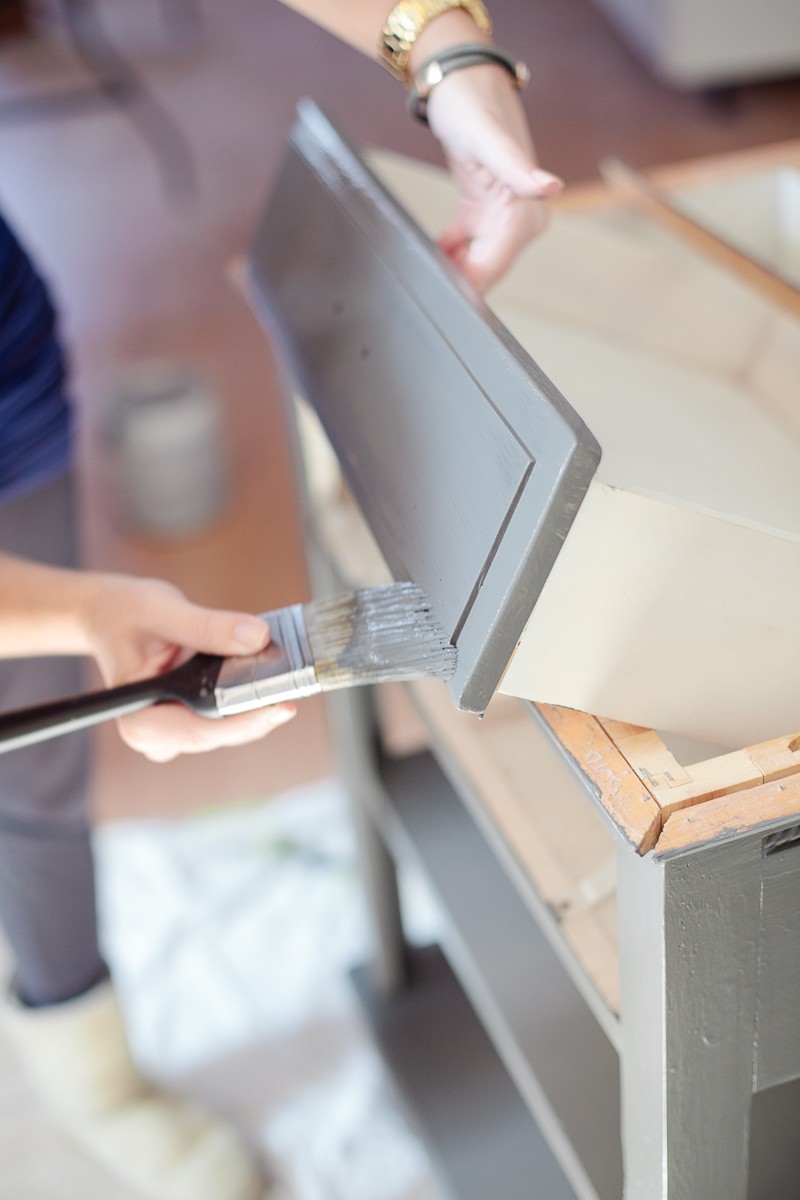
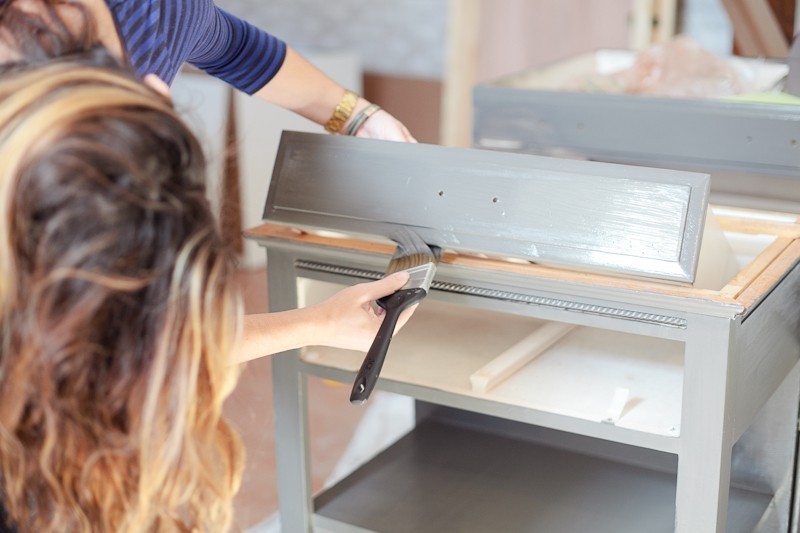
With a fresh coat of paint and a big change already made, it was time for a little glam. We used gold hardware, the same gold pulls we were using for the kitchen cabinets, just to keep it consistent with the rest of the space. Plus, the pop of gold on the gray background makes my heart swoon. Yep, totally swooning over cabinets and carpentry, oh my.
One GREAT tip I received from my studio neighbors who are experts in finding and refinishing furniture was that I didn’t even need to sand or prime before I painted! Since it was already a weathered and painted wood, and not a “sealed” surface, we just gave it a good cleaning and started slapping fresh paint on it. I did decide to go with Behr Ultra Satin in Intellectual (don’t you just love a good color name?!), because it boasts a paint and primer in one, and so far, it looks great and has held up perfectly!
Next was deciding on countertop and since all the beautiful white countertops that I had looked at definitely weren’t budget friendly, we found a friend with a different solution… a poured cement top! I LOVE how it turned out. We didn’t do it ourselves, and instead turned to a friend and professional for help, but the cost was still lower than a marble slab, and the look is so much more custom and fitting of our space.
By the way, the bathroom is still under construction and it’s being painted as I type this, but headed into that space is a custom built cabinet that my husband and his brother-in-law made which will also be painted in this same gray color with another custom-poured concrete countertop. So yeah, I really like it that much.
It feels good to knock a few things off the reno list for this space! Have you DIY’d a project recently? I’d love to hear about it!
If you liked this post, please share!
And don’t forget to pin this post by hovering over any of the images you liked and clicking the Pin It heart!
XO




Candace says
Love your kitchen island makeover; just did a kitchen overview series myself. We redid our kitchen and open it up into our dining room. This also happened while I was preggers! Dealing with the nesting instinct in the midst of a reno was tough – I hope you’re holding up ok.
Tabitha Blue says
Thanks so much Candace!!! Yes, it’s definitely harder to do while pregnant, but I guess there’s nothing like that bit of motivation to get it going right?! Haha. I’m off to check yours out too!! 🙂
Sarah says
That looks amazing!! So gorgeous!
Jennifer | The Deliberate Mom says
What a wonderful finished look! Simply amazing!
Way to go! I just love this space you’ve created. (I wish I lived closer)! 😉
Thanks for sharing!
xoxo
Tabitha Blue says
Thank you SO much Jennifer!!! I wish you lived closer as well and we could have a meet-up there! Would be fabulous!
Kristine says
it turned out amazing! Love that color and the vibe it gives off! Great job!
Tabitha Blue says
Thank you SO, SO much!!!! 🙂
Nena says
Totally amazing makeover!! Love the cement top idea!! The colors work so well together:)
Tabitha Blue says
Thank you so much!!!
Mouni Roy says
Amazing transformation in a budget, would like to try it soon! Thanks for amazing blog.
Saul says
Wow it turned out great, thanks for sharing!
Samantha says
Love this amazing Modern DIY Kitchen Makeover, love these DIYs . Thanks for sharing these makeovers.