I’m so excited to share my break down on how to paint a cement floor! We showed the full before and after transformation of our garage turned family-friendly laundry room, and one of the top questions we’ve had is about painting the floor with stencils. This DIY to our old, stained cement garage floor was one of the most cost-friendly and simple tasks of the room makeover!

Now, simple doesn’t always mean quick. Though painting the floor was a simple task, there were a few steps to make stencil painting our cement floors a successful process, but overall, it was pretty easy to do… and of course, MUCH easier and less expensive than adding tile!
Originally I was going to leave the gray cement floor and just add white paint with the stencil to give a worn, rustic look. But you know how things go in home design and room makeovers, once you start fixing things up, it just spirals, and you want to do ALL THE THINGS. We left the floor until most of the room was completed and by the time we really took a good look at the original cement floor (that was a garage floor mind you), we realized how messy and stained it was.

Chris is actually the one who picked up a gallon of grey floor paint while on one of his runs to Lowe’s and I’m SO glad he did! We also ended up painting the floors over the course of a week or so because there was a hurricane headed towards Florida during this room remodel and that meant lots of rain… it also meant that we didn’t have much room to move the washer and dryer out of the room, so we completed it in sections. Also? I was about 8 months pregnant with twins and even though I was just helping, I also moved REAAAAALLLY slow.
But back to this remodel… you can see ALL of the work we put into this room including shiplap on the walls, building a faux shaker cabinet over the breaker boxes, replacing the appliances, building a wall/cabinet around the air handler and more. For this post though, we’ll just focus on one of the focal points of the room and celebrate the fact that we PAINTED THE FLOORS… and they look amazing!
Our DIY painted cement floors with a stencil still gave the room a fresh look and left us feeling like we DID install new tile but without the price tag. We went with the Lisboa Tile Stencil from Royal Design Studio, and in fact, I had the stencil sitting in the back of the garage for months waiting for us to get around to this room makeover.
Table of Contents
WHAT YOU’LL NEED TO PAINT AND STENCIL A CEMENT FLOOR

- Painters Tape
- Floor cleaner
- Broom
- Vacuum (I prefer a shop-vac)
- Paint roller
- Angled paintbrush
- Small paint tray with rollers
- Paint cup
- Paper towel
- Tile Stencil – I used this Lisboa Tile Stencil
- Paint base coat – I used Valspar Porch and Patio Latex paint in Cement Gray
- Paint for stencil – I used Valspar Anti-Skid Porch and Floor paint in white (untinted)
- Stencil brush
HOW TO PAINT A CEMENT FLOOR WITH STENCILS
First, if you’re starting with unpainted cement, there isn’t a ton of prep needed (YAY!). Unlike painting and using a stencil on tile, which is also a great idea, you don’t have to clean existing grout or sand down the surface.
Just like any surface that you paint, you want a clean slate for the paint to adhere to. Start by sweeping and then vacuuming the floor to get up any dirt, loose dust, etc. Then run a mop over the floor for good measure and let it dry thoroughly.
Now, you’re ready to paint!
PAINTING A CEMENT FLOOR
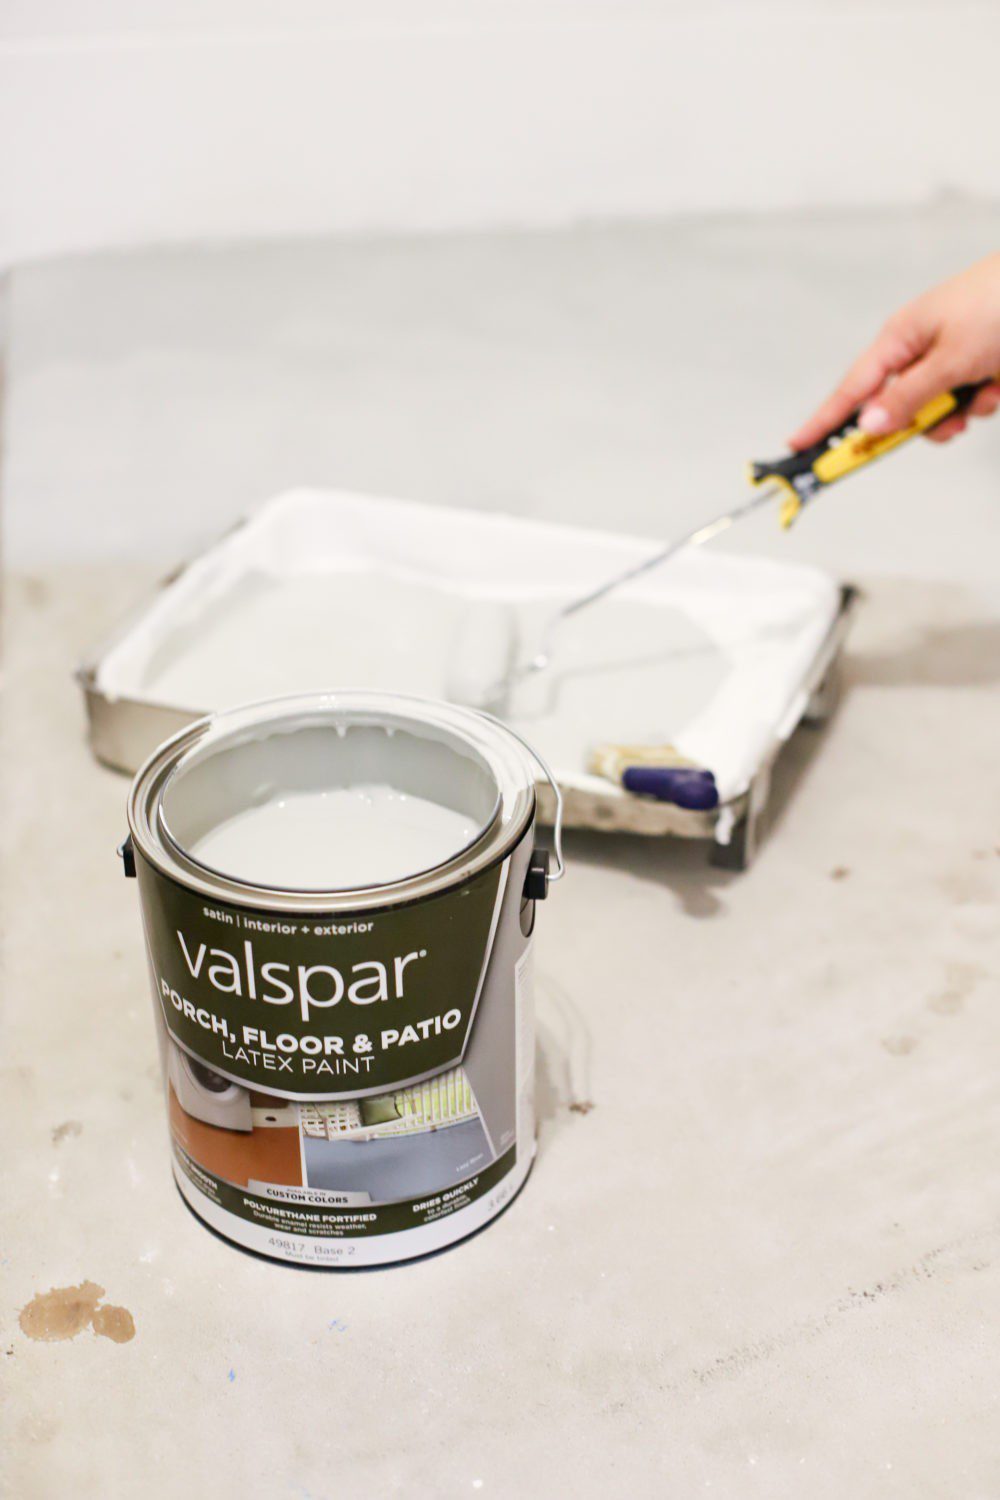
It’s hard not to jump right into painting, but first, you’ll want to tape off the baseboards with painters tape so that you don’t end up with floor paint on the walls.
Second, make sure you don’t have any debris that will somehow get into the wet floor paint… ie, keep pets away, tie your hair up into a bun or ponytail, etc.
One coat did the trick for us! It went on smoothly and evenly – and the floor paint is thicker than typical wall paint, so it covered so well with one quick coat. I also “cut in” and painted the perimeter of the floor with a small angled paintbrush as I went. Don’t forget to start at one corner and work your way towards the door to paint yourself out of the room. You don’t want to start at the entryway and then end up blocked in a corner with a floor of wet paint in front of you.
Allow this first coat of paint to dry for the amount of time it states on the can. We let our base coat dry overnight.
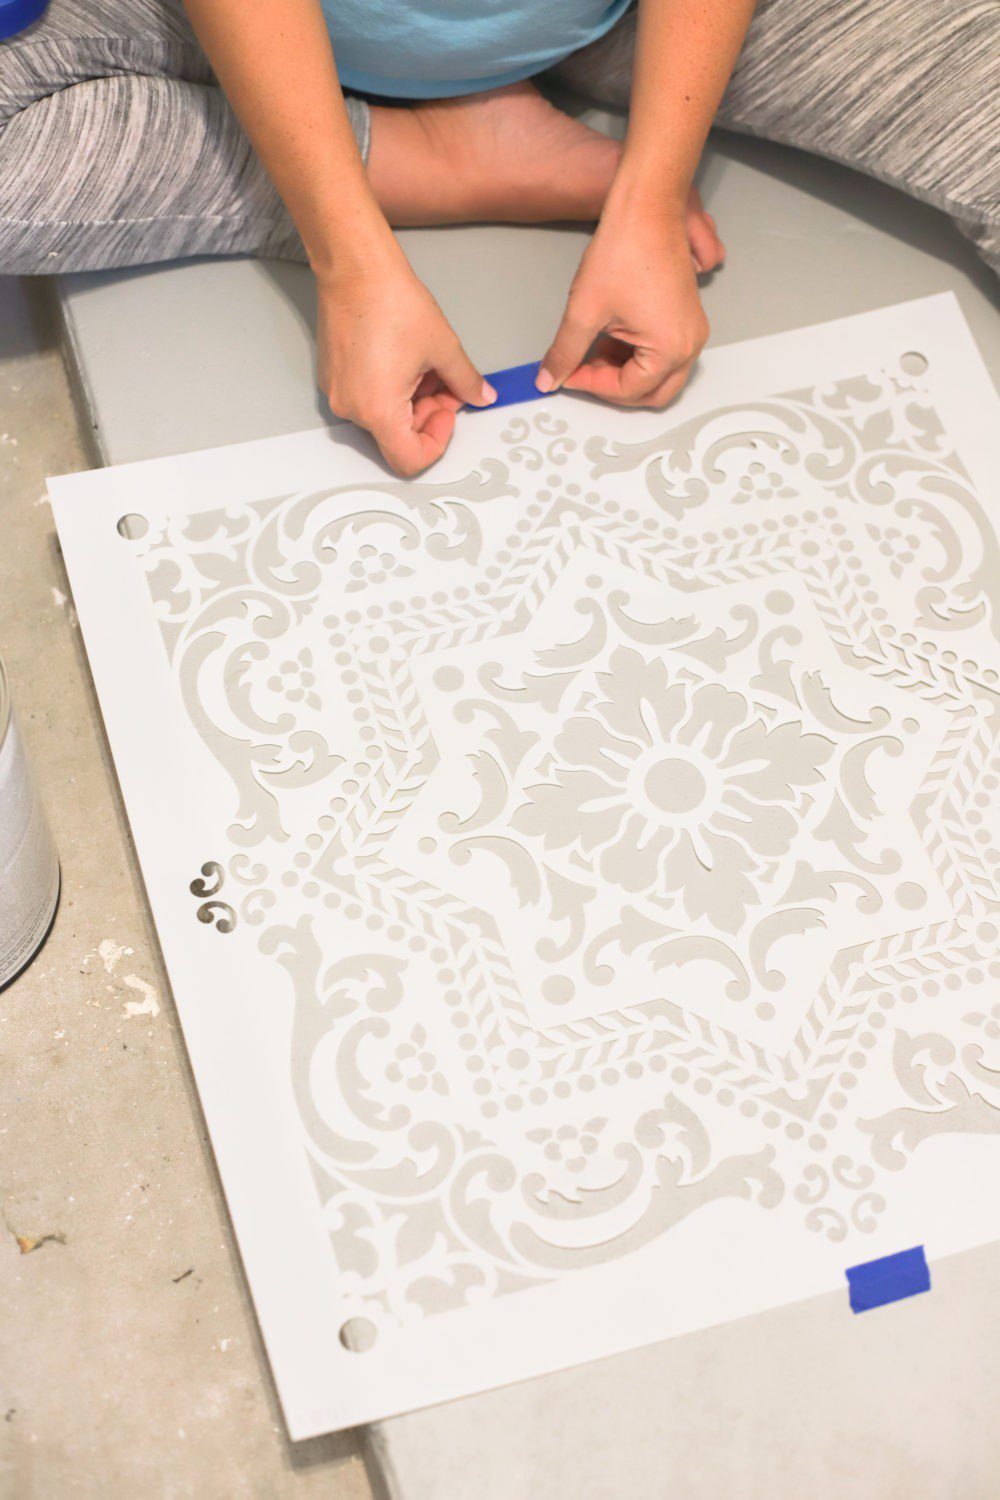

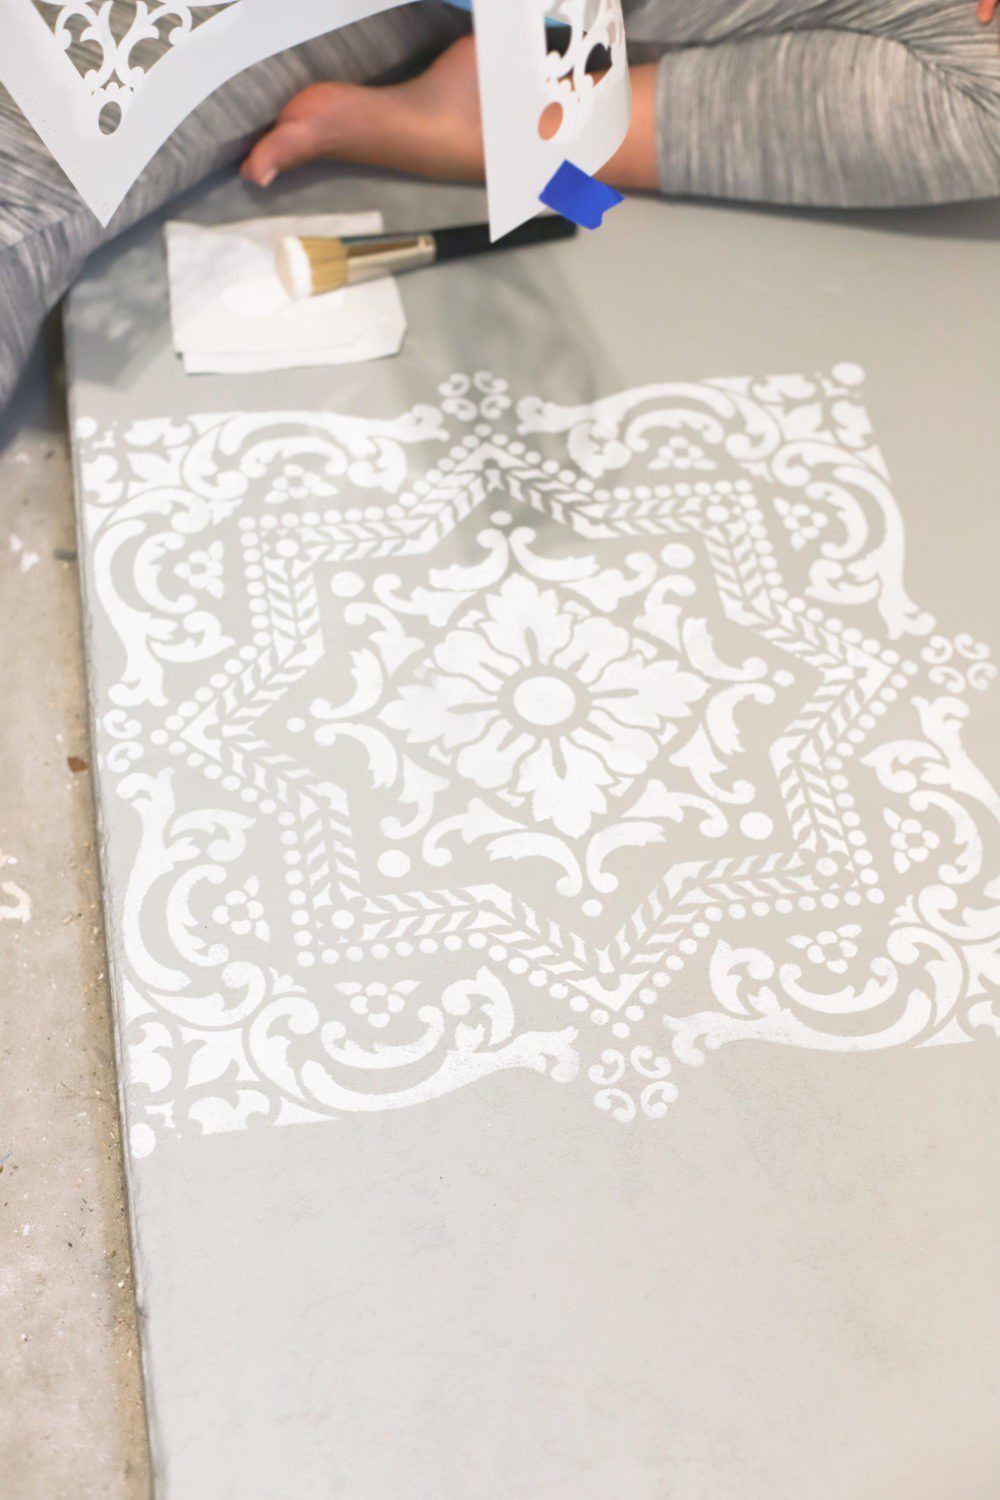
Next, it’s time to position the stencil on the center of the cement floor and secure it with painter’s tape. I didn’t use spray adhesive, as I’ve heard it can cause even more of a mess.
Load up the stencil brush with the stencil color paint and offload any excess paint onto a paper towel. Offloading, basically patting some of the paint off of the brush, helps ensure you’re not using too much paint… because too much paint can bleed underneath the stencil. It also helps create a crisp design that dries quickly, allowing the stencil to be moved quickly as well.
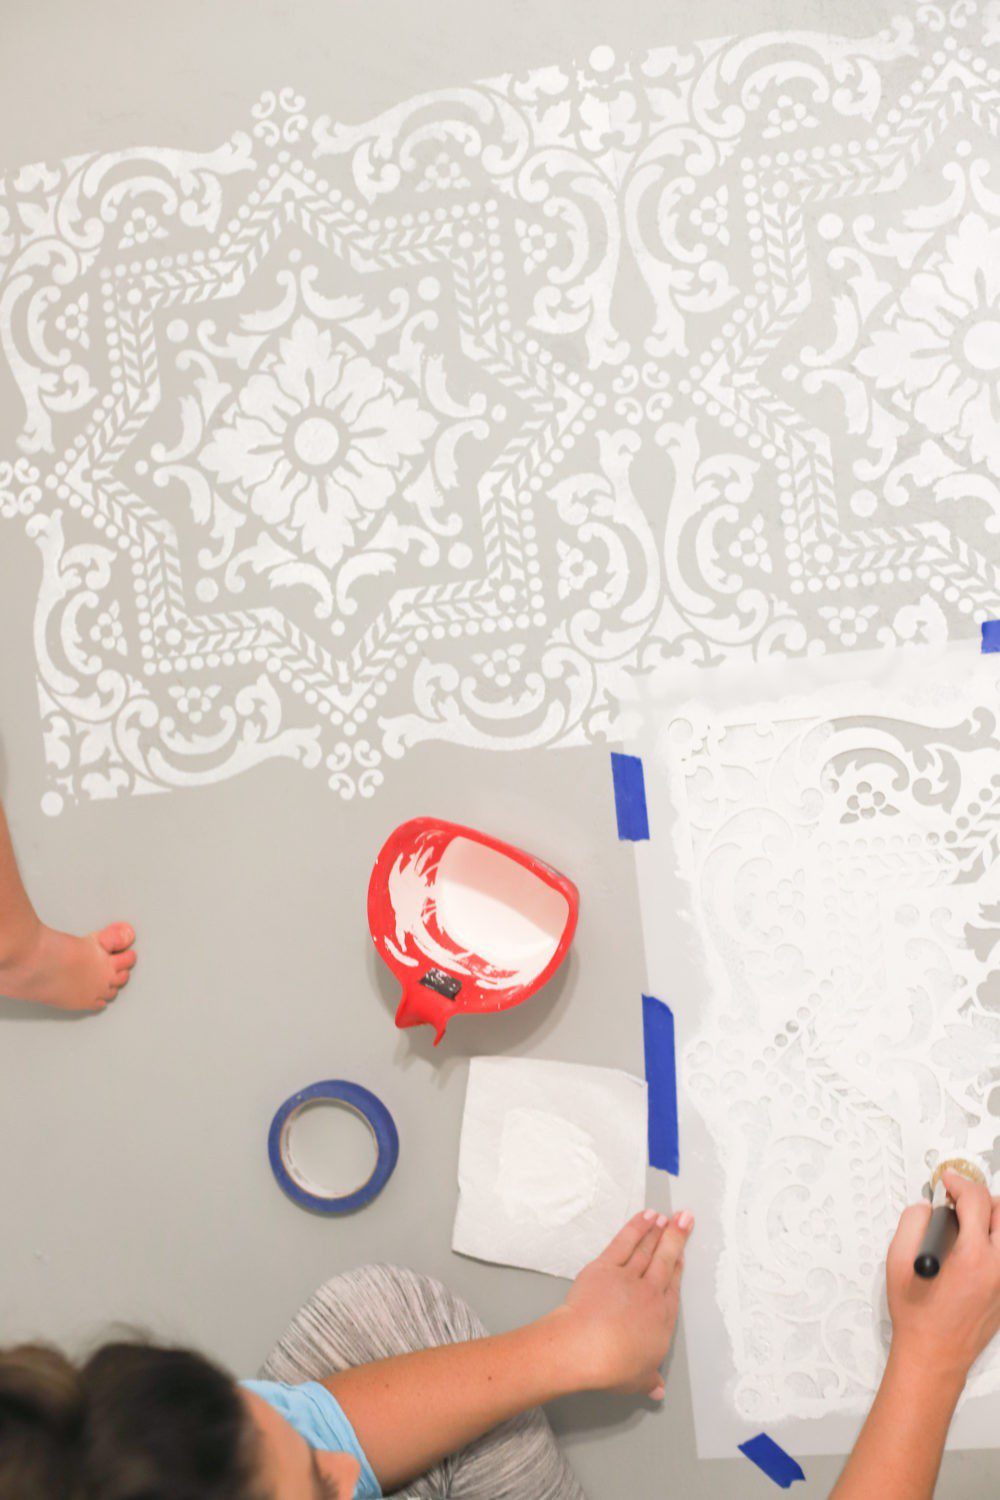
After stenciling the first “tile”, remove the floor stencil and reposition it by aligning the built-in registration marks. These registration marks make it easy to align the stencil and continue the pattern.
Once you reach a wall, make sure there is painter’s tape along the wall edge, and line up the edge of the stencil to the edge of the painted design, as usual. Use painter’s tape to secure the edges to the floor. Press the stencil into the corner with your hand while using the stencil brush to paint the floor.
This is where it is simple, but can get tedious depending on the size of the space. Just keep going! The result is so worth it.
I did have a couple of more difficult corners where our walls and the little step met up. I saved this area for the very last so that we could actually cut the stencil and make it easier to get to the floor.



Since the cement is porous, you don’t typically need a top coat once this step is complete and dry, whereas with tile and other smooth surfaces, the paint is more likely to chip and needs to be sealed. Yay for that!


THE COST BREAKDOWN OF A PAINTED CEMENT FLOOR
Below I’m breaking down the cost of all of the items we used. Of course, the cost will be significantly lower if you have a few items on hand, like painters tape and a paint roller, etc.
- Products to clean the floor – Should have on hand
- Broom – Should have on hand
- Vacuum (I prefer a shop-vac, but any vacuum will work) – Should have on hand
- Paper towel – Should have on hand
- Painters Tape – $6.29
- Angled paintbrush – $6.17
- Small paint tray with rollers – $8.45
- OR Handy paint cups – $11.99
- Tile Stencil – Ours was $59.95
- Stencil brush – $16.75
- OR these stencil brushes – $6.59
- Porch and Patio Paint x 2 – $70 ($30 for standard, $40 for anti-skid)
TOTAL COST: $179.60
Again, this cost is lowered if you already have some products or tools. We also opted for anti-skid paint as the top layer of the stencil to keep the floor from getting slippery if wet. It’s probably not a necessary addition, but with so many kids running through our house, we felt it was a good idea. The great news is that this option is SO much less expensive and labor-intensive than installing new flooring.

Q & A
How well did your stencil hold up? Did you use more than one?
Our stencil held up really well, and we only used one. We did, however, cut the stencil at the end of our project to get into some tight corners, so we can’t reuse the stencil again.
With the anti-skid paint, it did start to get a little coated with the grit, so towards the very end, it was quite a crisp, but overall, it’s not noticeable.
Is it smooth or do you feel the texture from the stenciled paint?
With the anti-skid paint, our floor has a slight texture, as well as concrete isn’t as smooth as tile, to begin with. If you want a smoother finish, skip the addition of the anti-skit grit.
Would you try this in a high traffic area?
I believe so, this is also a question I can follow up with at a later date. So far though, it seems to hold up really well!
Can you use a smaller stencil?
Yes! You could use any size stencil you’d like and there are some really pretty designs in all different sizes. The smaller stencil would just take a little more time, and give a smaller, more frequent pattern.
How do you clean the floor?
Just sweep and mop like you normally would. Once it dries, it’s water-resistant.
Will this work on tile?
Absolutely! There are just a few more steps with tile, cleaning, sanding, cleaning again, and primer… before painting. And then you’ll want to seal it with a few coats of clear matte polycrylic after painting.


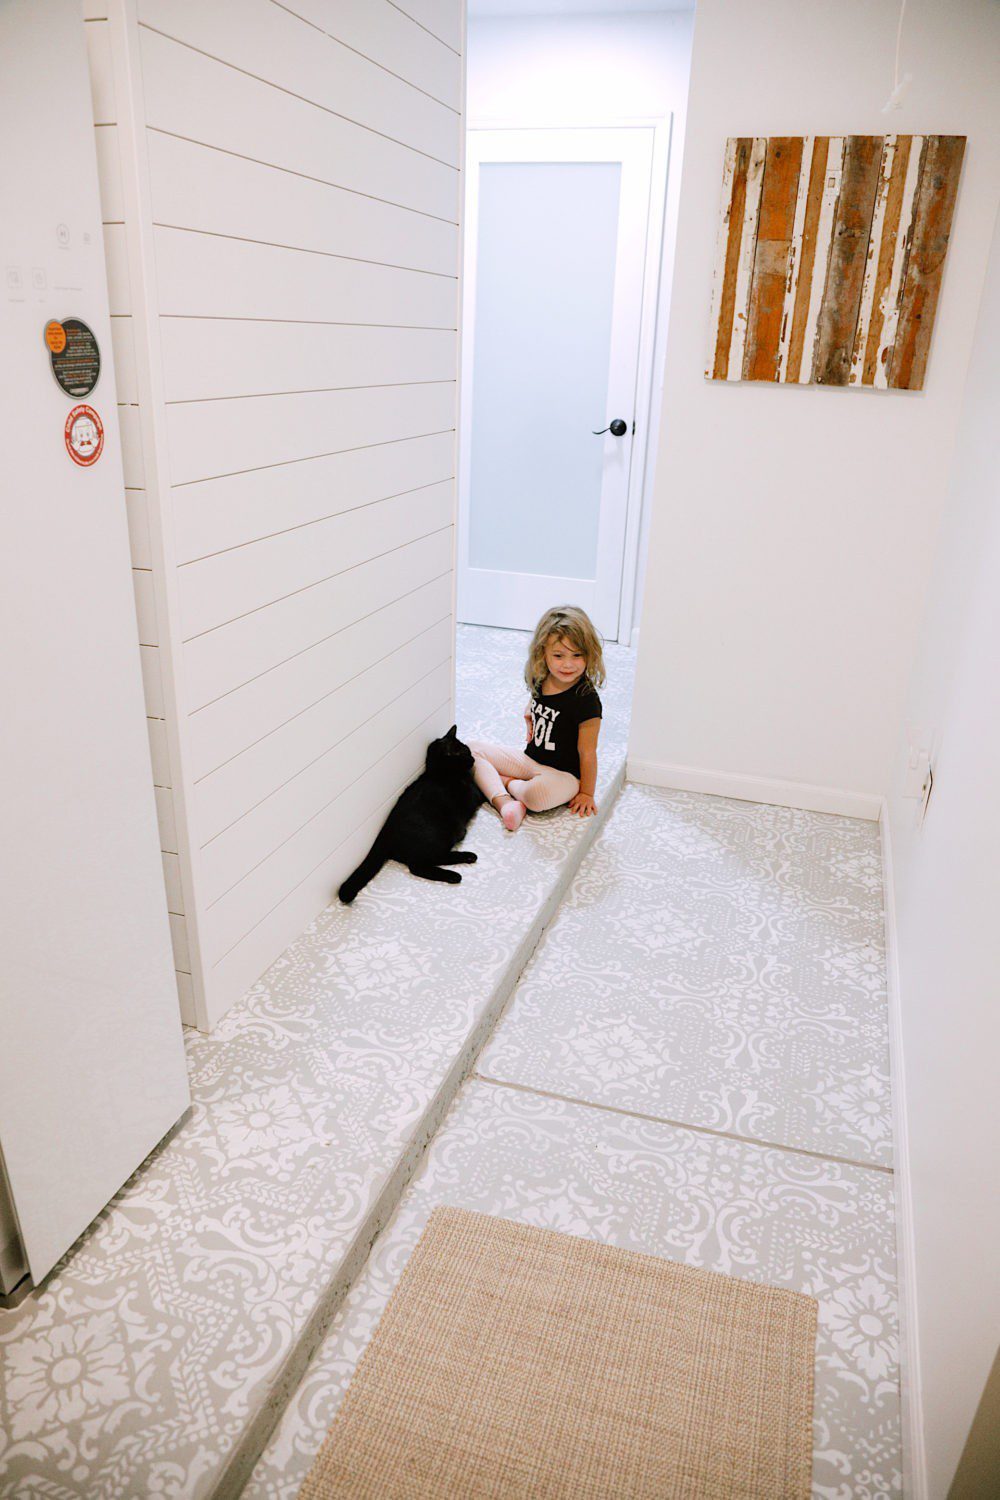
Did you like this tutorial on how to paint a cement floor? Is this something you would try in your home? Share in a comment below!




Rupohi says
So nice of your article. Its well defined and informative. I will definitely visit your blog again. Thanks –
Katty Balle says
From plain and boring to instant chic and elegant. Love what you did with your laundry room. Thanks for sharing such a great idea too, and for opening my eyes to stenciling the floor. Because I’ve never tried that before, and now I will.
Taylor says
So helpful! I’m about to start this project on our laundry room floor. How long did you wait for the paint to dry before taking off the stencil?
Tabitha Blue says
It was pretty immediate actually! The paint dried quickly and I didn’t wait for it to dry fully before removing the stencil.
kumar says
wow, awesome article……