Don’t forget to share your makeover.
He said it as we loaded up the back of the pickup, sliding in the old trunk before carefully making sure the wooden spindles of the highchair were safely stacked.
I won’t, I chimed back. Sharing is what I do, came the words, whispered under my breath.
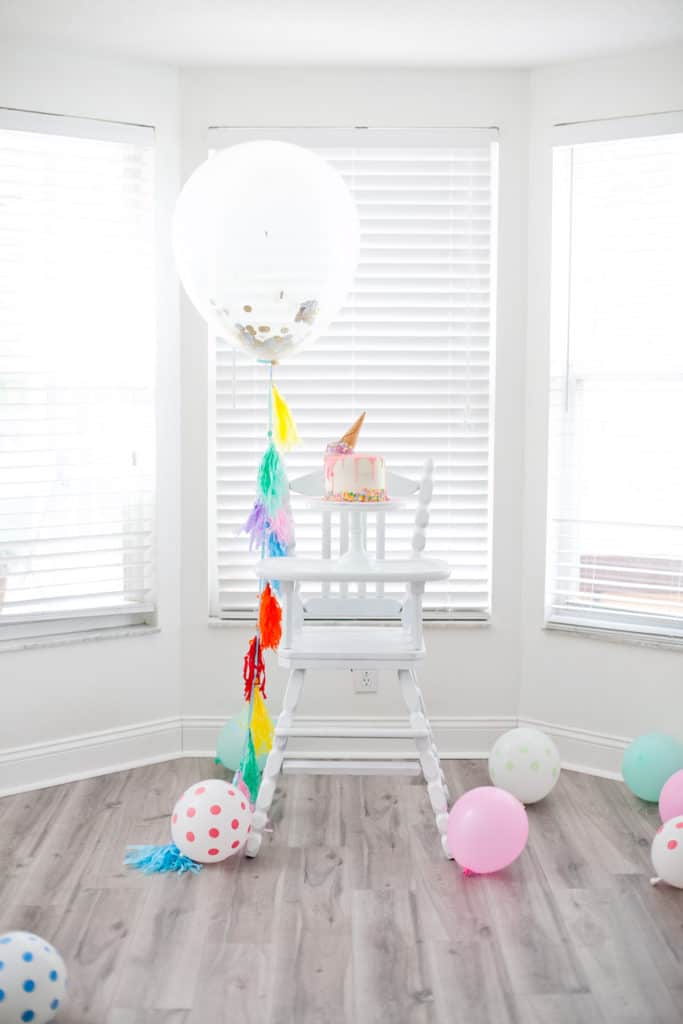
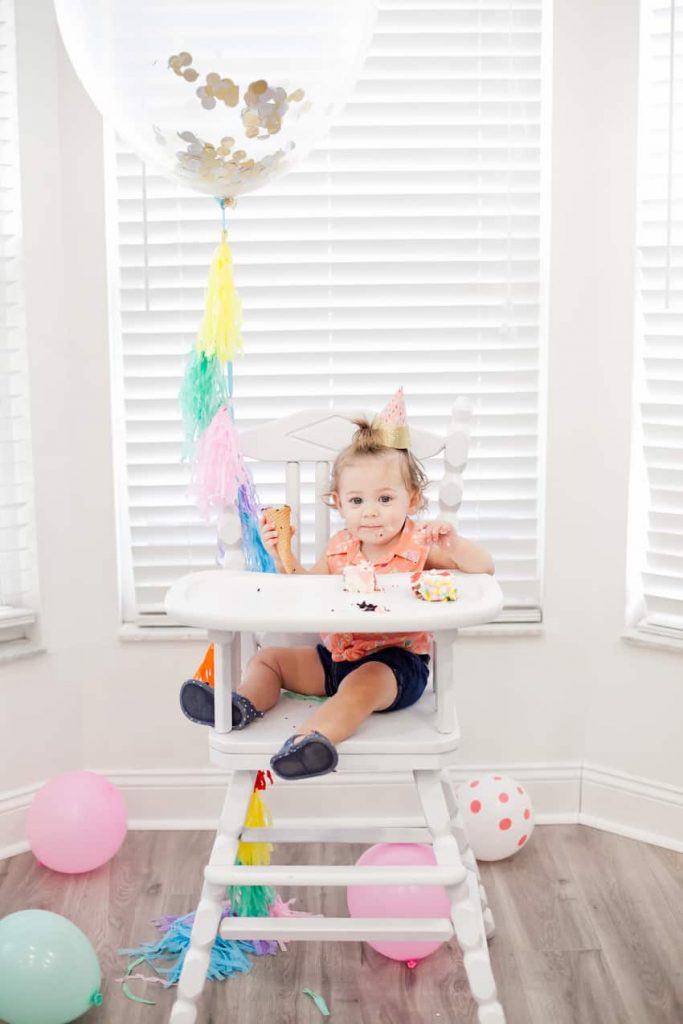
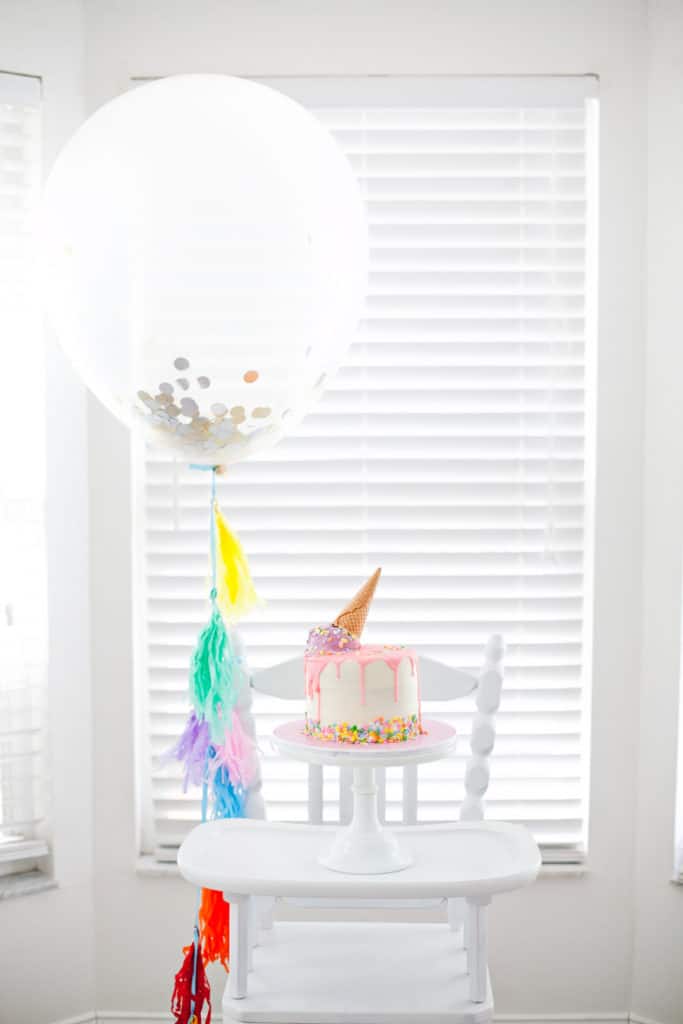
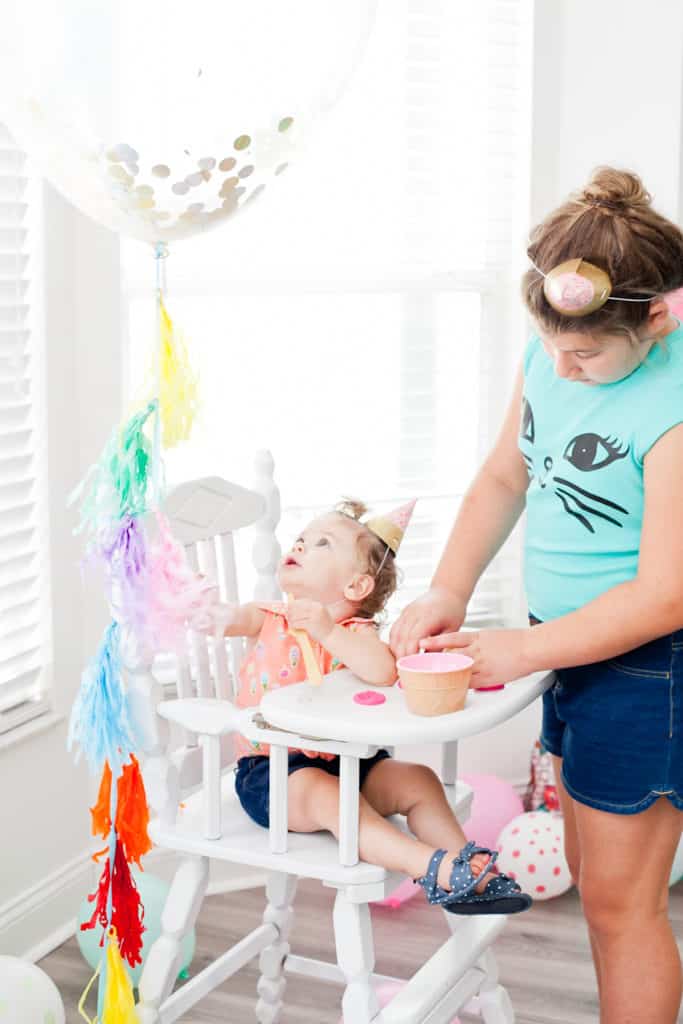
We pulled out of the antique shop, our vintage find ready for it’s next journey. The plans were already made. I knew what the final product would be, I just wasn’t exactly sure how I’d get there, yet. Like navigating fresh waters, it was exciting, and yet I had to find my way down the right path. The end result was close, tangible… a white, classic, wooden highchair for my daughter’s first birthday, an ice cream social. A pseudo present for her, and for myself. She needed one, and I wanted something that fit right in with our style (and birthday photos, of course).
It really was easy to accomplish though! As much as I love DIY and makeovers, I’m such a results oriented person at times and don’t typically like to wait forever to see them. So when I say easy, I mean it was easy and fast.


Cleaning
Prep is the key to a good paint job, especially for paint that lasts! Giving your wooden high chair (or any furniture for that matter) a good cleaning helps you to see if there’s any damage that needs to be repaired, frees the wood of any dust or particles that will prevent paint from adhering (yes, it totally happens and it’s NOT fun to deal with after you start painting) and gives you a clean slate to begin.
A damp rag usually does the trick, but Murphy’s Oil Soap or even standard dish soap can work, just make sure you don’t leave the surface soapy.
For our high chair, I also detached all of the hardware prior to cleaning it. If the hardware needs cleaning, just put it in a bath of white vinegar and let it have a good soaking! Ours wasn’t bad, so I just wiped the pieces down and set aside until after painting was complete. This process was so much quicker and easier than trying to “tape-off” the hardware and left us with a clean, more professional finish. Side tip: it doesn’t hurt to take photos of where all the hardware goes, if you have a lot of pieces, it can save you time in the end.
Sanding
Depending on the treatment you’ll be doing to the highchair, and the condition that it’s in, some sanding may be needed. Now remember, I mentioned that this is the easy way to refinish a high chair, but I also want the paint to last and the finish to look complete! If you’re re-staining, then sanding is a must. For a paint job, it may not be necessary.
On our highchair, the tray had layers of previous lacquer that needed to be sanded down, however the rest of the chair was pretty much ready after a good cleaning. I did lightly sand the very top of the highchair (and honestly I think it had to do with all of the grease from being touched over the years; actually kind of gross to think about, ha!), but the rest was ready for paint, even without sanding. The tray however was a process and I actually used an electric sander to get the job done quickly, but a sanding block or piece of sandpaper and some elbow grease will do the trick as well.
After you are finished sanding, make sure to wipe down the chair to remove any last bits of dust.
Priming and Painting
This is where the easy part really comes into play! Instead of priming with a brush and then painting with a brush, we did it all at once with a paint and primer in one spray can… and it was SO easy and so quick… with no brush strokes to worry about. Just make sure to hold the can a few inches away from the surface and give it light, even coats.
While my family splashed and played in the pool, I stole a few moments away for a coat of paint, went back to them for the few minutes that it took to dry in the sun, and repeated the process. Since I was doing the priming and painting all at once, I made sure to do two coats of paint, and in a few areas, I even went over it a third time to give it that smooth, even, high gloss coverage.
Once all the coats of paint were dry, it was time to seal it with a clear coat of lacquer! Because I used another spray can, the job was done quickly and in our Florida sunshine, it dried quickly as well.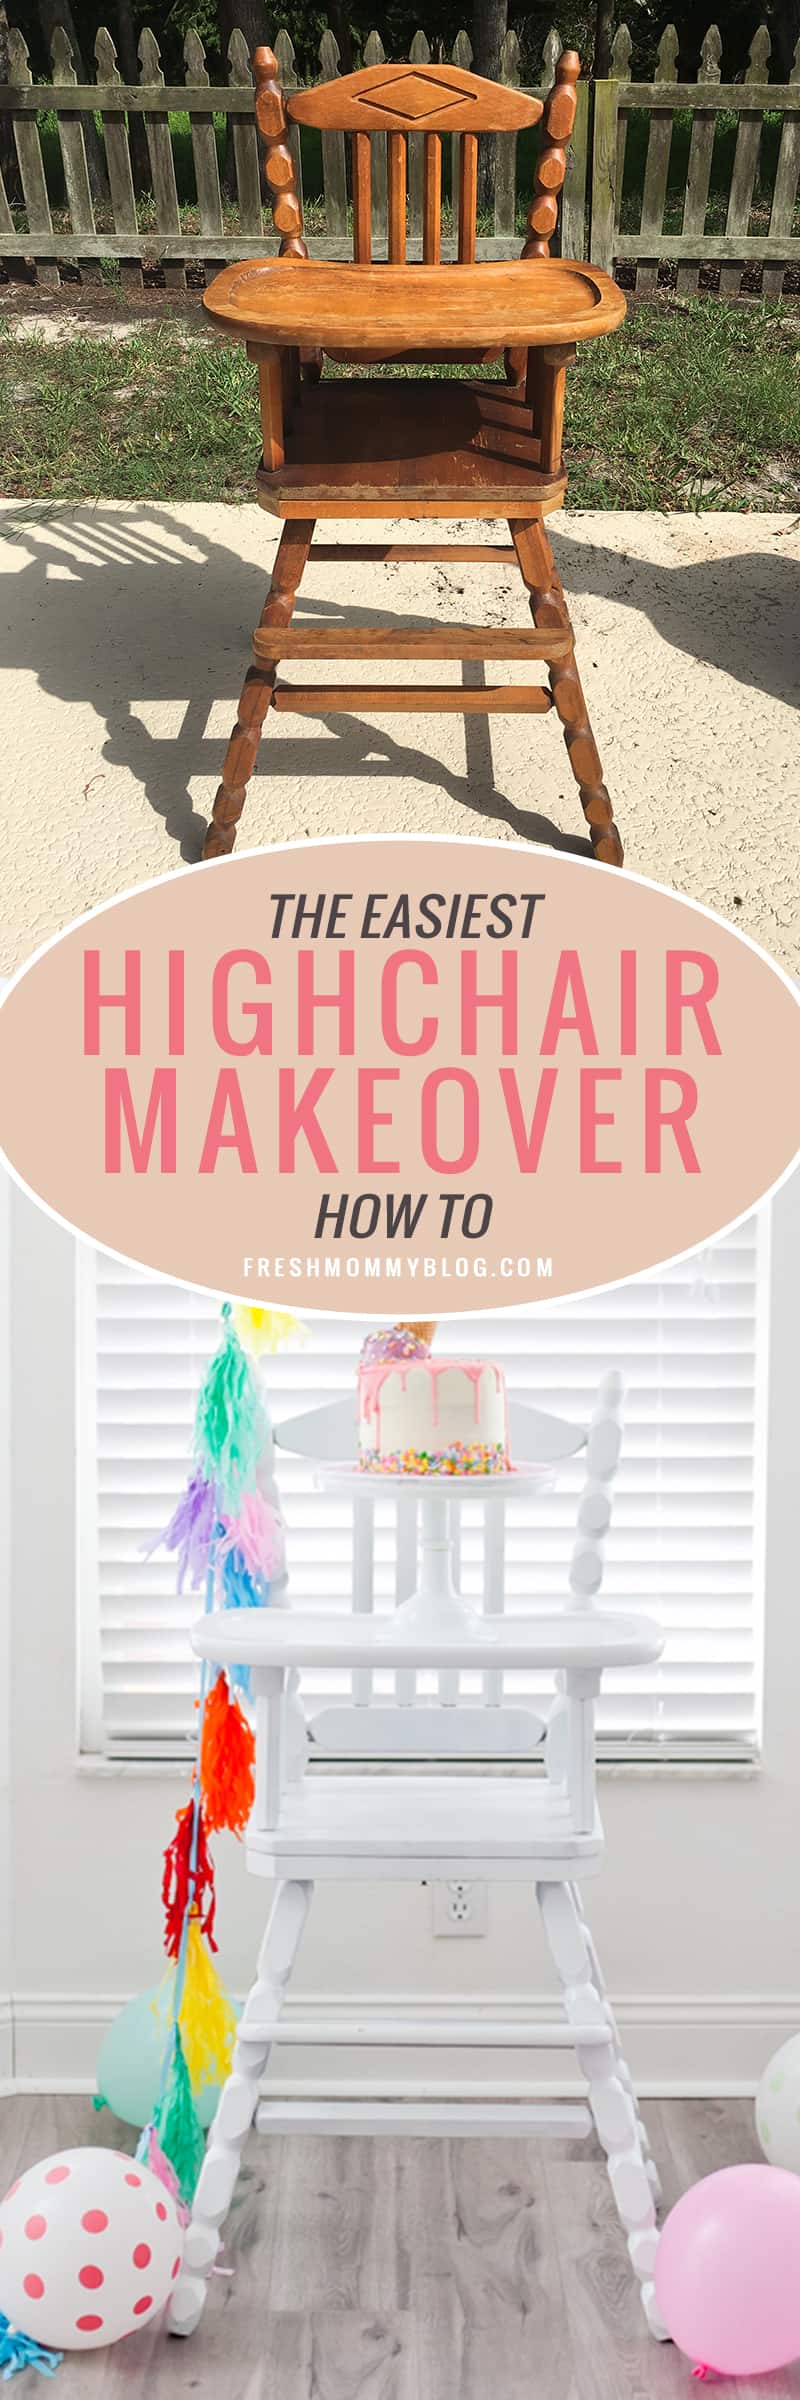
Now, as a disclaimer, I will say that because I don’t plan to cut or heat food on the actual high chair tray, I was comfortable using spray paint and lacquer on it. There are food safe options for sealing the highchair if you’d prefer to keep the wood look, however I definitely wanted the white, glossy finish.
Six months later, and our birthday girl’s chair has held up well! I’m so happy and so pleased with the results! Or course, I didn’t do anything special or out of the ordinary for this, I’m just sharing the simple steps I took to achieve the results that I wanted and I have to say, a good cleaning, a light sanding only in the places that needed it (areas that felt sticky or gunky even after cleaning), and spray paint made this an easy task!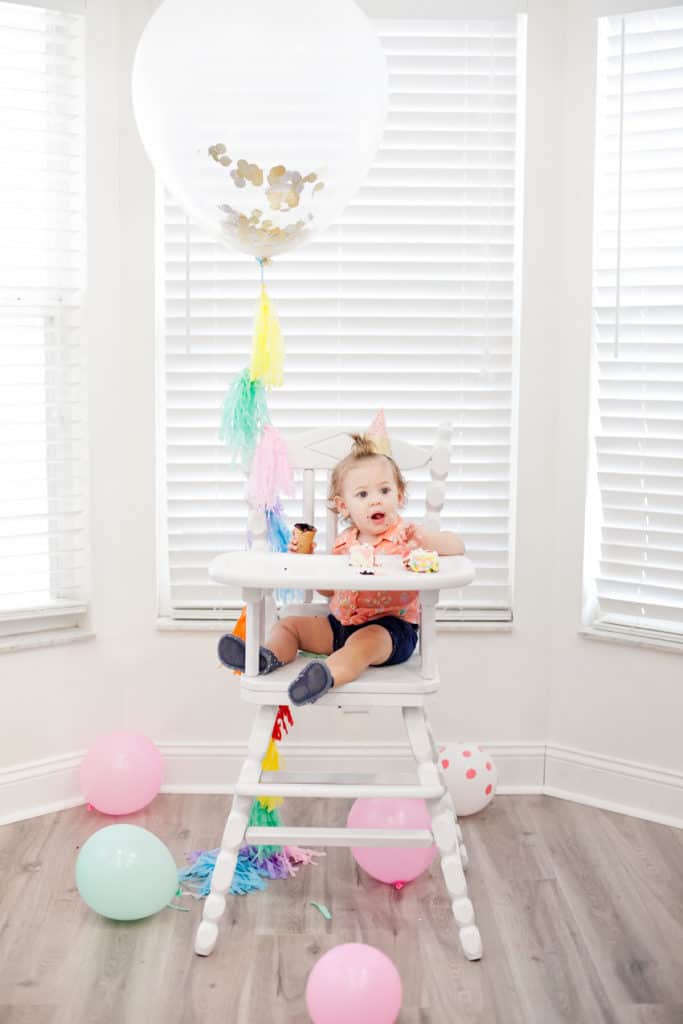




Tiffany says
Wow, these pics are amazing and the high chair looks great!!
Adree | The Keele Deal says
I love it! The highchair looks amazing. Now I’m going to be on the hunt for something similar!
April@LoveOurRealLIfe says
Your highchair turned out great! I love creating new life with old furniture ☺️
Vicki @ Babies to Bookworms says
It looks so pretty in white!
Belle says
These are such great tips! It makes a whole world of difference after painting it white! I prefer the white better!
Belle | One Awesome Momma
Bethany says
The high chair is so darling painted white! And it looks so perfect in the birthday pictures. Awesome job!
Kelly Plante says
Thanks for sharing! I have my childhood highchair and have been meaning to repaint it…you have given me the motivation to finally do it!
Nicole says
I love it and it looks like a million bucks mama! Ice cream social is such a cute idea too!
xo, Nicole
Vito says
Thanks, it’s very informative
Melvina says
Thank you for the terrific article
Jenny says
It works quite well for me
MIke says
Amazing job on the high chair. You got me on the lookout for a vintage high that can makeover for my coming soon grandkid.
www.garnernews.Net says
Thank you for the great post