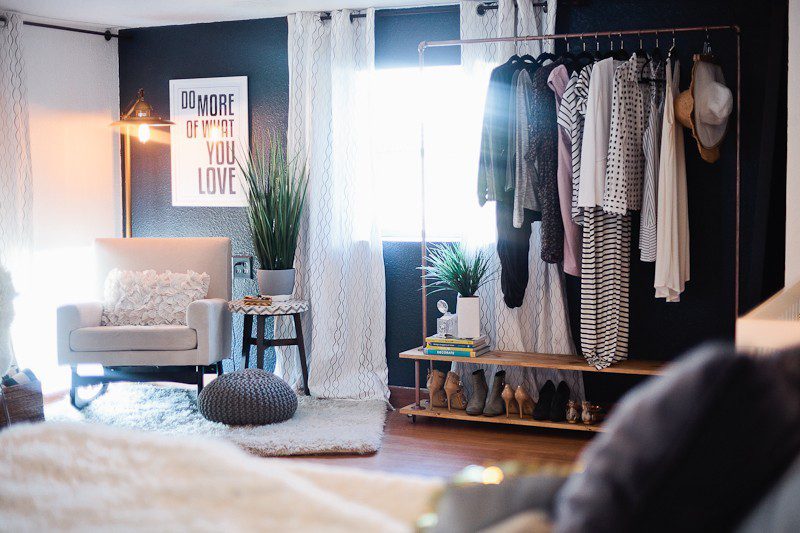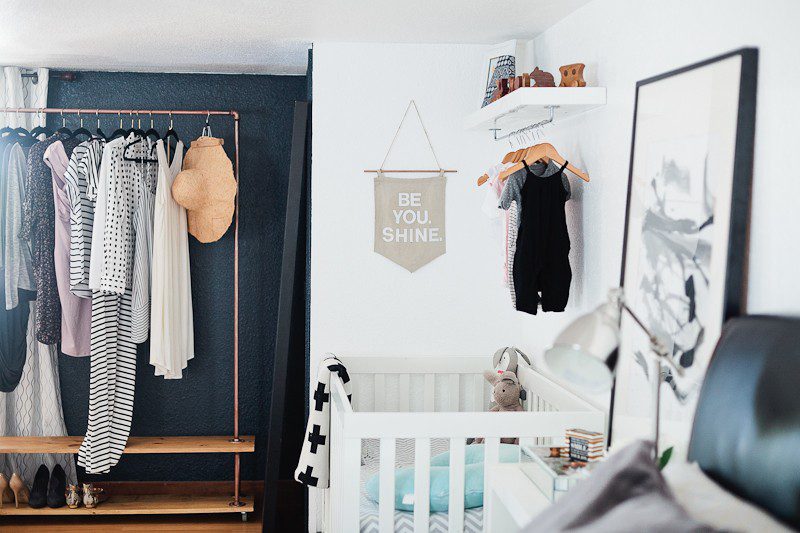
We’ve been having a great time through all the remodeling projects happening at the studio and in our own spaces. And with so many DIYs to keep track of, this DIY Garment Rack keeps making it’s way to the top of my favorites list, along with our rolling DIY coffee bar cart! Actually, we made both the Garment Rack and the coffee bar cart around the same time, since they are built in much the same fashion…. and a big plus, I was able to spray paint ALL of the piping at the same time for both.
That also meant, I sure had a lot of pipe to paint, and I’m glad it’s done.
This garment rack was one of those projects that was fairly simple to put together. Especially with a little help, okay a lot of help since I was pregnant at the time, it came together quickly as well! And now it’s been a lifesaver in helping to keep a clean and organized space. 


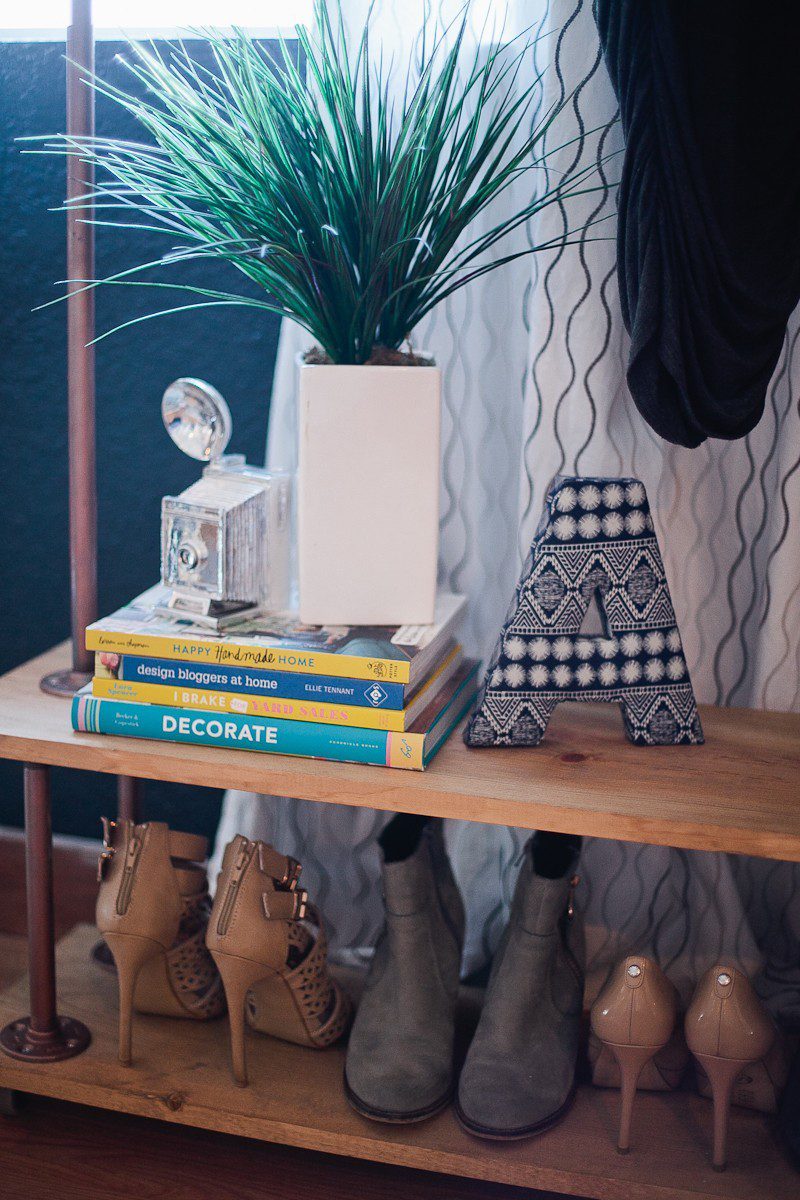
Thanks to my babies, we took some time in the sunshine to put together the small pipes and flanges for both the rolling DIY garment rack and the DIY coffee cart, and we spray painted them all. Then it was just getting a box of screws and a power drill to put it all together! We ended up making one garment rack with one shelf and a second rolling garment rack with two shelves… because shoes. 😉 Read below for the step-by-step instructions on putting together your own rolling garment rack!
Rolling DIY Garment Rack
Item list:
1 – 1x12x6 board (
3 – 1/2″x 5 foot black pipe
2 – 1/2″ elbows in black pipe
2 – 1/2″ black floor flanges
4 casters
#8 3/4″ screws (24qty)
Pre steps: cut 3 pieces of wood to 54″
*You can option an extra bottom shelf by adding one more 1x12x6ft board with 4 – 1/2″ x 12″ pipes and 8 floor flanges.
Directions:
1. Sand down board corners and edges as preferred.
2. Wash and paint pipe. (I used a copper spray paint for this garment rack).
3. Stain wood.
4. After all parts are dried, screw the flanges to an end of two of the long pipes.
5. Add elbow to the other end of the pipes with a flange.
6. Using your remaining 5ft pipe, attach to the elbows, forming a horseshoe shape with the three 5′ pipes and set aside.
7. Choose which side of board will face down and attach casters with screws on each corner at 1″/2 from each edge.
*If adding the extra shelf, use the 4 small pipes with a flange attached to each end and as columns for the second board before attaching the final 5ft pipe assembly. Screw the columns in place to hold securely.
8. Once the casters are attached to the bottom, hold the preassembled 5′ pipe piece in place, centered on your board. Screw into place to hold securely.
Congratulations you now have a portable garment rack!


You can also see how we made the easy DIY nursery wardrobe shelf as shown above! That was a fun little project too and all of it works together to create a more organized (and fun!) space.
What do you think? Have you seen garment racks that you like or have you tried your hand at making one yourself? If you happen to make one like this, I’d love to see!! Just tag me on Instagram or Twitter so I can see it!
Like this post? Just click the heart when you hover over the images to Pin It and save for later!


Name (required)nancy reyes says
What a great idea, and seems so easy to do and make
[email protected] says
THAT is super cute! I love it and look how easy it is to make! I think I found a new project for my husband!
Christine - The Choosy Mommy says
This is a great idea! My mother in law actually just bought a rolling garment rack for all of my daughter’s dress up clothes at her house and I am sure she paid a lot more than what she could’ve made one for!
Cindy Ingalls says
Such a smart idea for those with a lack of space. I also think it would work great to help you plan out your outfits for the week. I love the modern and clean design.
Liz Mays says
Oh that is the coolest! Great work! I’d love to have something like this in our home.
Elizabeth O. says
I really admire how patient you guys are for making these on your own. I love how the garment rack turned out, it’s so functional and it fits the room perfectly as well!
Chei says
This is so creative. Thank you for sharing.
Akhil Sharma says
Nice and very useful idea. I usually fail at “being creative” as it always transforms into a mess. For me, it is like you imagining and desiring something beautiful, and getting something aweful
Annemarie LeBlanc says
Your DIY garment rack came out beautiful! It would really help with keeping stuff more organized. I am amazed at how well you work with tools to put this together. I wish I could do some DIY projects like this too.
Nicole Escat says
Wow, that looks so neat! I want to make it too, I hope I can really make one!
Ryan Escat says
That rack looks perfect for our bedroom. I will make our own and I am so sure my wifey will love it!
Kendra says
I just love your garment rack! It looks so modern chic!
Travel Blogger says
This is SO super cute. I love it. I need a place for my shoes.
Tabitha Blue says
Ha! Thanks so much!! I love it too, running out of room for my shoes a bit now though. LOL.
Robin Rue says
This is such an awesome idea! I love this a lot as an addition to my room.
Tabitha Blue says
Thanks so much!!!
Karlaroundtheworld | Karla says
Wow, that looks great and I like the fun that came out from you guys! Getting a DIY activity and finished craft like this makes me giddy and excited.
Brittany says
This is the exact tutorial I’ve been looking for! Does the rack seem sturdy/hold a decent amount of weight? Thanks!
Tabitha Blue says
Oh yes!! We have an entire closet of clothing stuffed onto one of these!
Mikayla says
This is such a great idea! Love the way it turned out. How much did all of these materials cost you?
Monica says
Love this idea!! Do you have an estimate on how much this cost?
Renee says
I really like this DIY garment rack. The design is awesome and the wooden shelfs make it a real eyecatcher!
Emily says
How much did this cost?
Dana Mullins says
This is definitely something I need for my home improvement project. Hanging clothes can surely save a lot more space than folding them and stacking them on shelves. Thanks for sharing this Tabitha, you’re amazing!
Amanda says
I love this!! Any idea on the cost to build it.?
khustar noorani says
Wow, that looks so clean! I want to make it , I hope I can make one!
Liam says
Hi, great idea. I was actually building something very similar when I went online looking for something else and saw this.
My only suggestion is this: you might edit your instructions/dimensions/cuts You have a couple of errors in them.
Otherwise great v job
Bhuboy says
This is elegant in its own way, Will try to make one for our house in the Philippines when I go on vacation. thanks for this