
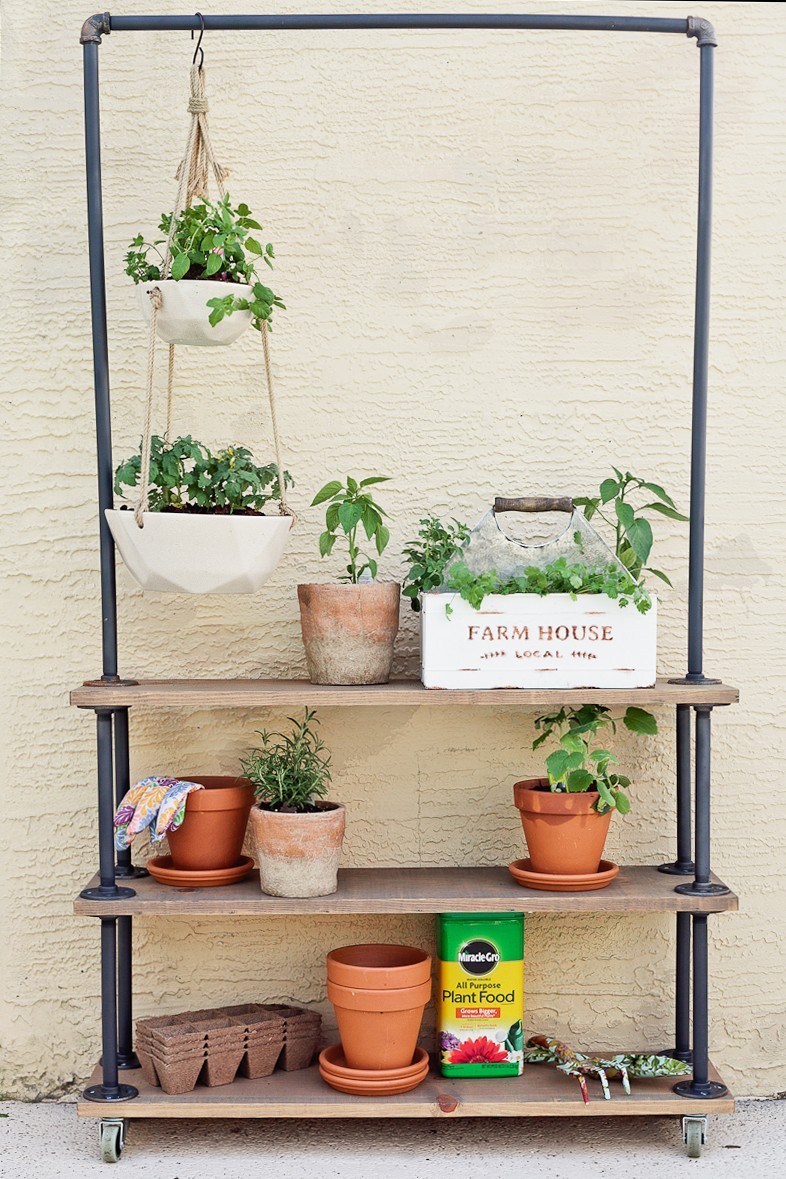


These DIY rolling shelves are a perfect way to create a vertical herb garden with plant decor for indoor or outdoor use! Plus, you can move it easily for more or less sun, or from inside to outside or to change up your garden area. I’m sharing all of my how-to’s in this post, which is sponsored by Miracle-Gro and Bonnie Plants.
We’ve been slowly transforming the inside of our home, and okay, working on the outside as well, but just haven’t done quite as much outdoors yet. Not like our kitchen transformation and of course, the bedrooms and the main bathroom… but we’re getting there!
Okay, in all honestly, we have almost too many projects swirling at once that it’s kind of hard to call one finished because we keep dividing our time between areas. And lately? With the weather turning sweetly sunny and pleasant, we’ve been wanting to spend more time outside the walls of our home, meaning outdoor projects are quickly moving up the priority list.
While I have big plans for our yard and a goal for raised garden beds and lots of vegetables in the near future, I’ve also been wanting some vertical shelves on our patio area for some of our most favorite veggies and herbs. I mean, there is nothing like fresh-picked basil on pasta or cilantro from the stem for taco night! The idea was to create a simple space for the kids to learn the responsibility of caring for and tending to a garden by helping me plant, water, pick fresh herbs for our dinners, and enjoy the greenery (and chewing on a fresh mint leaf) while we’re out romping in the pool.
Our DIY hanging herb garden that we created at our studio has been immensely popular, both on Pinterest and also with everyone that comes through our space. This time, though, I wanted something that I could move, something much more versatile.
With our new rolling garden shelves, I can easily move our plants inside during inclement weather, into more full sun or into shade, and I can use different sizes of pots and planters. Plus, with an area to hang planters as well, it all gives me a good deal of versatility.
Although I don’t have the greenest of thumbs, I have learned that plants need a plenty dose of good sunlight, hydration, and nutrients to thrive, and that’s what I’ve planned out with this space.


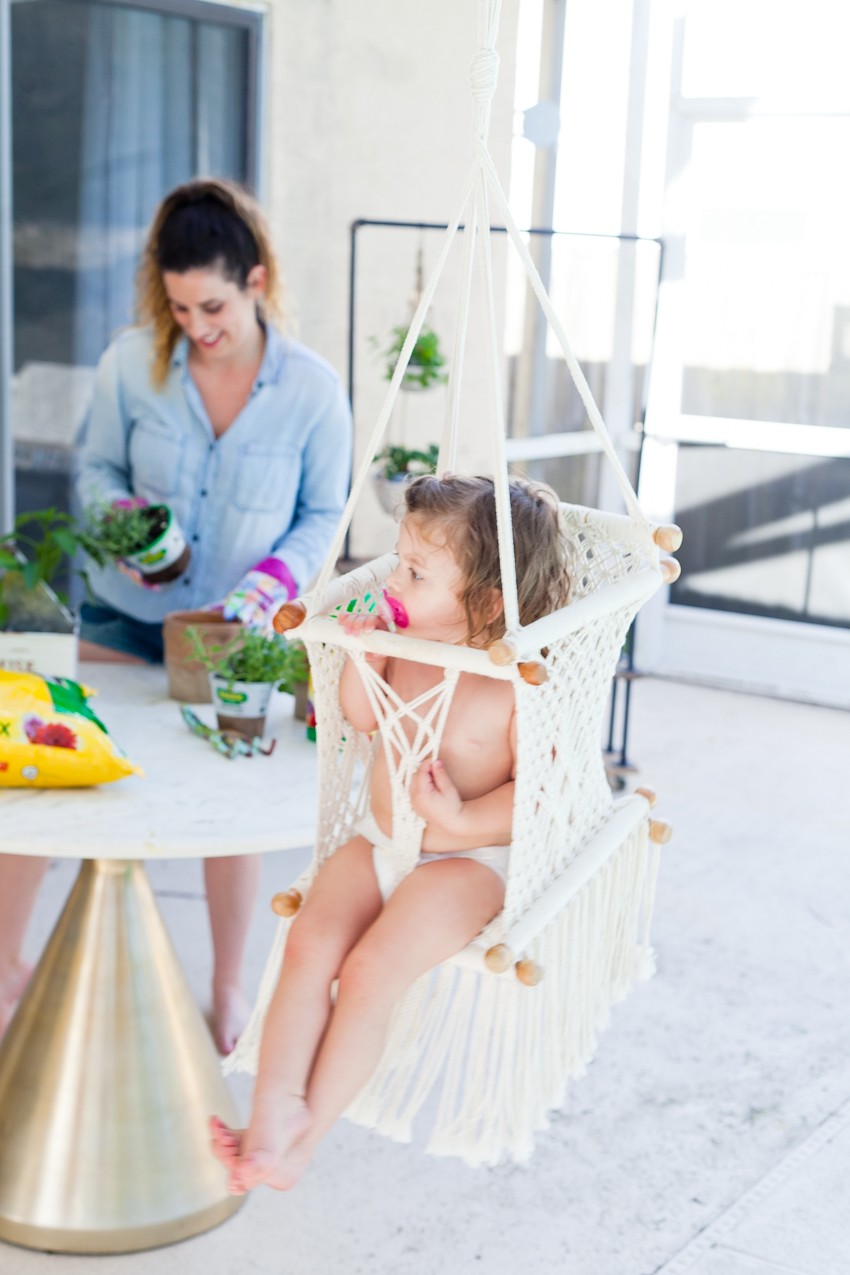
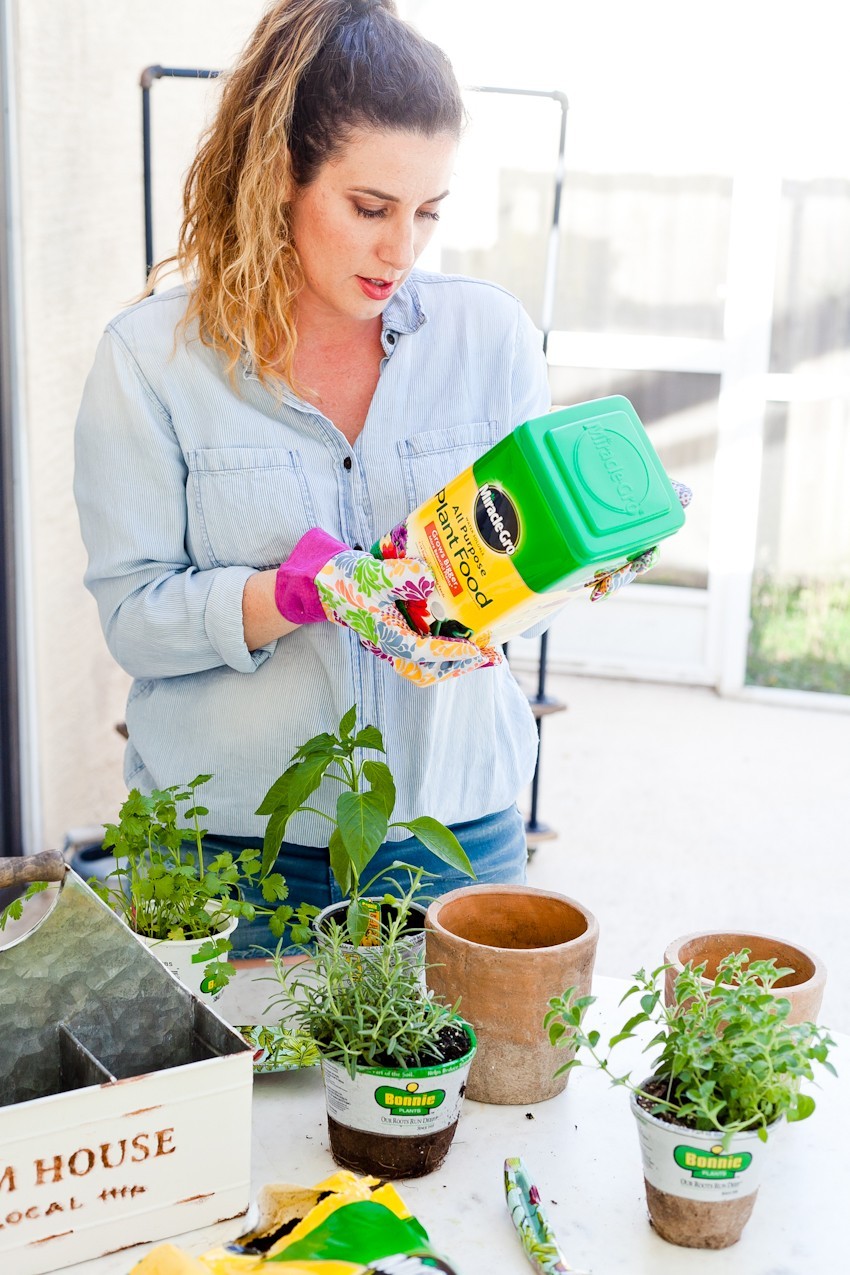

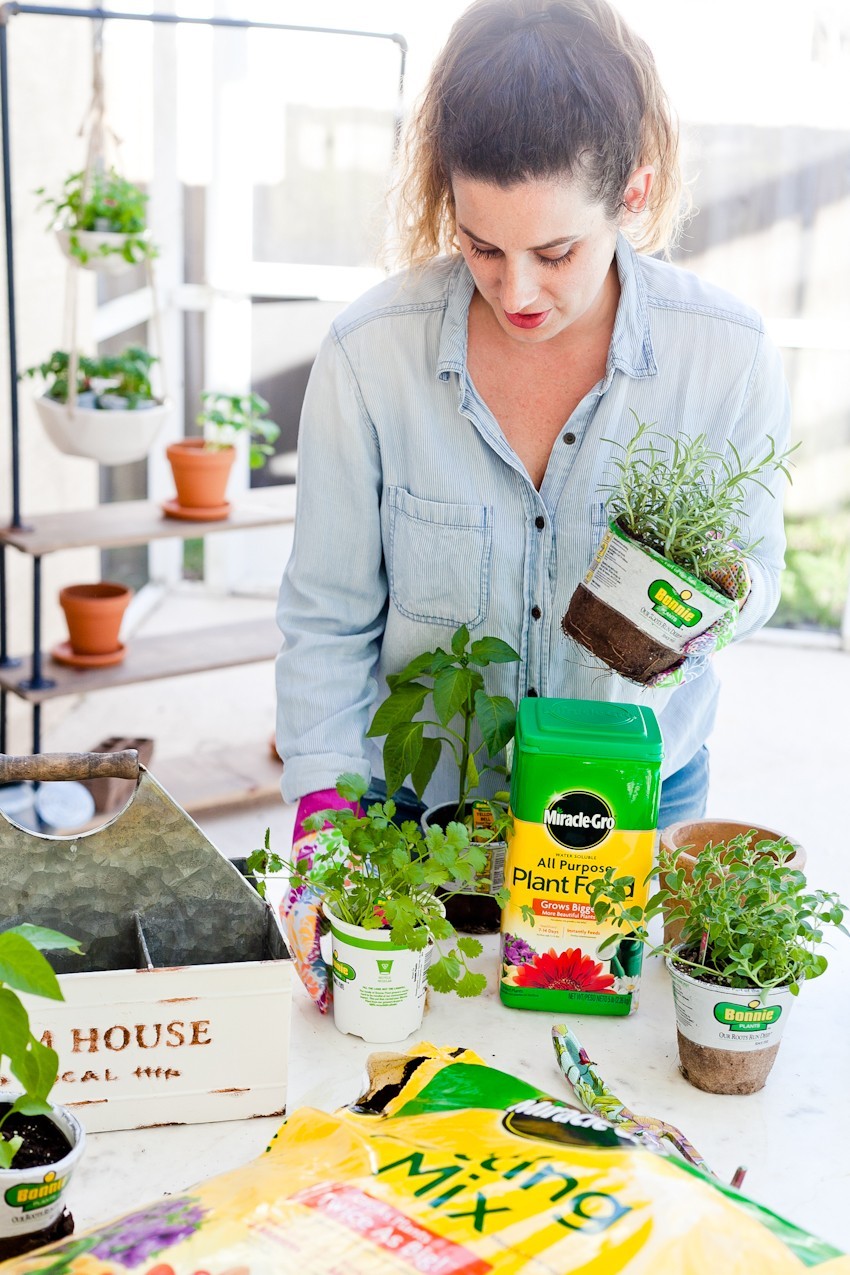

For the shelving unit itself, I drew up the concept and my husband built it! You’ll find his easy-to-follow instructions below.
When it comes to the plants, I picked up everything I needed at Walmart. There was such a large selection of Bonnie vegetable plants and herbs to choose from, so we started with our favorites to get us going! Since this project calls for container gardening (basically our plants are in pots and containers) I went with Miracle-Gro® Potting Mix (and because I’m not yet fluent in gardening, I just checked out their website to determine the best soil to use!).
Even if you haven’t had success in gardening before, I think that finding brands that help make it easy on us is a must! Miracle-Gro is American-made and has proven to help grow plants 2x as big as unfed plants (seriously – they’ve tested it). Plus, they’ve got a site that is packed full of tips to ensure that we create the garden we have in mind with success.
Since everything I used for the planting is available at Walmart, you can order all of the items online or head into the Walmart Garden center on your next run.
How We Planted Our Herb Container Rolling Garden
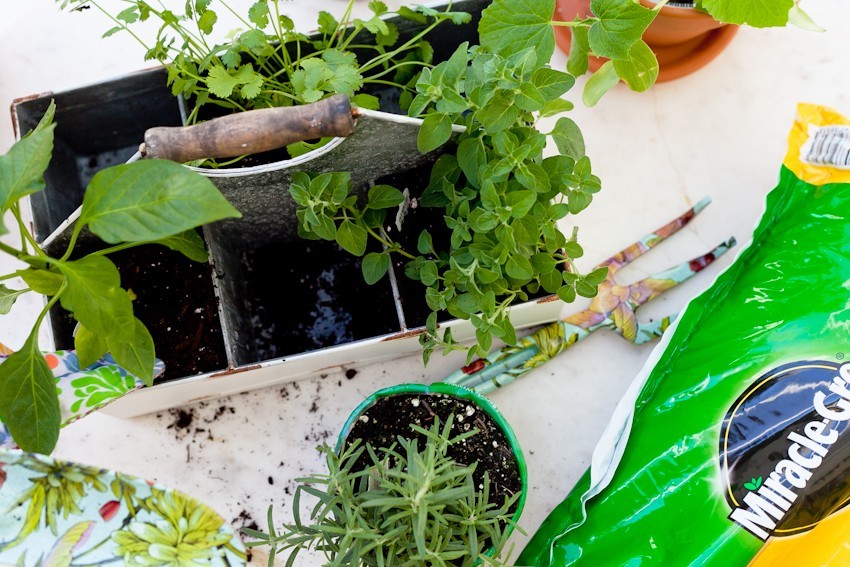
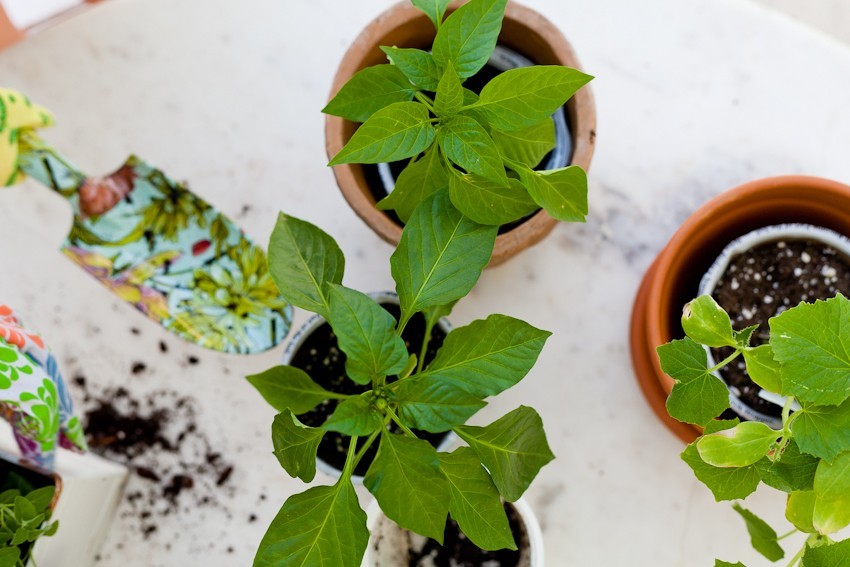
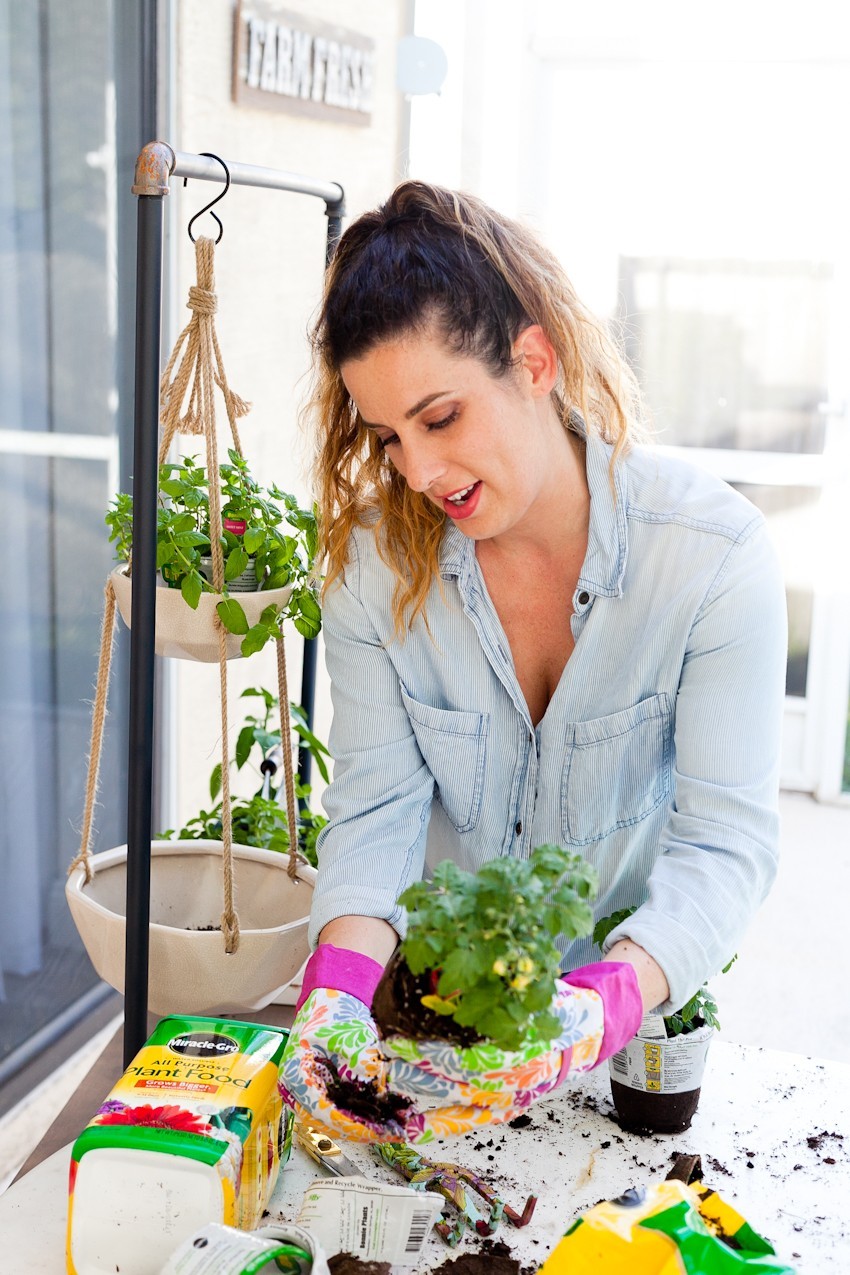
Now for the planting! I actually found a few different types of containers to use as I liked the idea of variety on our shelves. It’s easy to find terra cotta pots, and you can add in other vintage pieces or favorites you’ve had. Even using items that weren’t intended to be a plant container gives a great look! Just make sure that there are drainage holes, or add them yourself as needed.
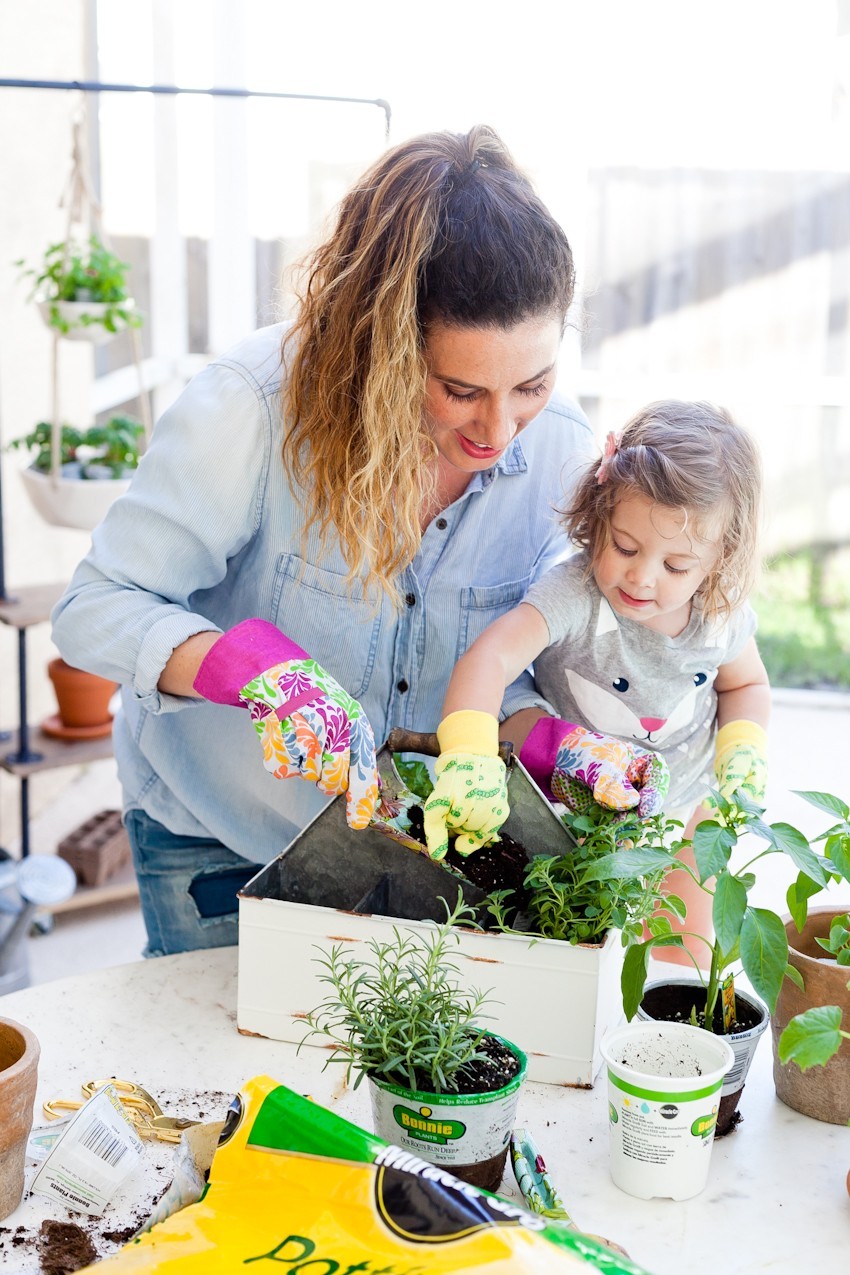
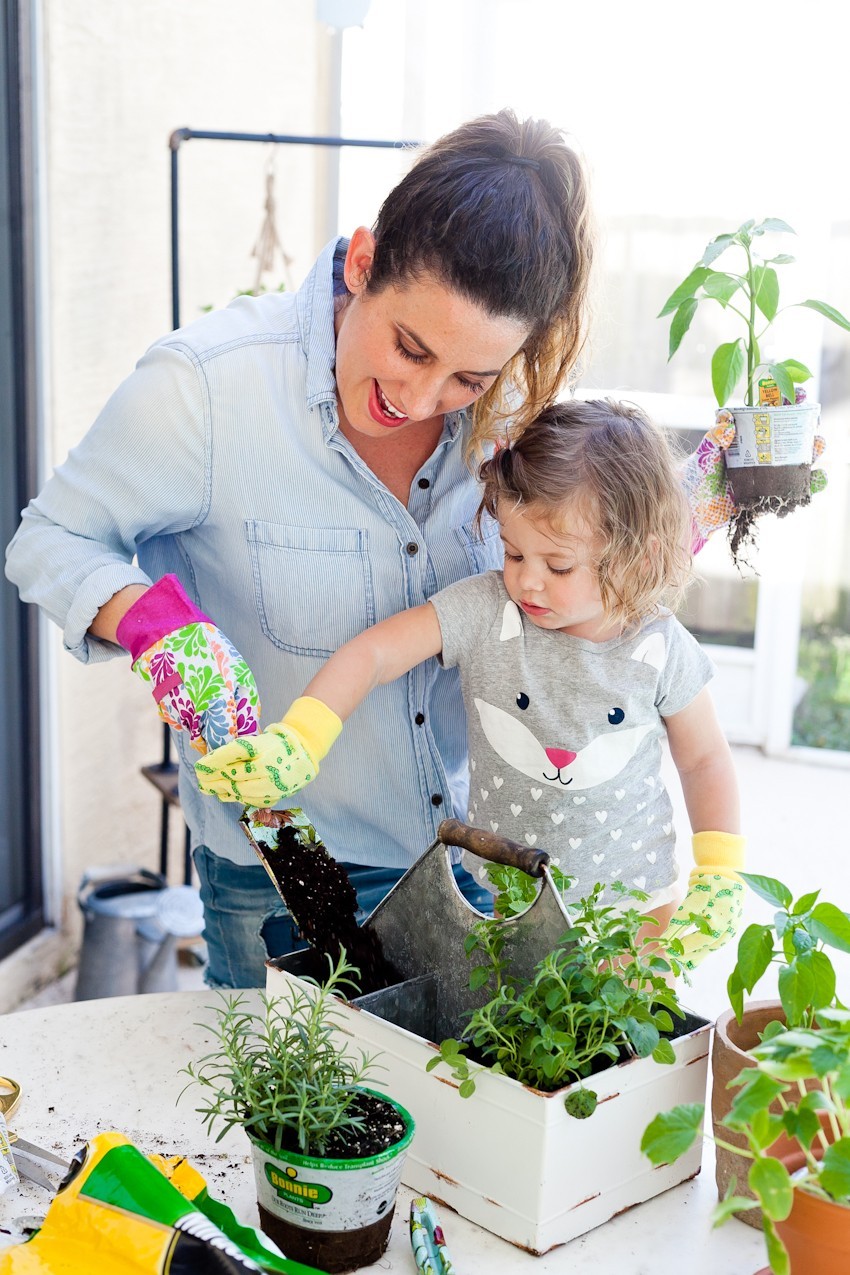
I also had a little helper for this project, and I love how much she loved it! I even picked up some gardening gloves to fit little hands (we all need to feel special, right?). Because the project is a way to involve my kids in gardening, it’s only fitting that they help get it started, too.
With all the gear gathered, it was time to get started, but before I did any of the potting, I placed containers around on the shelves and set the plants into the different containers to find the configuration I liked best. During this step, it’s also important to keep in mind the rule of thumb for herb containers, which is to make sure the pot is at least one-third as tall as the final height of the herb listed on the plant tag. (If basil grows to 18 inches, for example, the pot should be at least 6 inches high.)
Then, I just followed the directions on the plant tag to pot each herb, using Miracle-Gro Potting Soil.




How We Built the Rolling Garden Shelving
Item list:
1″ x 10″ x 10′ foot wood board
18 – 1/2” iron pipe flanges
2 – 1/2″ iron pipe 90-degree elbows
8 – (threaded each end)
3 – (threaded each end)
4 – rolling casters
2 – 48 qty 5/8” screws
Directions:
1. Cut the 1x10x10 board into 3 pieces at 40” long. Sand down board corners and edges as preferred.
2. Wash and paint PVC, flanges and iron pipe fittings. (We opted for a matte black spray paint).
3. Stain wood.
4. After all parts are dried, attach flanges at each end of the 10” irrigation PVC pipes. Make 8 total; these will serve as legs between our shelves.
5. Add elbow to the other end of the pipes with a flange.
6. Using your remaining 5ft pipe, attach to the elbows, forming a horseshoe shape with the three 5′ pipes and set aside.
7. To start the shelves, we will build from the bottom and work our way up. Choose which side of board will face down and attach casters with screws on each corner at 1/2″ from each edge.
8. Once the casters are attached to the bottom, flip board over and attach a flange with 10” PVC to all four corners. Screw into place to hold securely.
9. Place another board down on the ground or working table, and taking your assembled piece, flip back upside down on top of the board. Secure the flanges to that board with screws to hold in place.
10. Continue these steps of attaching the flanges to create the shelving. These instructions will give you three shelves, but you can add more as desired.
11. To create the hanging bracket, assemble a flange to one end of two 36” PVC pipes. Add elbows to the remaining 36” PVC pipe. Next, attach the two 36” PVC pipes that have a flange end to the elbows. This will form a horseshoe shape.
12. Center the flanges of your horseshoe and attach to the top-side of your top shelf.


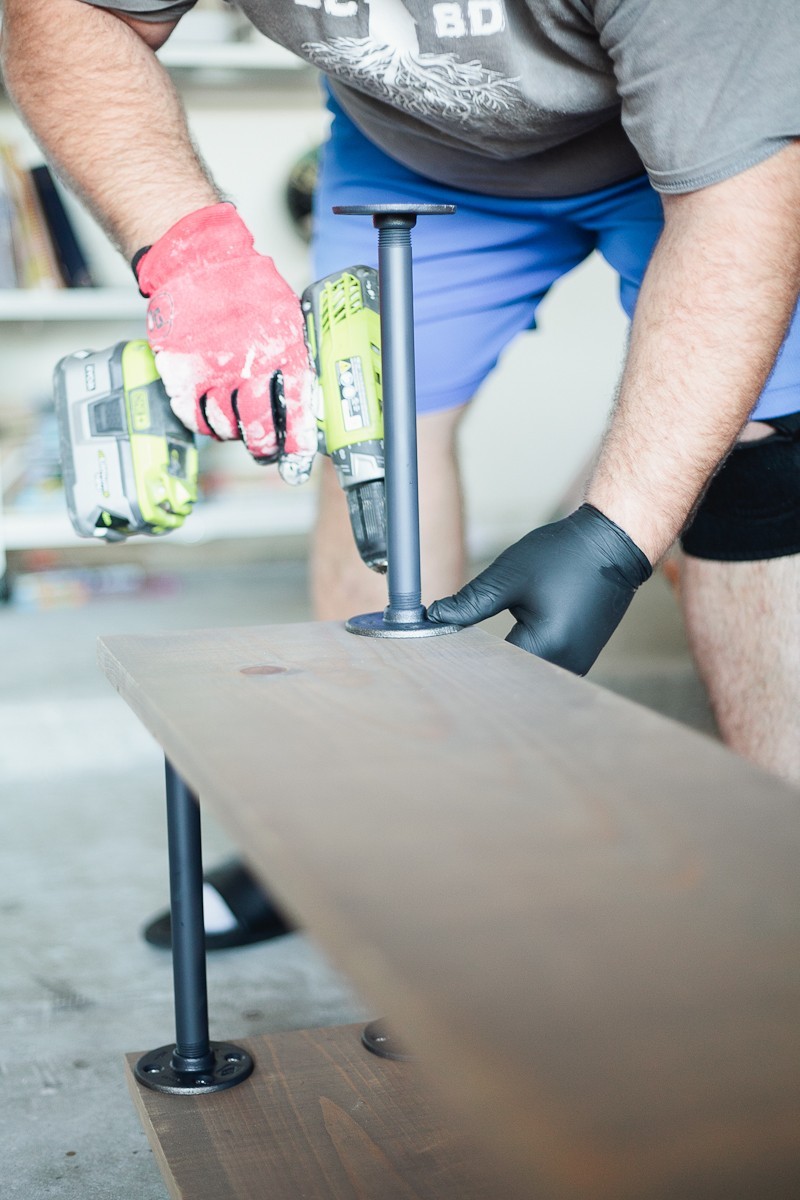
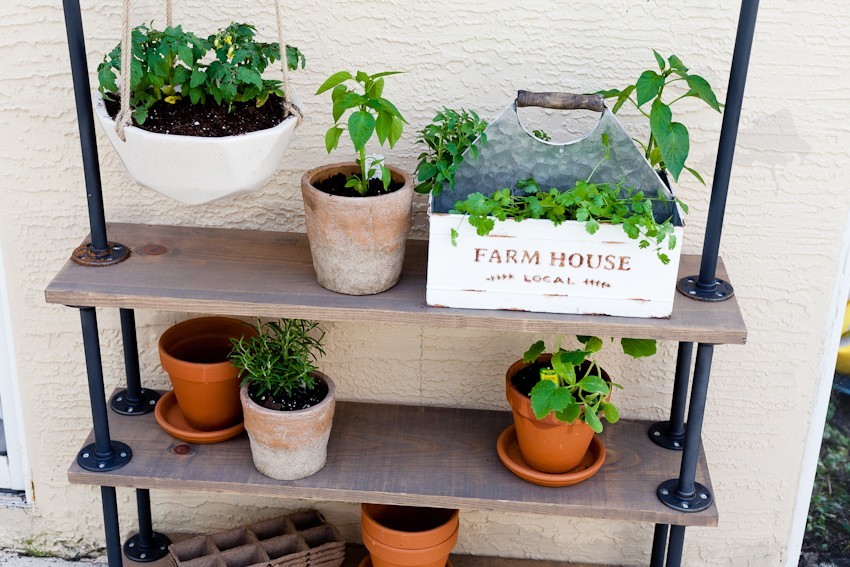

Congratulations you now have a portable shelving unit to use for your rolling garden (or anything else)!
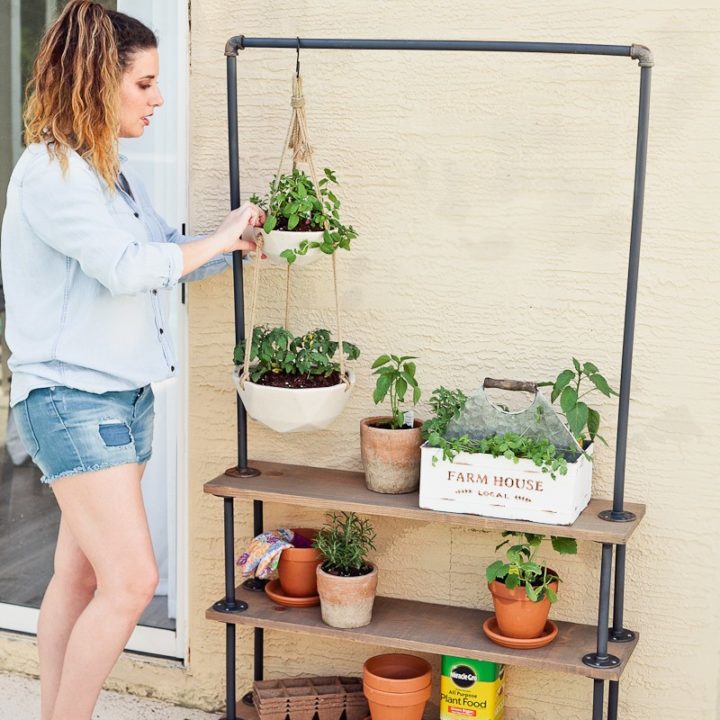
DIY Rolling Garden and Plant Shelf
Materials
- 1" x 10" x 10' foot wood board
- 18 - 1/2” iron pipe flanges
- 2 - 1/2" iron pipe 90-degree elbows
- 8 - 10”x 1/2" PVC riser (threaded each end)
- 3 - 36”x 1/2" PVC riser (threaded each end)
- 4 - rolling casters
- 2 - 48 qty 5/8” screws
Instructions
1. Cut the 1x10x10 board into 3 pieces at 40” long. Sand down board corners and edges as preferred.
2. Wash and paint PVC, flanges, and iron pipe fittings. (We opted for matte black spray paint).
3. Stain wood.
4. After all parts are dried, attach flanges at each end of the 10” irrigation PVC pipes. Make 8 total; these will serve as legs between our shelves.
5. Add elbow to the other end of the pipes with a flange.
6. Using your remaining 5ft pipe, attach to the elbows, forming a horseshoe shape with the three 5′ pipes and set aside.
7. To start the shelves, we will build from the bottom and work our way up. Choose which side of the board will face down and attach casters with screws on each corner at 1/2" from each edge.
8. Once the casters are attached to the bottom, flip board over and attach a flange with 10” PVC riser to all four corners. Screw into place to hold securely.
9. Place another board down on the ground or working table, and taking your assembled piece, flip back upside down on top of the board. Secure the flanges to that board with screws to hold in place.
10. Continue these steps of attaching the flanges to create the shelving. These instructions will give you three shelves, but you can add more as desired.
11. To create the hanging bracket, assemble a flange to one end of two 36” PVC risers. Add elbows to the remaining 36” PVC riser. Next, attach the two 36” PVC pipes that have a flanged end to the elbows. This will form a horseshoe shape.
12. Center the flanges of your horseshoe and attach to the top-side of your top shelf.
Recommended Products
As an Amazon Associate and member of other affiliate programs, I earn from qualifying purchases.




Leila says
This is such a great idea! I’m loving that shelf. Def pinning it for inspiration:)
Name (1stopmom) says
We have been working on the inside of house for years too. I have always wanted to try my hand at gardening but have been intimidated. I like the idea of this rolling shelf. I can’t wait to show it to my husband to see what he thinks!
Name (required)Demelza says
Wow, this is so cool. I love that you have had your little one helping. Our kids are so into the garden. I do not have a green thumb at all but this gives me hope. This project is awesome. Looks great
Rachael says
This is awesome!! I so do not have green thumb, but I wish I did!! I always admire people who have plants and herbs and vegetables. Love it!!
Melissa says
I love this idea. I totally want to do this with my little guy this spring!
Dominique says
Pinning for inspiration. Just would need to keep the Texas crtiters away! LOL
pde says
I have a few pieces of furniture in my home with the pipe legs, so I LOVE this! As soon as we finish our outdoor patio this summer, I am making this!
Aria | Blogs by Aria says
I really like the look of the rolling cart/shelf. Neither me nor my husband are handy but I like this!
Charissa | thenotsobusymom.com says
Love the shelving (and with wheels)! I really want to grow herbs, but I always hesitate and then don’t go for it. Thanks for this post 🙂
Jaiden says
Many herbs are actually pretty easy. In the Mediterranean tons of them grow wild on hillsides. Rosemary, Oregano, sage, thyme, and lavender are all great plants for beginners! They need sun, loads and loads of sun. Unless you live somewhere super hot, in which case they can do ok in partial shade. Next, good drainage (pots with holes in the bottom and gravel as a first layer in the pot. I use a combo of succulent soil and vegetable garden soil for them. Lastly, don’t over water. When getting established, after repotting especially, they need more water. Once established, water once a week, maximum. Their soul should get dry between waterings. Cilantro and basil are more difficult for me so I’m not going to give you advice there!
Samantha Kuzyk-Raising Twincesses says
Cutest garden EVER! Love that it is functional and decorative for the yard!!!
Neely says
Oh I love this! Such a great thing the hubs and I could do together!
SiennyLovesDrawing says
So inspiring DIY idea you had! Moeover got your kid involved, so educational. A great idea 🙂 cheers, siennylovesdrawing
Dean Pegal says
You really did a great job, I appreciate it.
javhd.com.au says
Loved the post keep it up!
Sara says
Is the spray paint enough to protect the PVC from sunlight? I am aware that exposure to sunlight causes pvc to break down and become brittle.
Tabitha Blue says
We haven’t had any issues with the PVC breaking down. So it must offer some kind of protection. You could always use the metal version as well, the cost would just increase.
Felicia says
How much does this diy project cost?
Rachel says
My total was around $155 at Home Depot ????. But I’m so so so excited to make it!
Tabitha Blue says
I’m excited that you’re excited to make it! I definitely think pricing has gone up over the past couple of years, thank you for updating the total price!
Chris says
I made this yesterday! Came out great IMO. Thanks for the idea.
Chris says
Love this! Just completed it today. Spent around 120 for all materials. Thanks for the idea.