
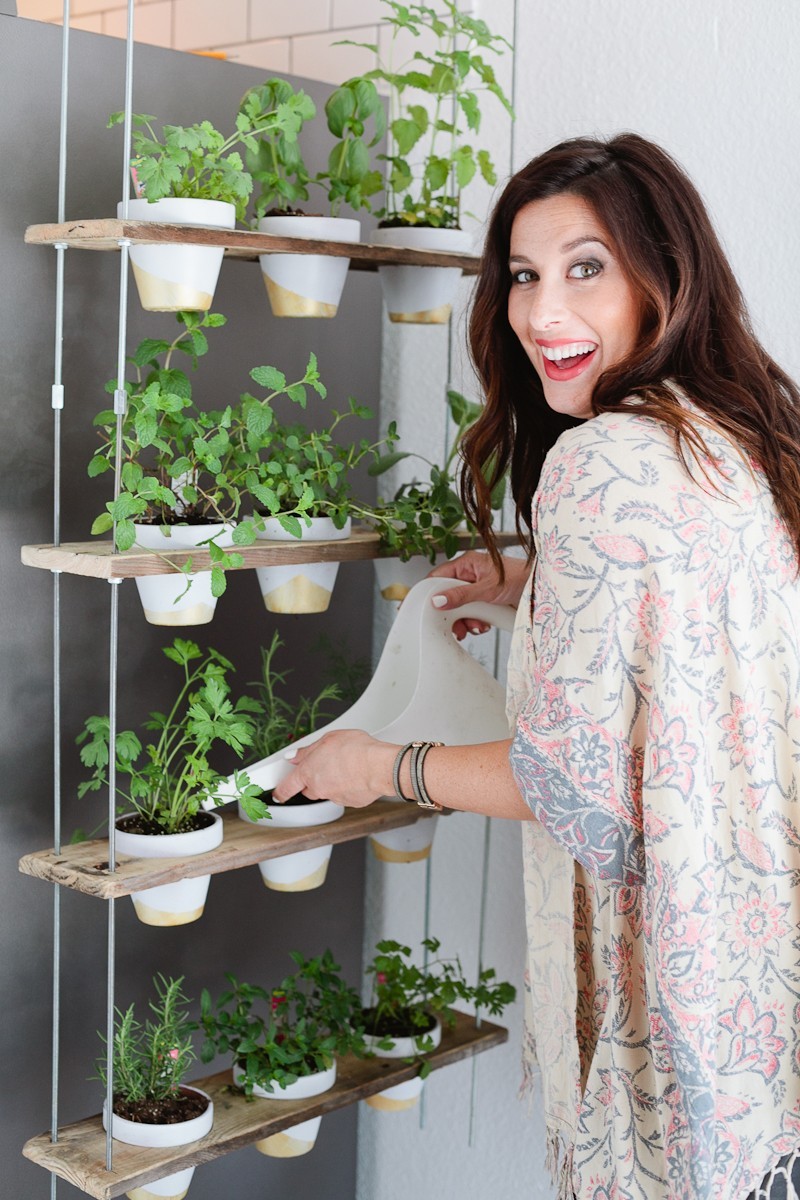
There have been so many cute hanging herb gardens popping up all over Pinterest and blogs online lately and we just couldn’t wait to create something fun of our own for the studio! This custom potted hanging herb garden was fun to make (just a couple of hours from start to finish!) and looks so good hanging from our ceiling.
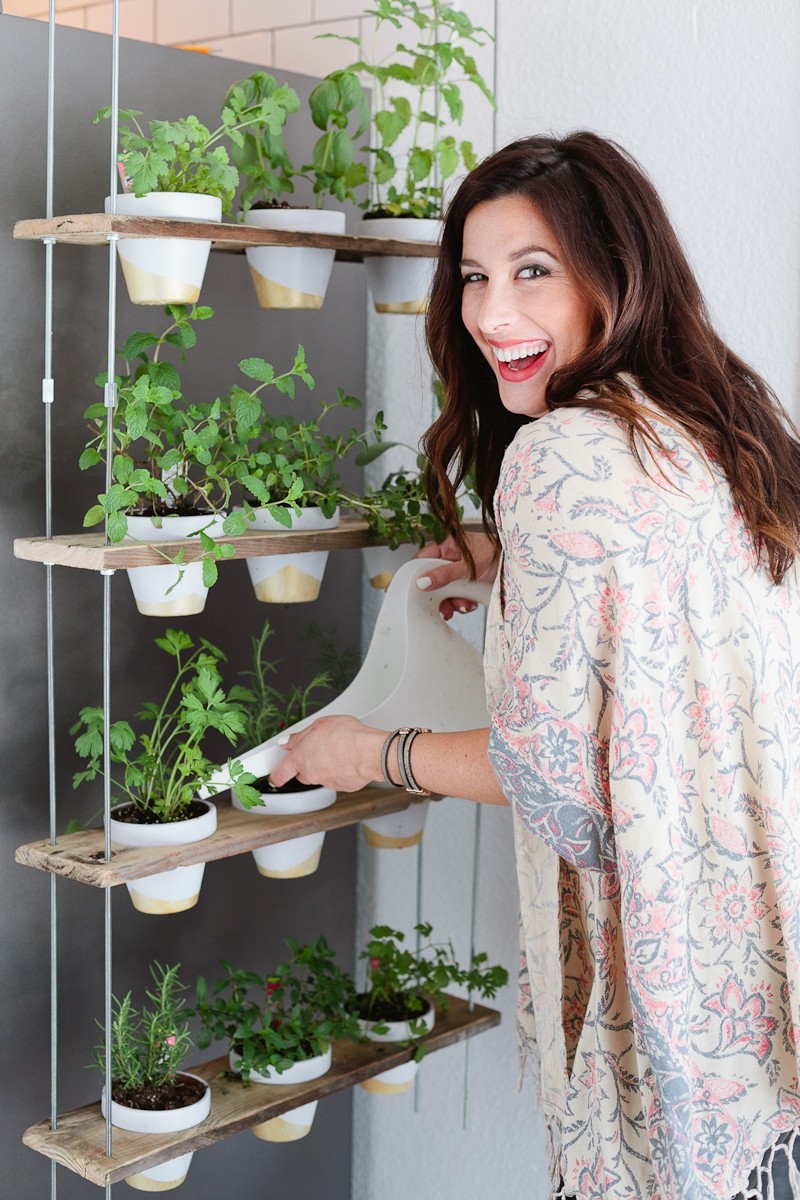
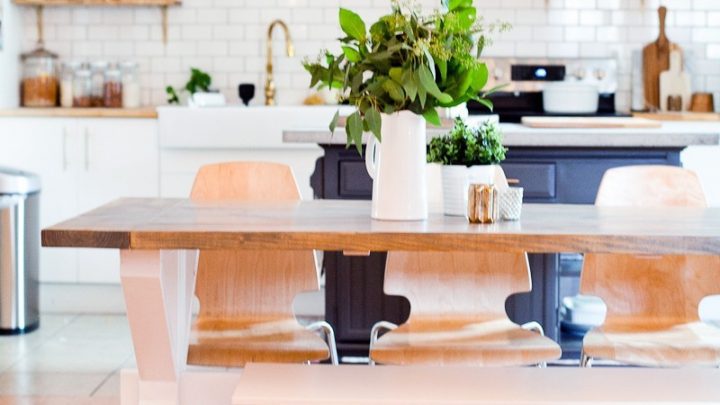
When you walk through the doors of our Fresh Collective studio, you look right into the kitchen area and at the side of a big refrigerator. I wanted to create something that was more aesthetically appealing to see without building a wall or having anything solid blocking the view, or the light. Enter our hanging herb garden!
This would also be perfect to have on a patio area as a way to create a vertical garden to save space, or to add beautiful, natural, edible greenery to a kitchen!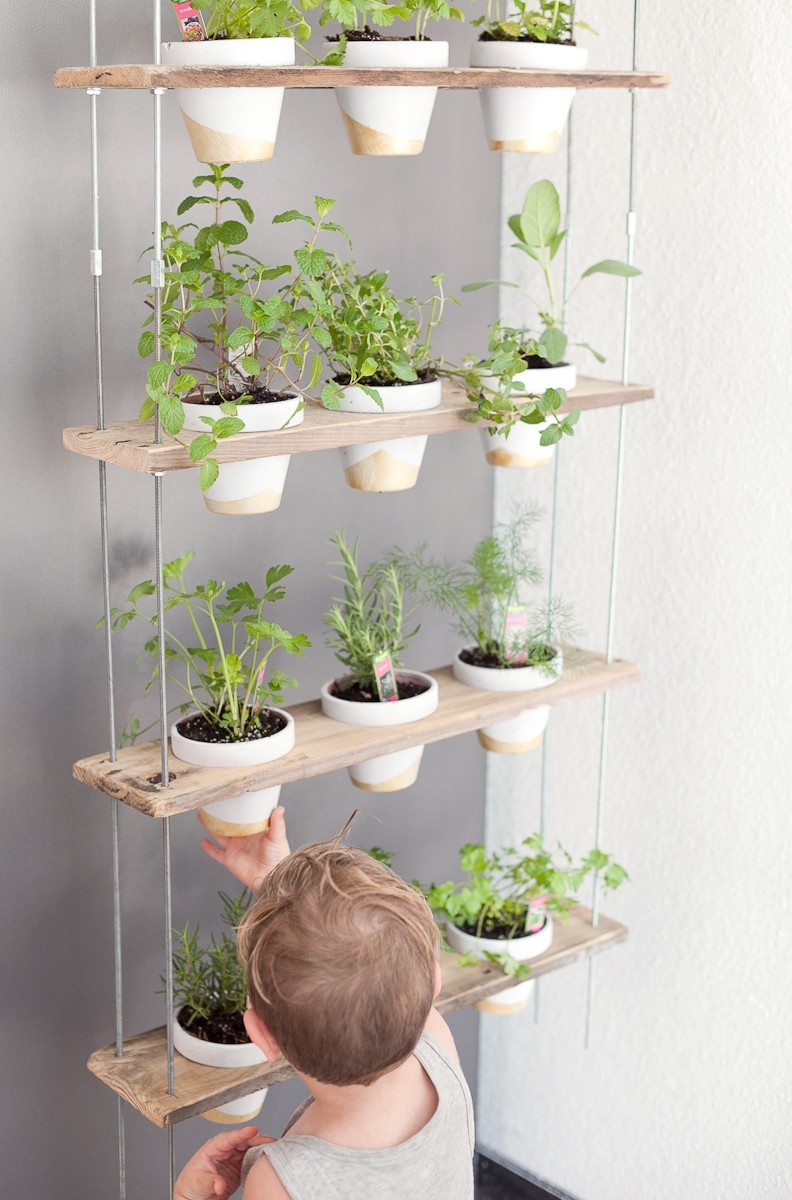


DIY HANGING HERB GARDEN
There were just a few items for us to buy, besides the potted herbs, but most we had on hand already.
We recently changed over our boys to a bunk bed situation in their room, and had a couple of pallets on hand from their previous beds, which we used for the wood in this project. For one, it was free, and two, the wood already had an aged look which is something I wanted.
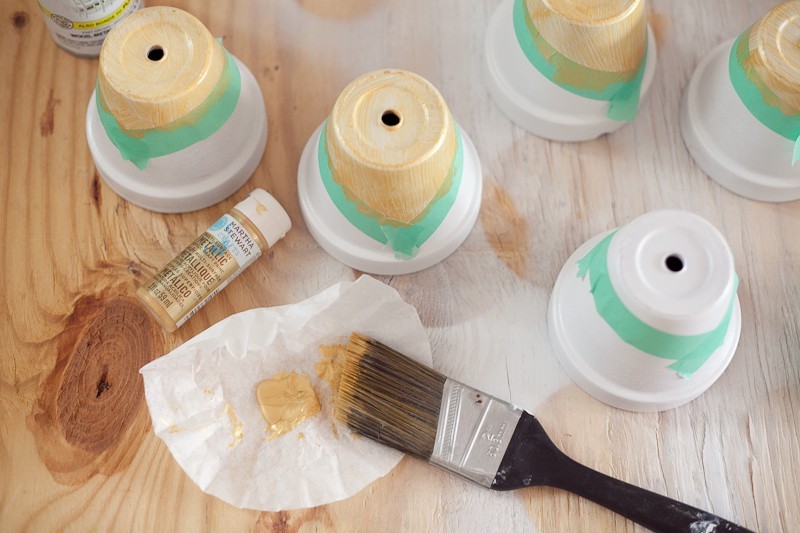
Next up were the terra cotta pots, which only cost about $.70 at Home Depot and I used some white spray paint I already had to give them a good coat of white followed by a gold-dipped look with gold paint.


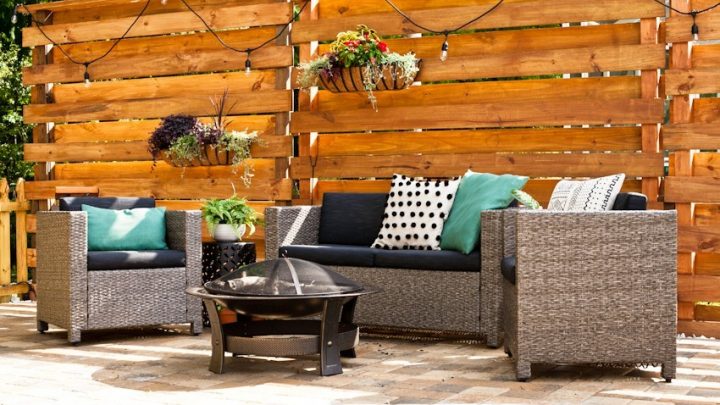
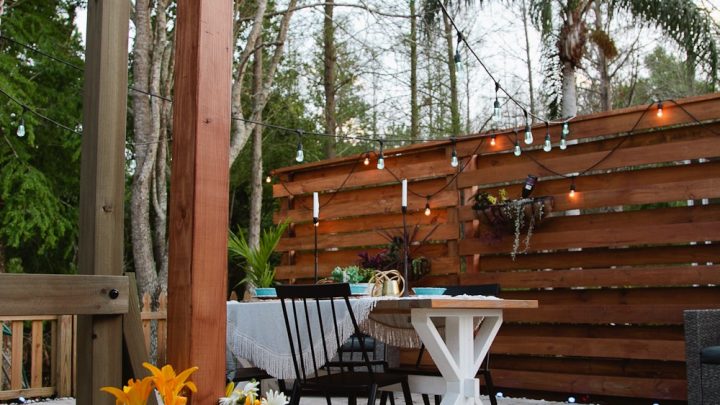
Also, save this project for later: Home Update: DIY Outdoor Planter Box for Hanging String Lighting
Here are the hanging garden instructions, with photos. You can also scroll to the end for a printable version!
Items needed to create a Custom Potted Hanging Herb Garden:
5 – 1/2″ planks, 24″ long x 5 1/2″ wide
8 – 3/16 threaded rod, 36″ long
4 – threaded rod coupling
20 – 3/16 nuts/washers
4 – 3/16 crown bolts
Drill
3 1/2″ hole saw
Instructions for How to Make a Hanging Garden:
1. Choose wood. We used 5 1/2″ wide boards from an old pallet we had. It saved us money plus the wood looks aged already.
2. Cut to size. Ours were cut to 24″ long.
3. Cut holes. We used 3 1/2″ holes to fit our terra cotta pots (found at Home Depot for only $.70/ea.)
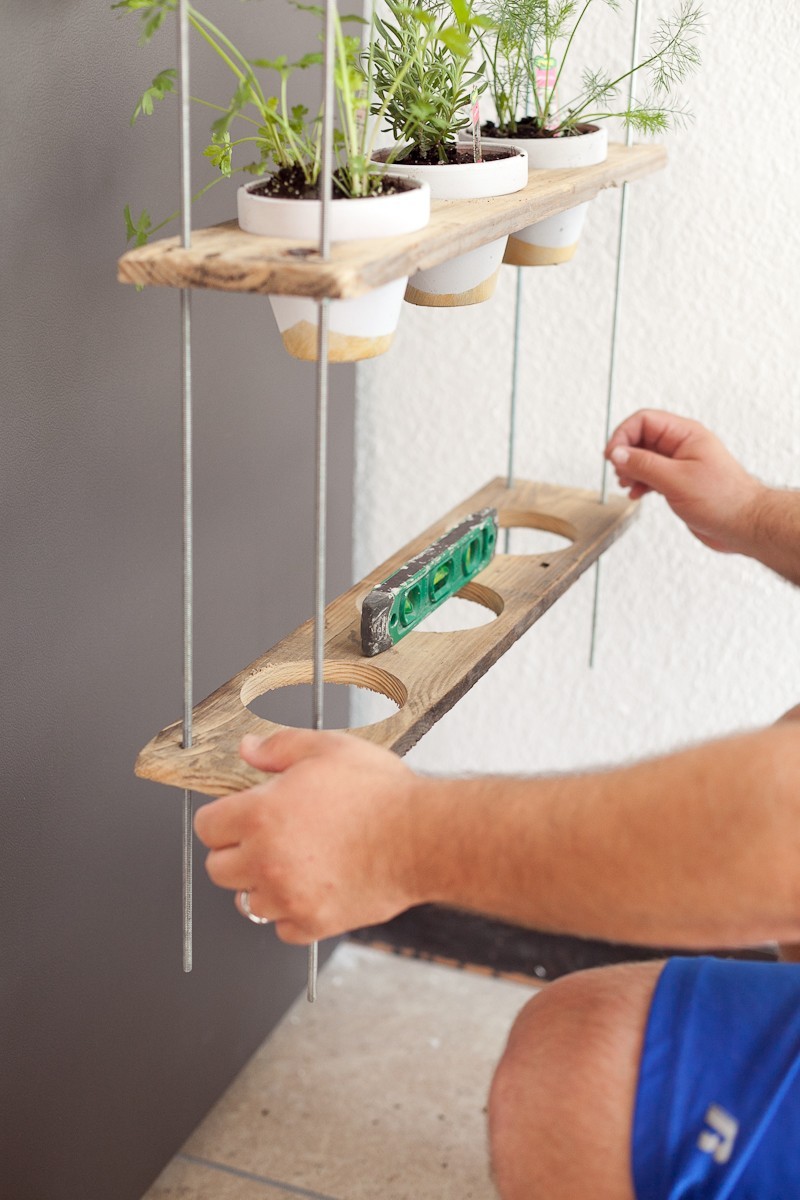
With a 3 1/2″ hole saw bit and a drill center your holes. We made three holes per board at 5″ from the edge then 12″ then 19″. For our hanging herb garden we used 5 boards total.

4. Drill holes in four corners of each board 1″ from each side for threaded rods. Bit needs to be just bigger than your threaded rod.
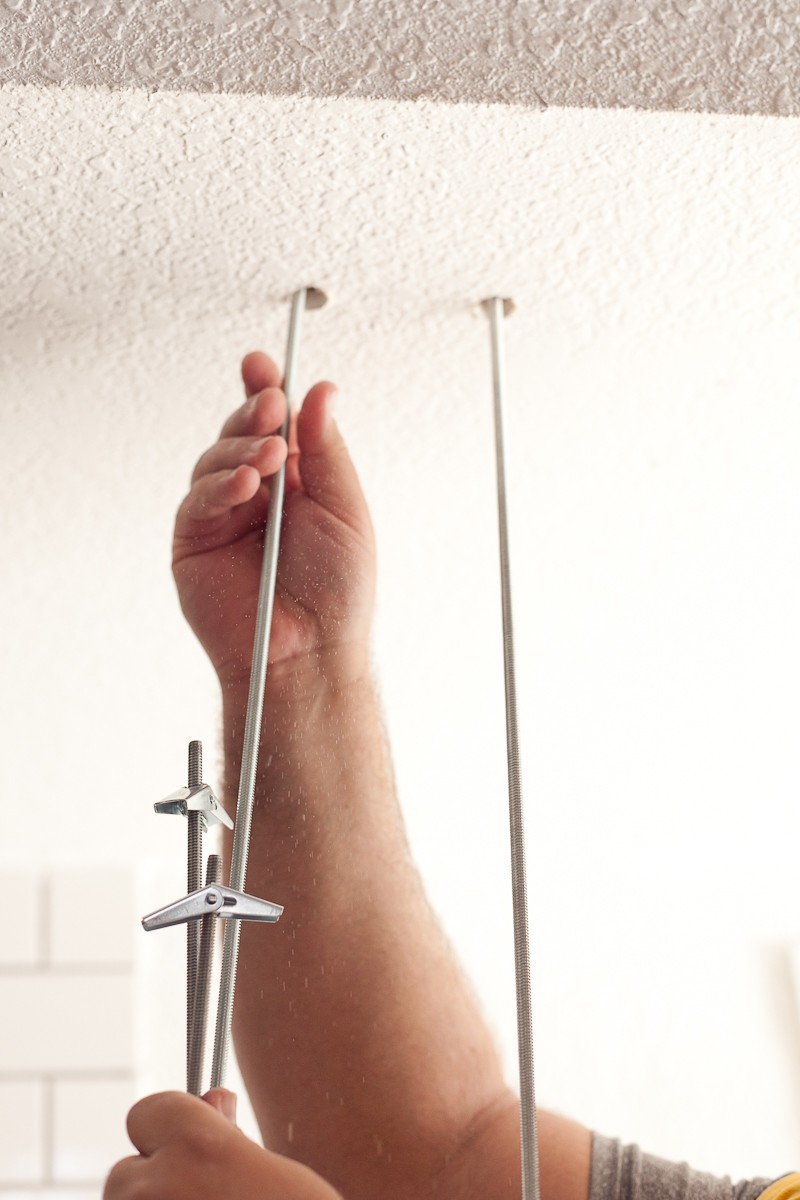
5. We hung ours from a drywall ceiling so we drilled holes using 1/2 in hole saw bit in ceiling to fit the crown bolts.
6. Attach the crown bolts to one one side of threaded rod. Leave about 1″ – 1 1/2″ on one side of crown bolt.
7. Squeeze crown bolt and place through ceiling hole (it till reopen on other side to provide an anchor to hang from).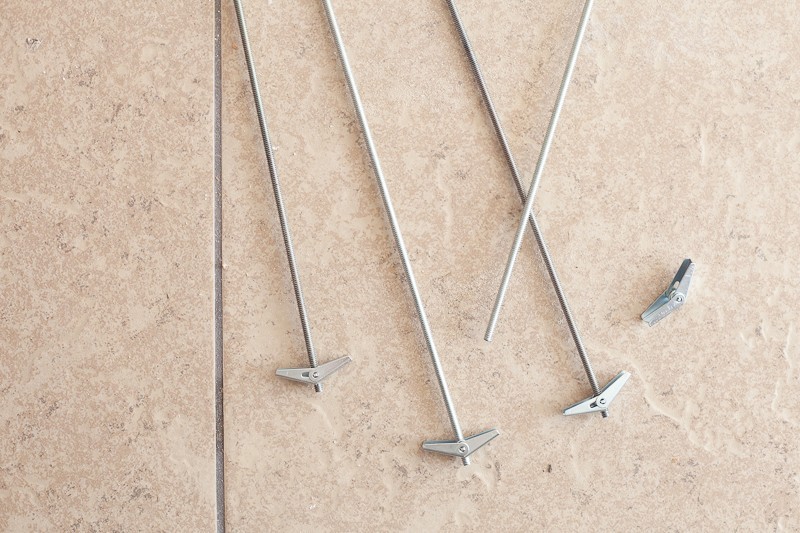
8. Slide the first board on the threaded rod and through the pre-drilled small holes. Keep at desired location by using the washer and nut to hold in place. This may take some time to thread all the way to the desired location.

9. Attach couplings and the next four threaded rods and repeat step 8 until you are out of shelving.100 
Prep your pots and add in the herbs. Congratulations, you have a hanging garden!


If you plan to hang your vertical herb garden indoors, here are a few essential and best herbs to grow indoors:
Basil
Basil is easy to grow indoors, and such a perfect pairing for tomatoes, too. Pinch off individual leaves as. you need them to add in salads, sandwiches, or chiffonade as a garnish. Basil is also delicious for pesto and in sauces. This herb is not a long-term houseplant and after several weeks, you’ll need to replace it, so start a new batch of seeds as you’re using one plant!
Cilantro
Cilantro is short-lived by its nature and the plant won’t last forever, but it’s one we use OFTEN. Taco Tuesdays wouldn’t be the same without this addition to guac, salsa, on tacos, in our chili recipes, and more. Start planting from seedlings at two or three-week intervals to keep a steady supply.
Check out some family favorites: Slow Cooker White Chicken Chili and Family Favorite Chili Recipe. We even use cilantro on our Thai Burgers With Peanut Sauce and 5 Barbeque Side Ideas for the Win!
Chives
Chives grow best in bright light, like a south-facing window. These recognizable spiky leaves are widely used and the perfect addition to eggs, soups, and salads, and as pretty garnishes, too. Gathering these leaves are easy with the snip of scissors as needed, or you can even give the whole plant a “crew cut” to keep floppy leaves tidy – just make sure to leave at least 2″ of growth.
Mint
Having a variety of mint is one of our favorite additions to an herb garden. In fact, my kids like to pick off leaves and chew them almost like gum, especially chocolate mint! Choose from varieties like peppermint, spearmint, chocolate, orange, banana, and more. Snip leaves and sprigs for tea and other drinks, flavored waters, salads, and desserts.
We typically add mint to flavored waters like these Delicious Detox Waters to Cleanse and Burn Fat
Oregano
Another must for your herb garden that adds a boost of flavor to Italian, Mexican, and Middle Eastern cuisines. oregano is member of the mint family. Snip a stem and strip the leaves to use in tomato sauces, on meats, casseroles, soups and stews.
Parsley
With either a curly or flat-leaf, parsley is another herb that will get used often. Of course it’s known to be a garnish, but we’re huge fans of the fresh, bright flavor it adds to sauces, soups, salads, pesto, meats, casseroles, veggies, and more. Use by pinching off stems near the base and removing leaves from the stem.
Rosemary
You can expect your kitchen or indoor area to get a boost of fragrance from this one! The needled leaves are a must-have herb for me, and we add it to chicken, pork, steak, soups, potatoes, sauces, and more. Snip sprigs and toss into soups or stews, or strip the leaves from the stem and mince.
Thyme
Thyme is easy to grow, and its flavorful variety lends itself to be used in just about every dish and cuisine.
Lemon Balm
Lemon Balm is another fun herb to have, and while it’s not as common, it’s a really bright, refreshing addition to any dish. Treat it just like you would any other herb, pick the leaves and chop or chifonnade to add to salads, especially delicious on fruit salads, or drinks.
Related post for your garden area: How to Make a DIY Grill Table You’ll Love
Besides this hanging garden being a cute way to display herbs and a great way to cover an eye sore we wanted to hide, our kids love noshing on the chocolate mint leaves and lemon balm – they just pick and chew!
What do you think? Have you seen herb gardens that you like or have you tried your hand at making one yourself?
If you happen to make one like this, I’d love to see!! Just tag me on Instagram or Twitter so I can see it!
Like this post? Just click SAVE when you hover over the images to Pin It and save for later!

Custom Potted Hanging Herb Garden DIY
A beautiful vertical garden, especially perfect for hanging herbs, but you could add any plant. Make with scraps for a budget-friendly, cost-effective potted hanging herb garden DIY!
Materials
- 5 – 1/2″ planks, 24″ long x 5 1/2″ wide
- 8 – 3/16 threaded rod, 36″ long
- 4 – threaded rod coupling
- 20 – 3/16 nuts/washers
- 4 – 3/16 crown bolts
Tools
- Drill
- 3 1/2″ hole saw
Instructions
- Choose wood. We used 5 1/2″ wide boards from an old pallet we had. It saved us money plus the wood looks aged already.
- Cut to size. Ours were cut to 24″ long. Cut holes. We used 3 1/2″ holes to fit our terra cotta pots (found at Home Depot for only $.70/ea.). With a 3 1/2″ hole saw bit and a drill center your holes. We made three holes per board at 5″ from the edge then 12″ then 19″. For our hanging herb garden we used 5 boards total.
- Drill holes in four corners of each board 1″ from each side for threaded rods. Bit needs to be just bigger than your threaded rod.
- We hung ours from a drywall ceiling so we drilled holes using 1/2 in hole saw bit in ceiling to fit the crown bolts.
- Attach the crown bolts to one one side of threaded rod. Leave about 1″ – 1 1/2″ on one side of crown bolt.
- Squeeze crown bolt and place through ceiling hole (it till reopen on other side to provide an anchor to hang from).
- Slide first board on the threaded rod and through the pre-drilled small holes. Keep at desired location by using the washer and nut to hold in place. This may take some time to thread all the way to desired location.
- Attach couplings and the next four threaded rods and repeat step 8 until you are out of shelving.
- Prep your pots and add in the herbs. Congratulations, you have a hanging garden!
Our Top Home DIY Ideas and Tutorials!


An Ikea Bunk Bed Hack: DIY Underbed Storage Drawers With Wheels


Check out our NEW BOOK! First Time Mom’s Pregnancy Activity Book!


Meg O. says
Absolutely love this! I need one! Maybe I can convince Greg to help me make one because I really want an herb garden!
Tabitha Blue says
Thanks SO much Meg!!!! It is one of my favorite projects so far!! 🙂
Bambi@QueenBtellsall says
I’ve been trying to get my hubby to build me a hanging herb garden but, he hasn’t seen any he thought were worthy of making. I think yours will be “the one”. I love it! Thanks for sharing.
Tabitha Blue says
Oh that makes me smile from ear to ear!! Glad to hear it!! My husband really had a part in making it happen and coming up with the design, so maybe it helps make it more of a man-friendly version 😉 haha. We almost made it with mason jars, but found the pots at home depot and I just really thought the white and gold would be cute… you could make it any color or use any container really!
Tiffany says
We have a mini herb garden in our kitchen window but this is so much cuter!
Tabitha Blue says
Oh I bet it looks cute in the window though and a great place since they love the light 😉
Kristy says
This is the absolute coolest thing ever! Maybe my black thumb will turn green if I do this. One can hope, because I really want to do this!
Tabitha Blue says
Hahaha, thank you!! I love how it turned out!!!
Oliver says
This is a great idea , but I have one question for you < since you have not shown any plates under each pot i guess your thoughts were one pot drips into the one below ?
If yes , Thats ok but what do you do with your last shelf where pots dripping in what ?
My suggestion is you put another plank wood cut out same as above bring it closer to the last shelf and put your plates in it ,
The problem is solved ?
Oliver
Tabitha Blue says
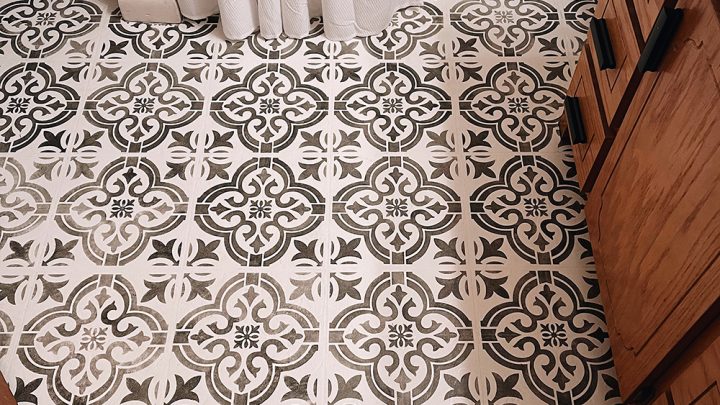
GREAT suggestion! Yes the water does drip from one pot to the next, and the bottom one sometimes drips onto my tile floor but it hasn’t bothered me. I don’t over water that one so it’s not as apt to drip.
Lily says
how about the water is not drip below , do we need make hole the bottom of the pot.
Tabitha Blue says
Hi Lily! These pots do have holes in the bottom. They drip down to the pot below it. 🙂
Vertical garden planters says
Besides it being a cute way to display herbs and a great way to cover an eye sore we wanted to hide, our kids love noshing on the chocolate mint leaves and lemon!
Sara Caraway says
My husband and I just built a planter inspired by this one! I’m curious, did you have a hole on the bottom of your pots or did you fill the hole? If you filled it, how well do the herbs do without the filter on the bottom?
Thank you!
Tabitha Blue says
Oh I’m so glad you did!!!! We do have holes in our pots, and they just drain to the pot below. when I water the plants, I don’t usually water the bottom ones and just let the uppers drain into the last row. 🙂
Cbfamily says
Has the weight of the pots and herbs held up just fine with the drywall anchors holding it up? We are going to do this and hoping it’s served you well. Thanks
Tabitha Blue says
Hi there! Yes, it’s held up GREAT, no issues!
Ana Name (required) says
I NEED to know where you bought that watering can please I love it! My husband and I plan on making this hanging herb garden in mid fall to transplant our herbs as they would get frost outside by then. I am so exited to make it thank you for the inspiration!
Tabitha Blue says
I’m pretty sure it’s from Ikea 🙂
Stacystone says
It is actually a great and helpful piece of information. I am satisfied that you simply shared this helpful information with us. Please stay us informed like this. Thanks for sharing.
Widya says
Thank you for sharing with us. Your blog is very good and useful for readers.
ramuanmujarab says
Very nice and interesting. thank you for sharing.
Anna says
What size terra cotta pots did you use?
Name (david) says
How did you stain the wood?
Tabitha Blue says
Hi David, thanks for your question! We actually used old palette wood for this project and didn’t stain the wood at all. Since it was for indoors, we didn’t need to weatherproof the wood, and I liked the rustic look of it.
Marilyn says
Love this idea how does the herbs get enough light do you have a florescent or LED light above the plantar not in the photo?
Tabitha Blue says
Thanks! We had this one near glass doors, so it had natural light already, no need for artificial light. Depending on your plants, you definitely need to hang this near a natural light source or have another way to get the plants the light it needs… or use shade plants.
Jeremy says
Love this idea. I am going to make it for Mother’s Day and put my son’s hand prints on the pots. Do you know what size pots you used to fir the 3 1/2 inch hole?
Alexa Heller says
How much did this cost you overall to make? Dont know if I should just purchase something similar for $100 or make my own!
Thanks in advance
Tabitha Blue says
We had most of these items already… we had some old pallets that we used for wood, and I had paint, etc. We found the pots for around $1 each and I painted them. I would guess around $20!
Rakhi says
Thanks for this wonderful post. I was planning to do something similar for quite some time and now I know exactly what I need. Thanks once again.
Danial Sammy says
Absolutely love this! I need one!
Such a great information.
software erp says
thanks
pcr reagen says
goog joob
Jasa Arsitek Jakarta says
Next I love it! Thanks for sharing.
Tabitha Blue says
Thank you!
Rak Gudang says
Nice Information DIY
Trijaya Ink says
This article on creating a custom potted hanging herb garden is incredibly inspiring! The step-by-step instructions are clear and easy to follow, making it accessible even for those who are new to gardening. I love the idea of having fresh herbs readily available in such a stylish and space-saving manner. The tips on selecting the right herbs and the creative ways to arrange the pots are particularly helpful. Thanks for sharing such a detailed and practical guide!
Keraton Alam says
What a fantastic guide for creating a custom potted hanging herb garden! The instructions are detailed and easy to follow, making the project seem very manageable. I particularly appreciate the tips on choosing the right herbs and how to care for them. The hanging design is not only practical but also adds a beautiful touch to any space. This is a great way to bring fresh, homegrown herbs into the kitchen. Thanks for the inspiration!
Bunola Mahesh says
Thanks for this wonderful post. I was planning to do something similar for quite some time and now I know exactly what I need. Thanks once again.
Statistical Aid says
Love this DIY idea! A custom potted hanging herb garden is a beautiful and space-saving way to keep fresh herbs within reach. Perfect for any kitchen or balcony!