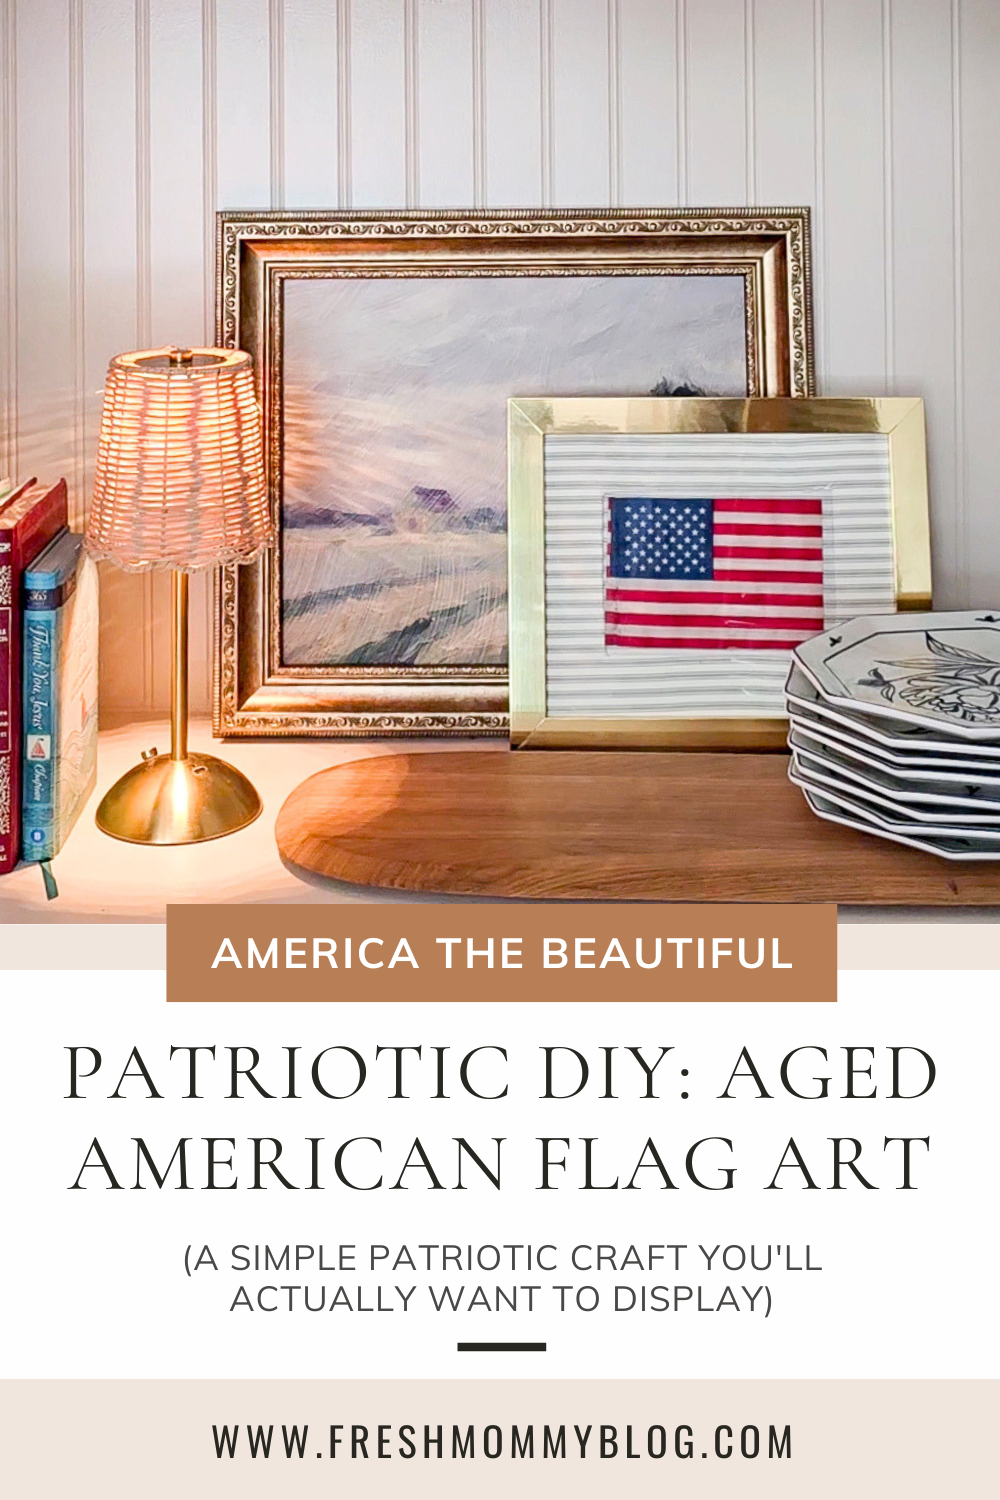
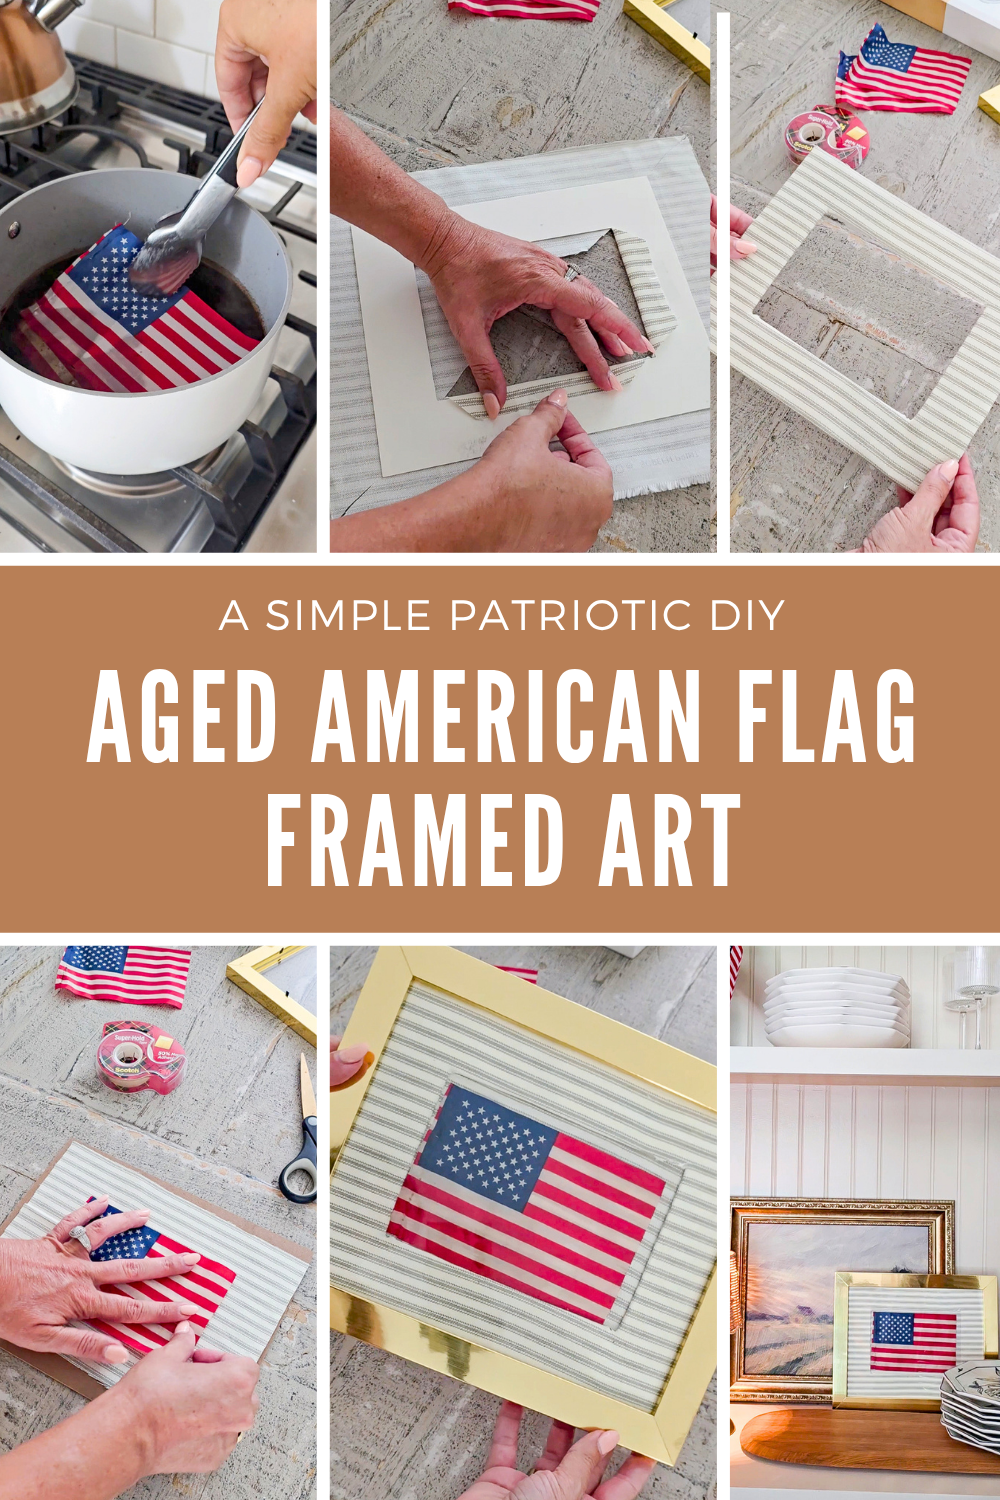
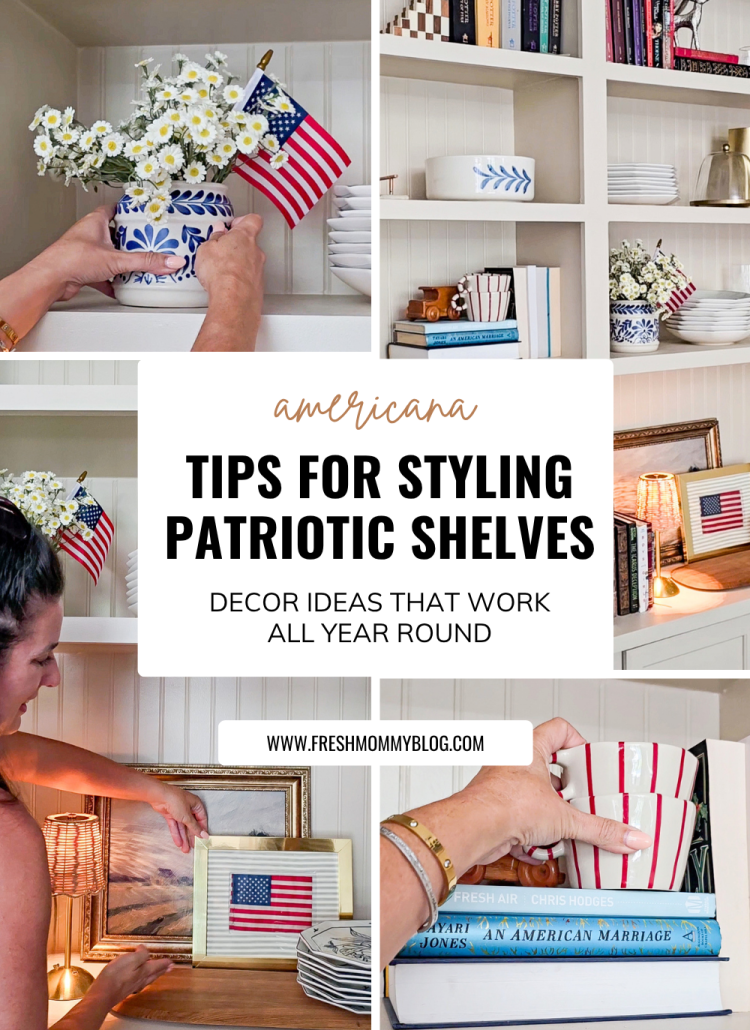
There’s something about adding a little bit of Americana to your space, that just feels homey, especially when it’s handmade and doesn’t scream “holiday decoration.” This project is one of my absolute favorites because it’s genuinely easy, it costs next to nothing, and it gives you something beautiful that can live on your bookshelf or countertop all season long without feeling overdone.
We’re talking tea-stained (or coffee-stained) flag art, friend. And yes, it’s just as simple and charming as it sounds.
What You’ll Need
- A small American flag (the kind you can find at most dollar or craft stores)
- Tea bags or instant coffee
- A pot of boiling water
- A picture frame with a photo mat (this part matters, more on that in a sec!)
- Fabric of your choice. Think linen, burlap, a soft stripe, or any neutral that feels cozy and classic to you
- Scissors
- Tape or a hot glue gun
That’s it. Seriously.
shop supplies here:

Step One: Give Your Flag Some Age
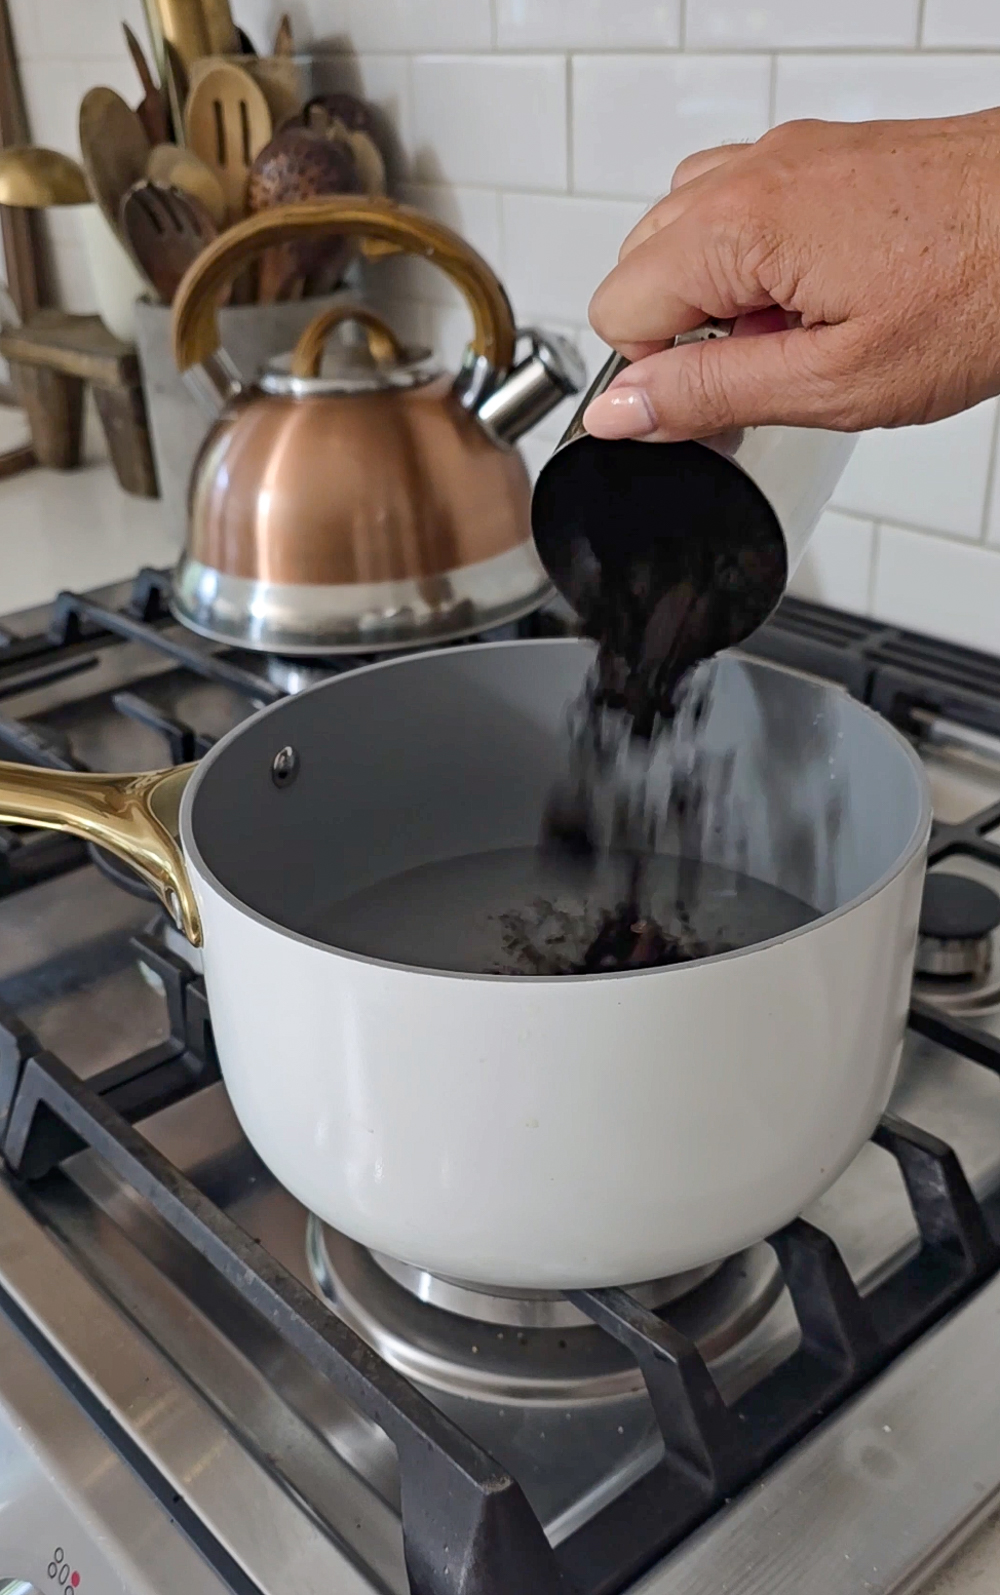
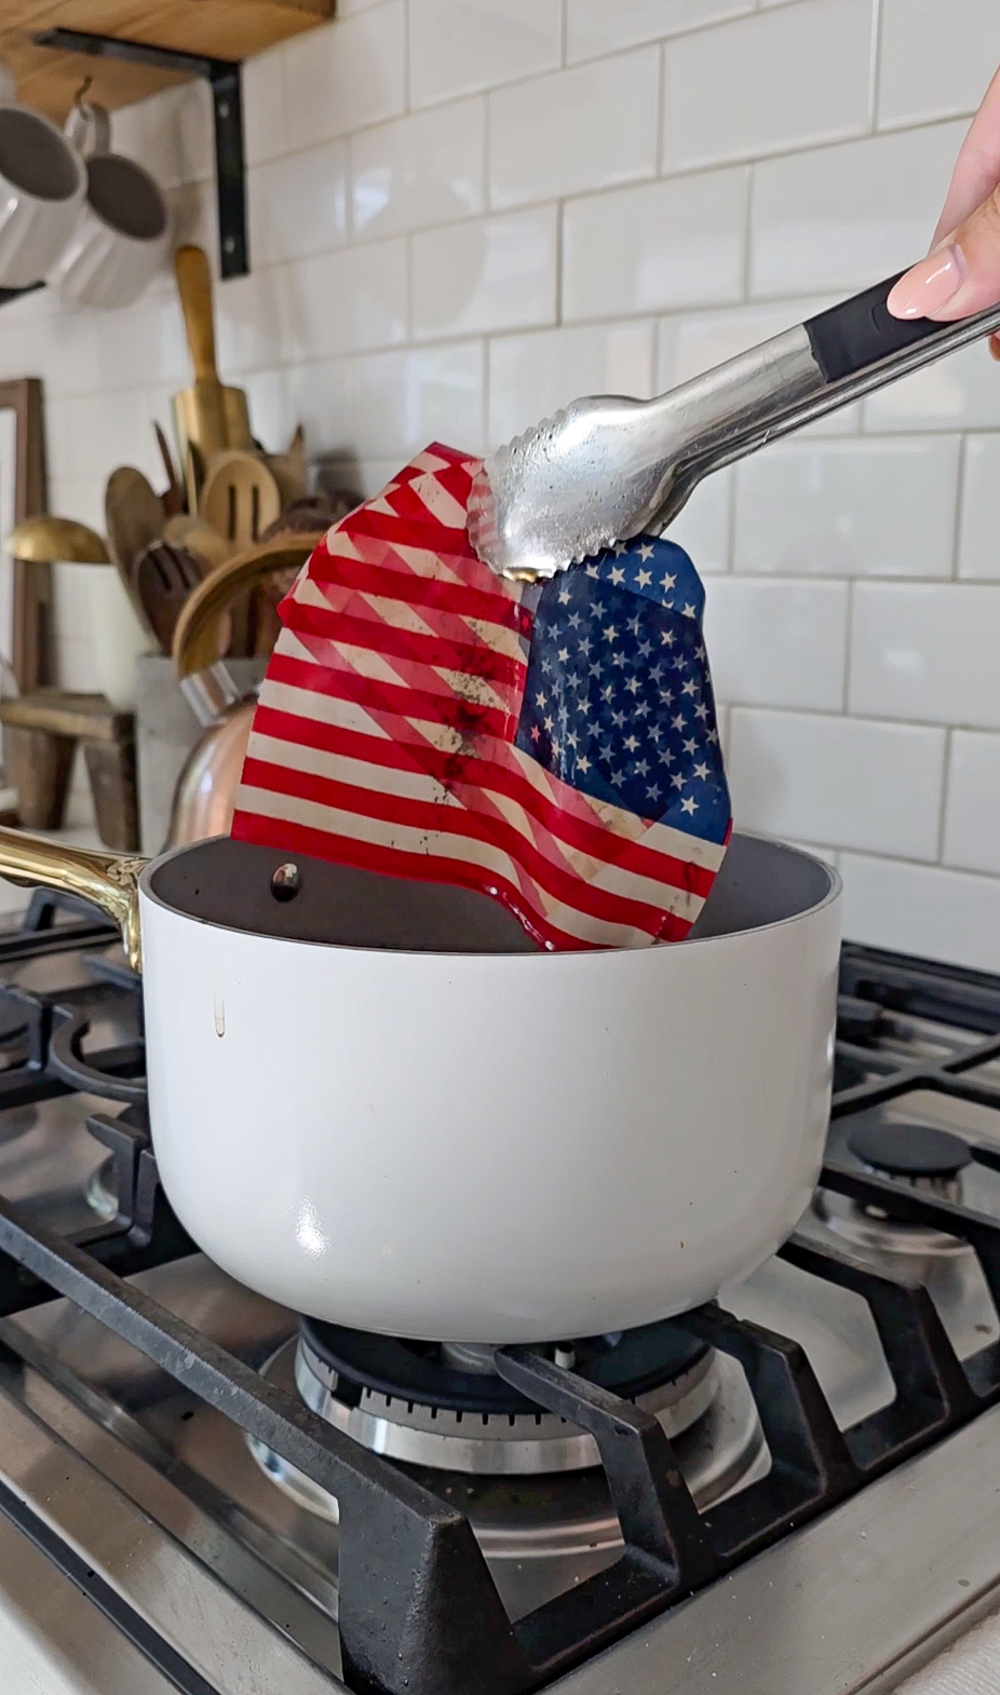
The first thing we’re going to do is steep our flag, just like we’re making a cup of tea because, well, we kind of are.
Boil some water and add several tea bags or a spoonful or two of instant coffee. The stronger your brew, the deeper and more aged your flag will look. Lower your small flag into the water and let it steep until you reach the color you love. It might take just a few minutes, or you can let it sit longer for a really rich, antique look. Keep an eye on it and pull it out when it feels right to you.
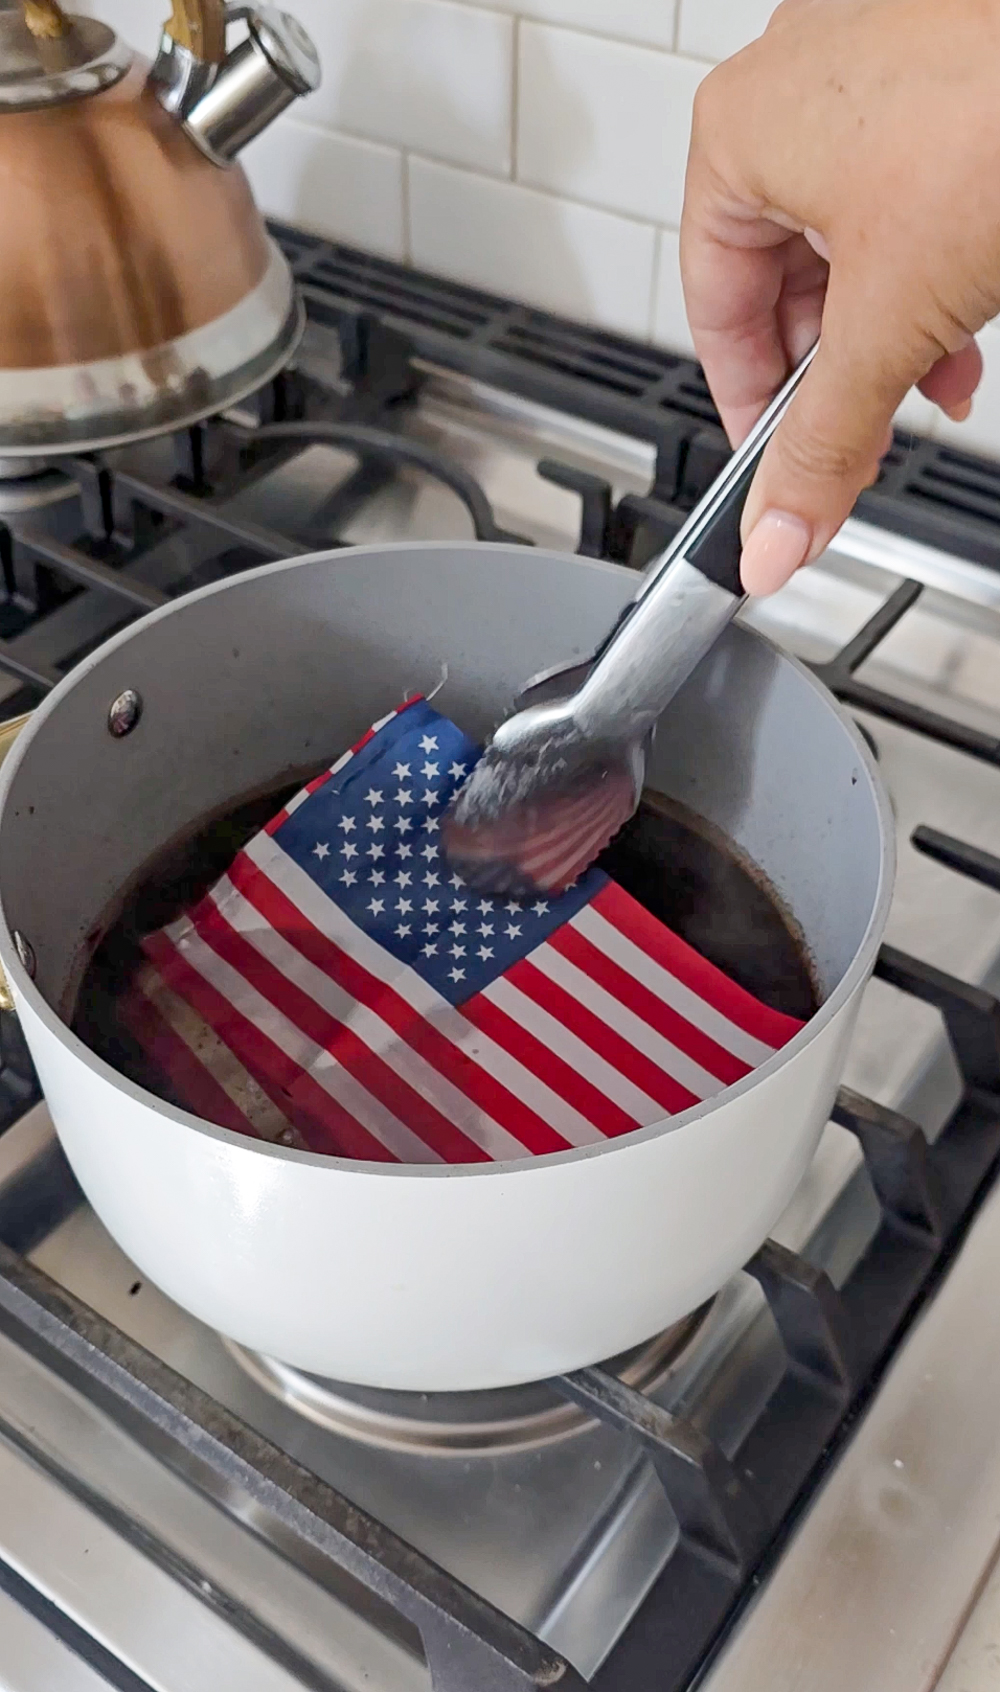
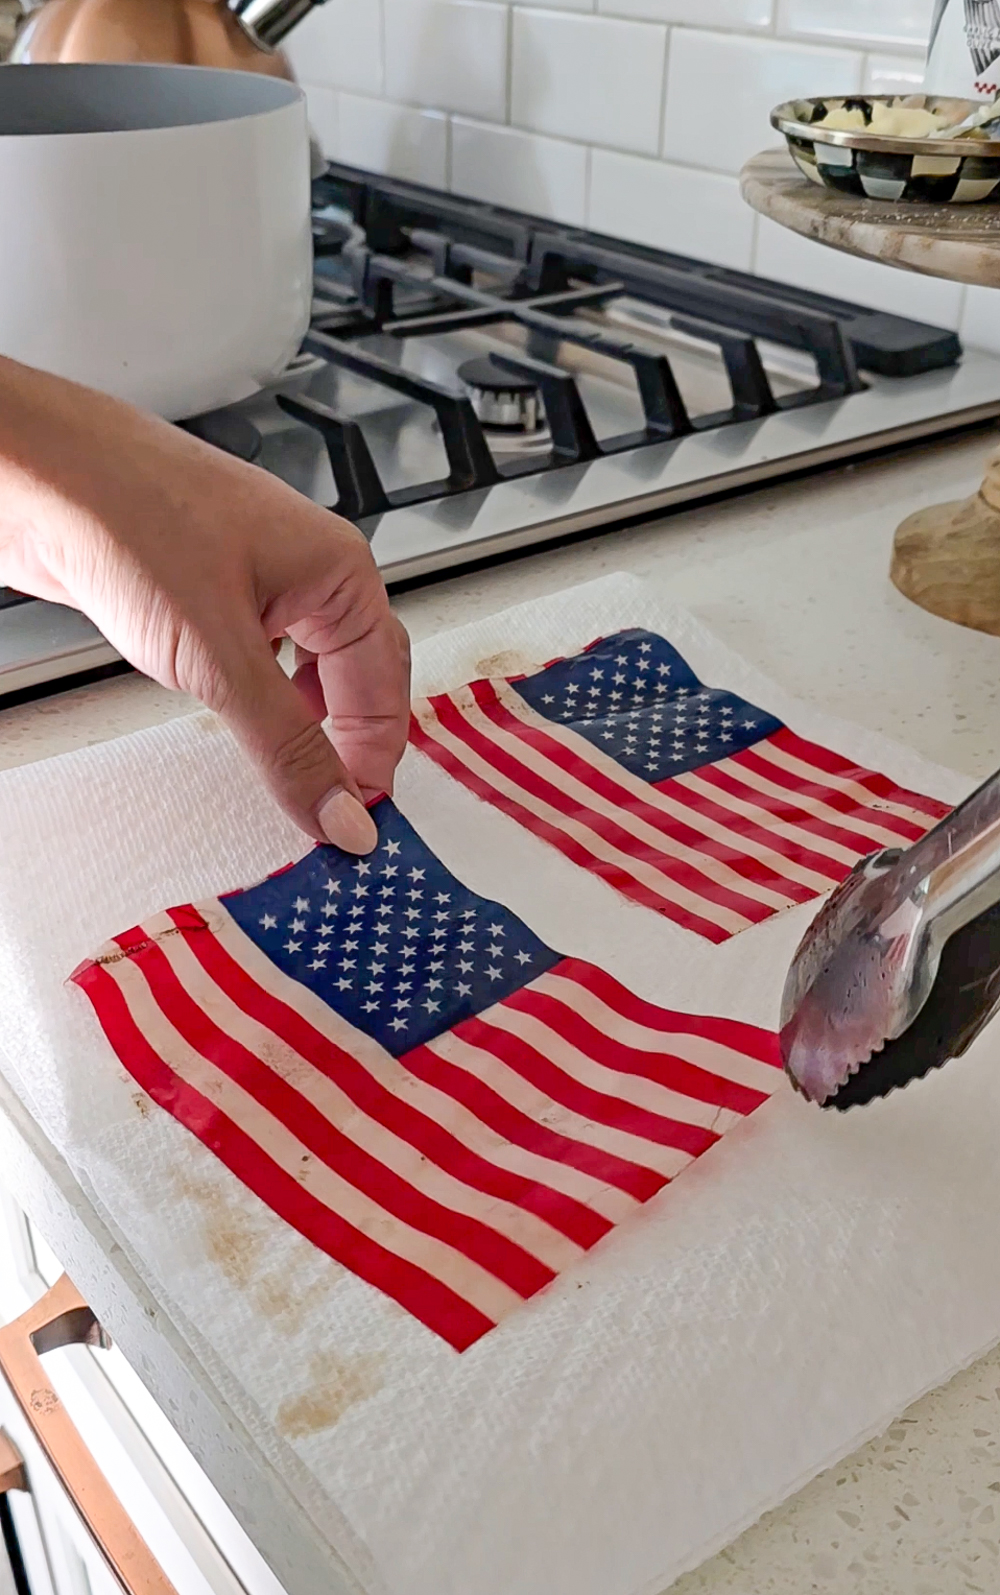
Once it’s done, take the flag out and lay it flat somewhere to air dry completely. Don’t rush this step, you want it fully dry before it goes into your frame.
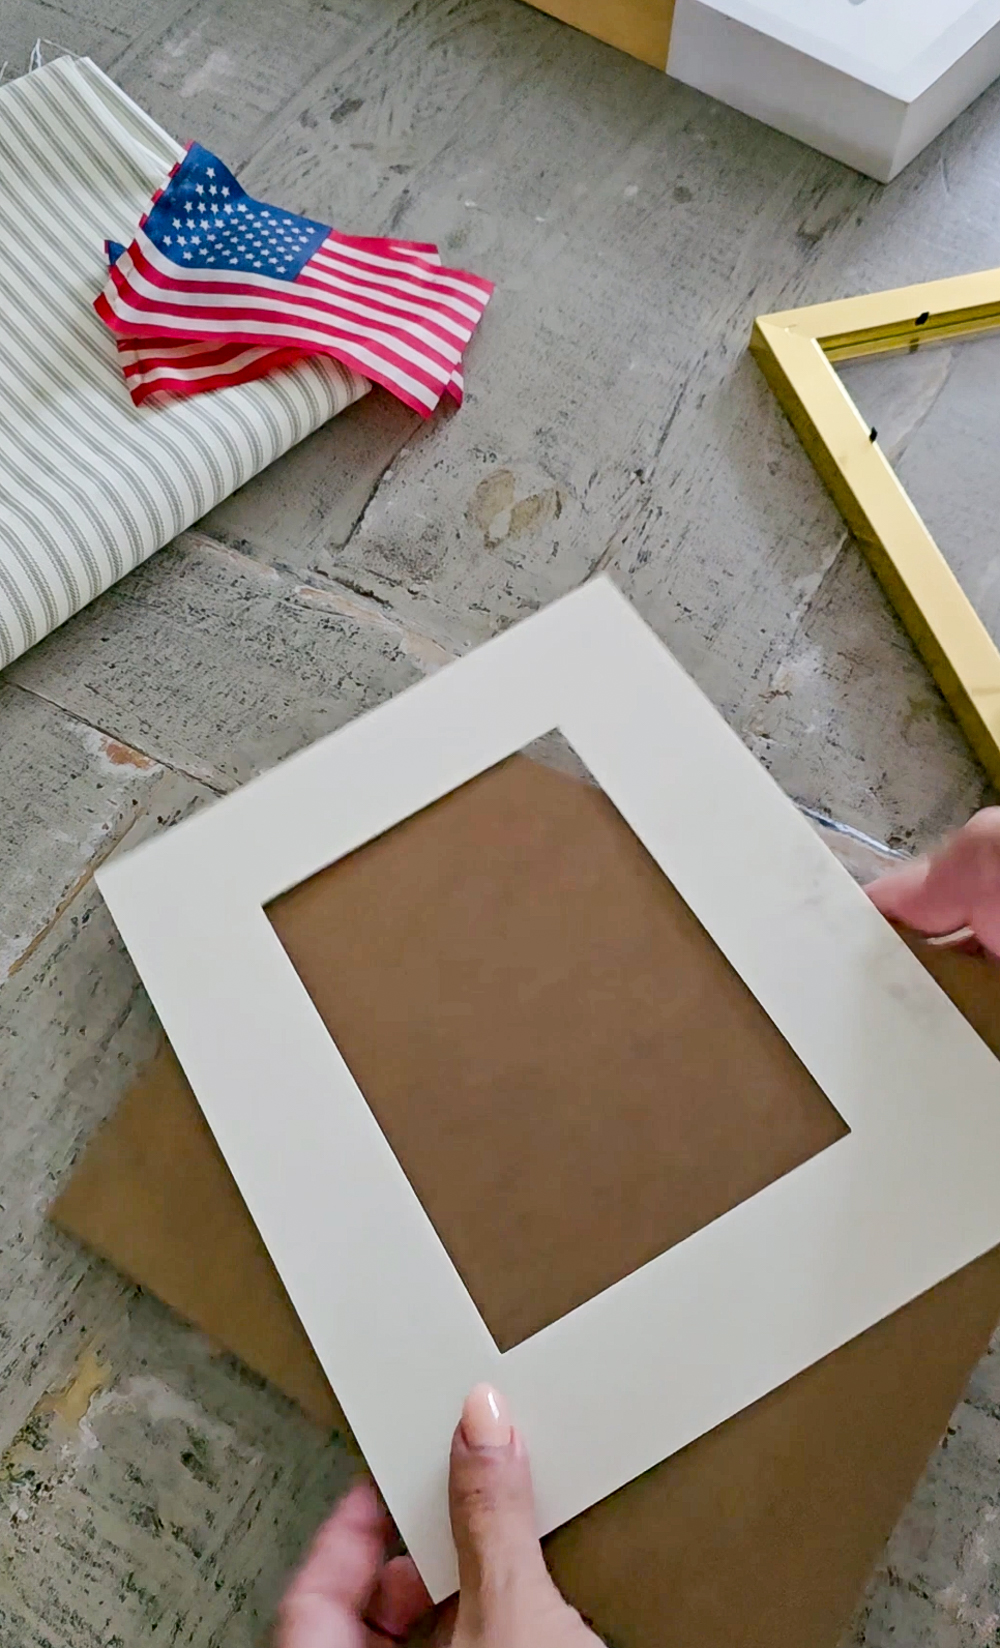
Step Two: Wrap Your Mat
While your flag is drying, let’s work on the frame!
You’ll want a 5×7 frame that comes with a 4×6 photo mat, that cardboard border piece with the opening in the center. The size can vary depending on the size of the American Flag you choose. Our flags were the small ones so that is what worked best for us. This is the key to making the whole project look polished and intentional. We’re going to wrap both the mat and the cardboard backing in fabric.
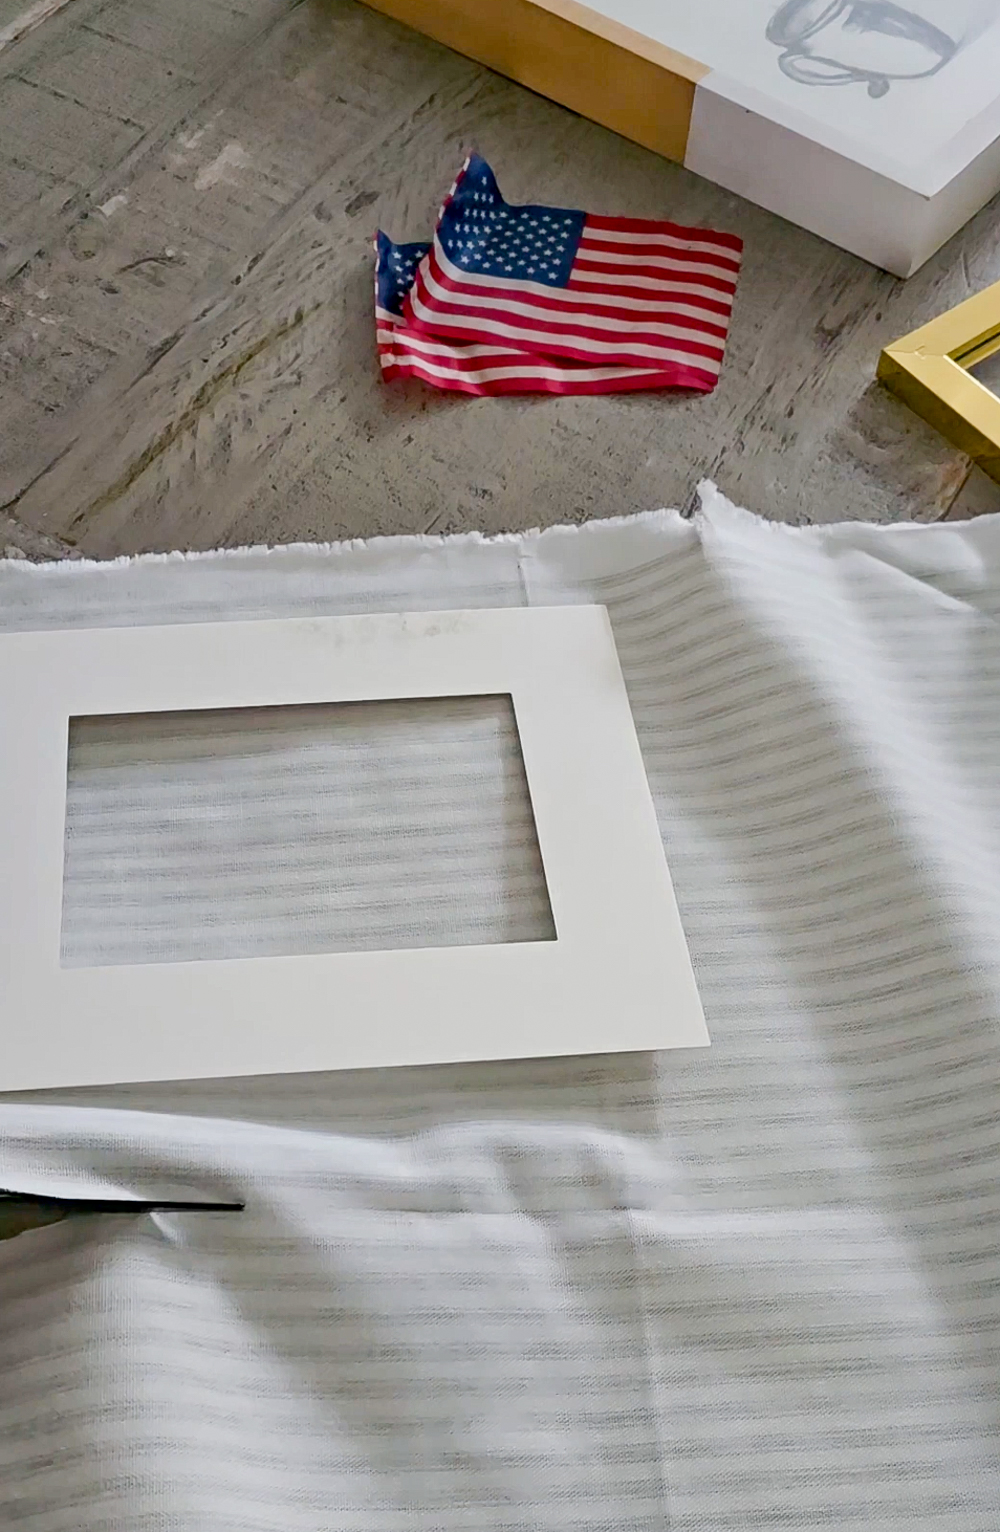
For the mat: Cut a square of fabric that’s big enough to fully cover the mat with a little extra on each side, you want enough overhang to fold around to the back and attach it there. Lay your mat face-down on the fabric, fold the edges over, and secure them with tape or hot glue. Nice and snug.
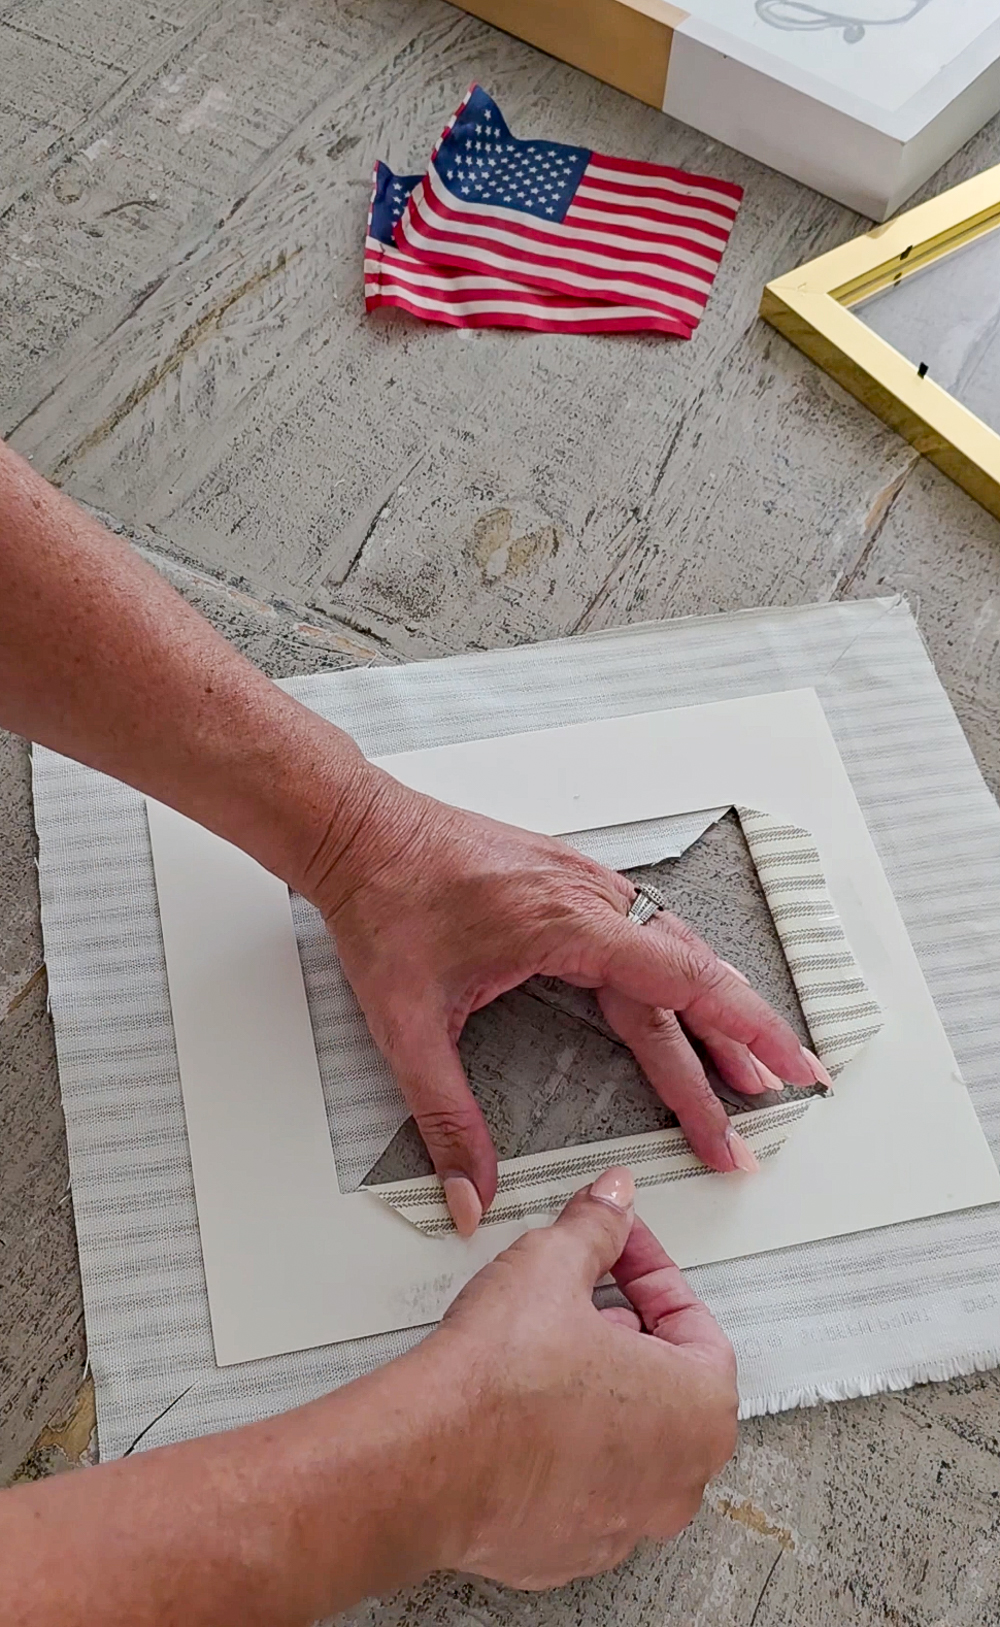
Now for the center opening: use your scissors to make a cut right in the middle of the fabric covering the opening, then cut diagonally toward each corner. You’ll end up with four little fabric triangles (you can trim the triangle tips if needed.) Fold those triangles toward the back of the mat and trim any excess, then secure them down. It sounds fiddly but I promise it comes together quickly and looks so clean once it’s done.
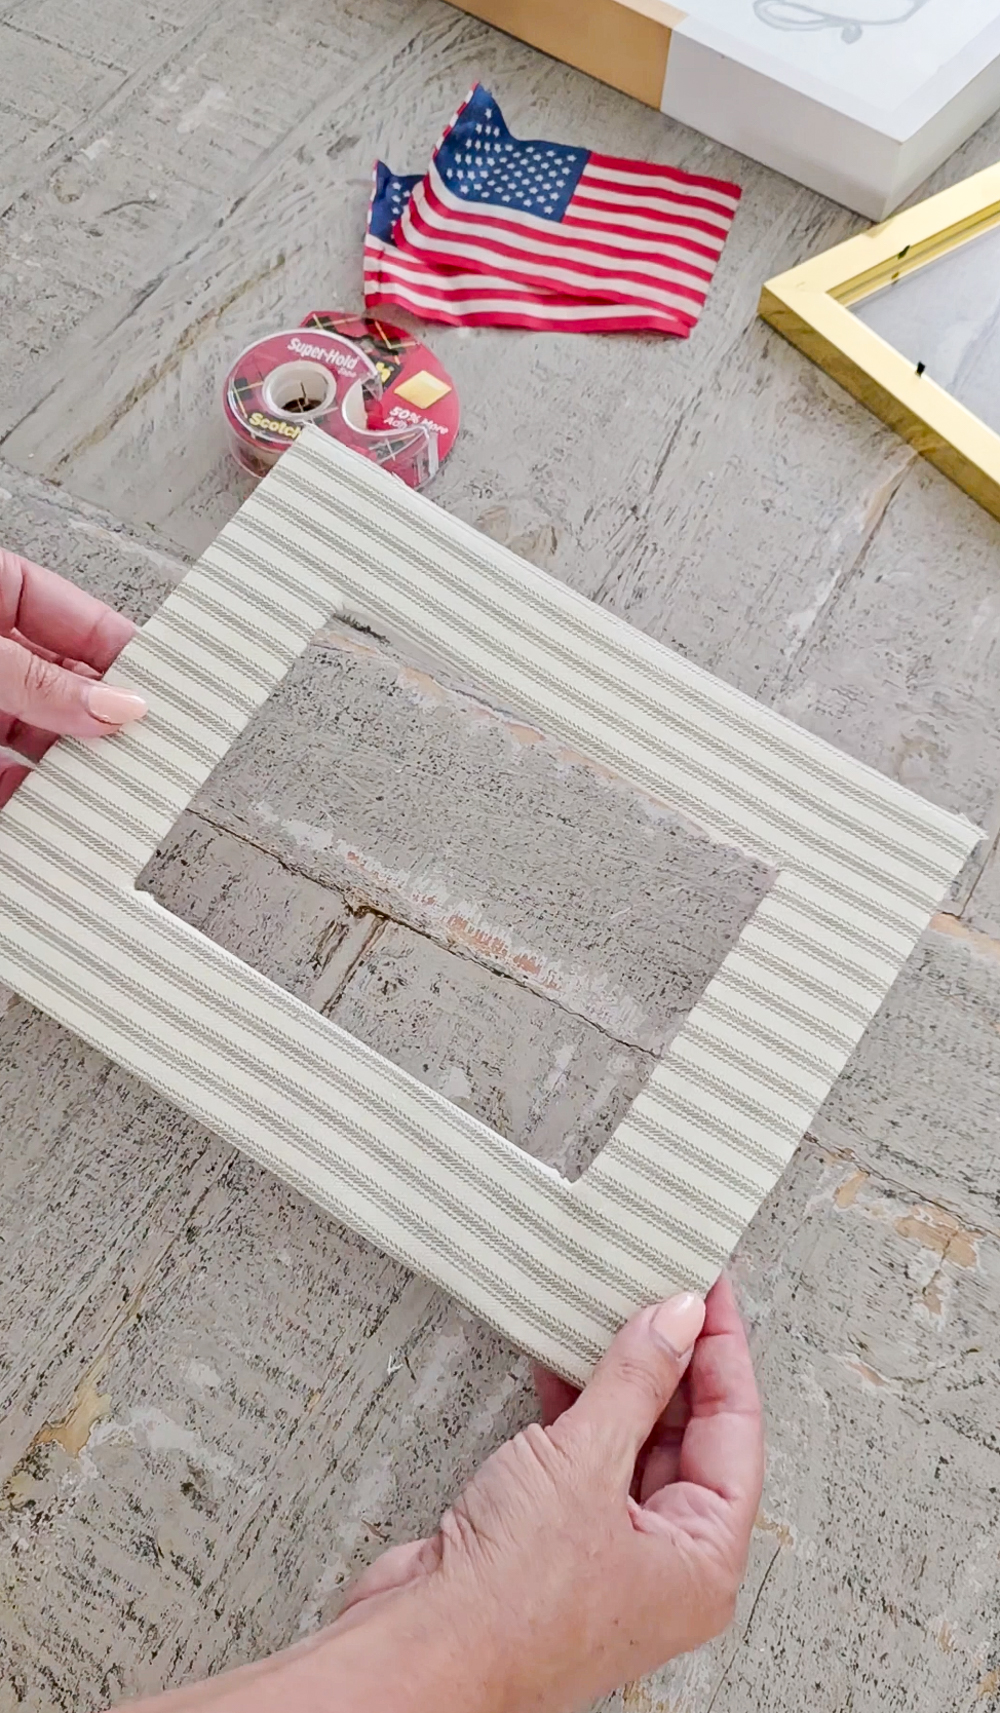
For the cardboard backing: This one is even easier. Since the frame itself will cover the edges of the backing, you don’t need to do a full wrap. Just cut your fabric to the exact size of the cardboard and attach it flat. Done!
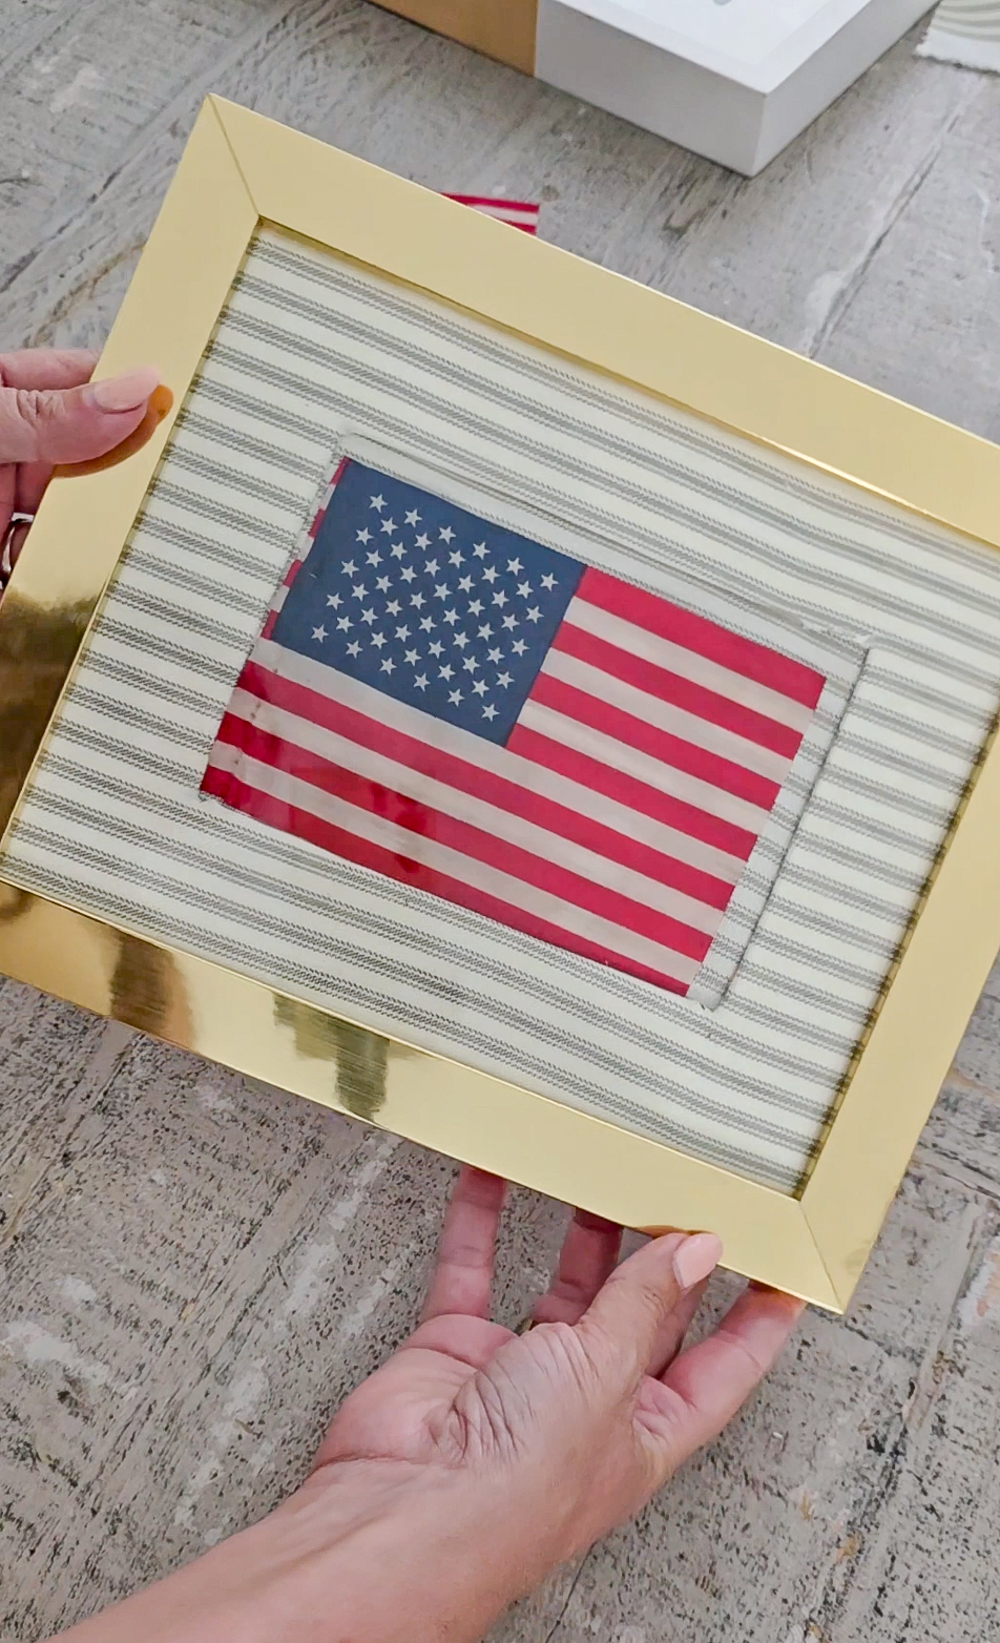
Step Three: Assemble and Style
Now for the fun part, putting it all together.
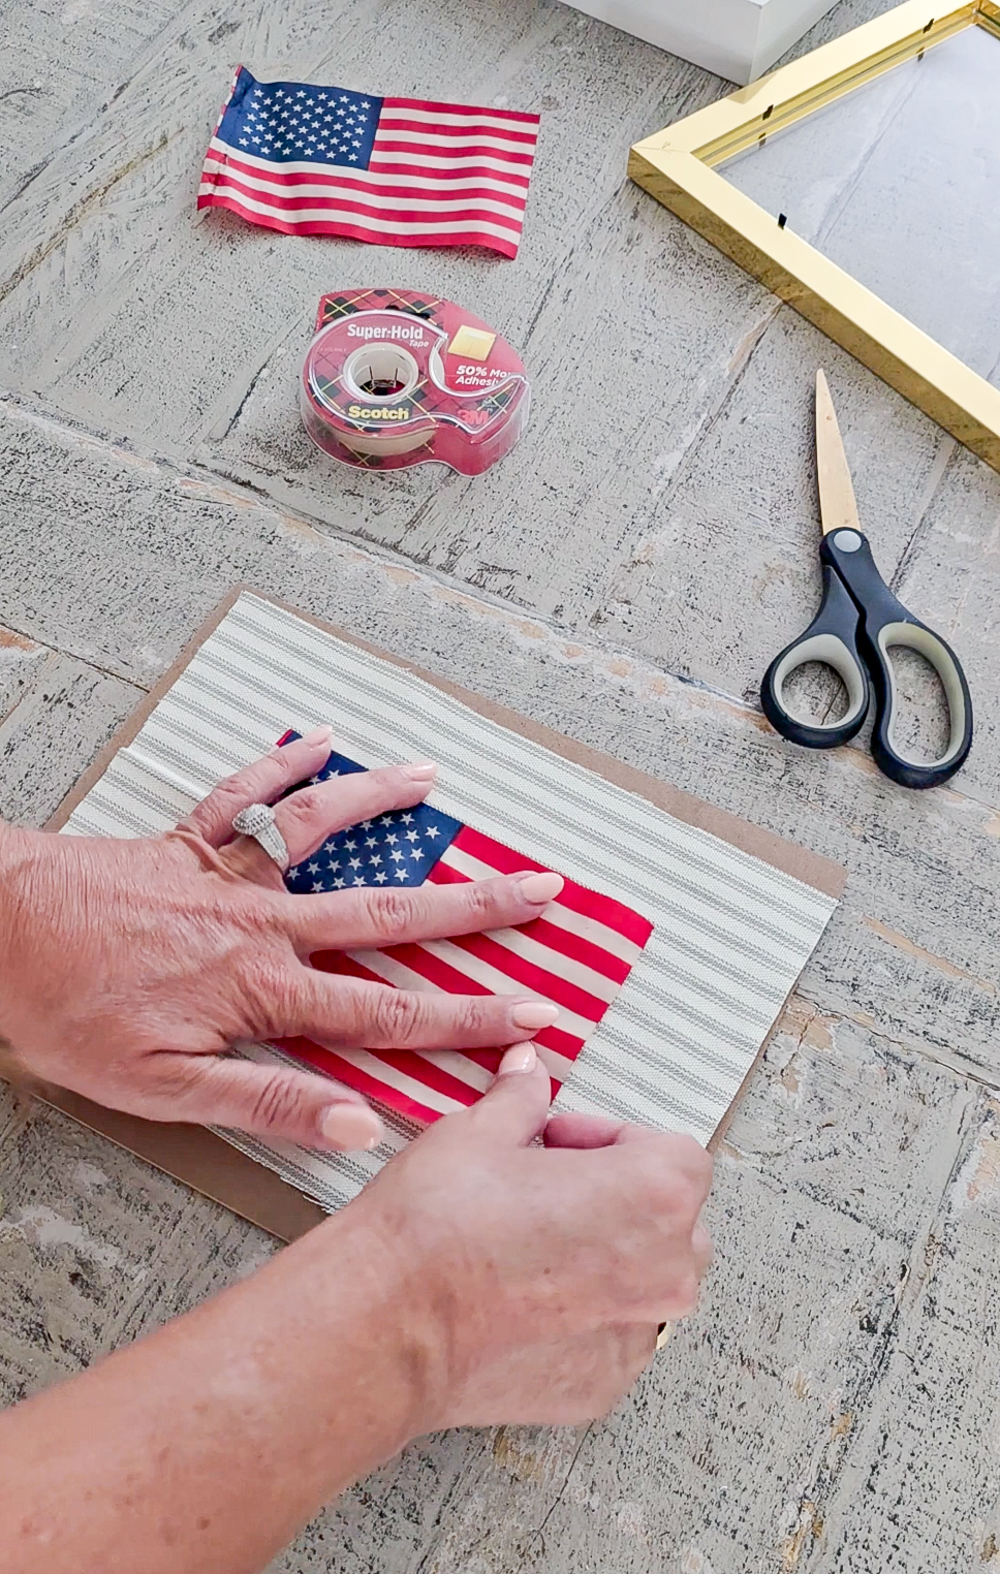
Lay your dried, aged flag in the center of your fabric-wrapped mat. If it has any stubborn folds or curled edges, a little tape on the back will help hold it in place and keep everything looking smooth. Then pop everything back into the frame, and just like that you have the most charming little piece of Americana art.
The Sweetest Little Shelf Moment
What I love most about this project is how quiet it is. It’s patriotic without being loud. It feels vintage, intentional, and handmade, because it is. It’s the kind of thing that looks equally at home on a bookshelf, a fireplace mantel, a kitchen counter, or a little styled corner of your entryway.

And because the color palette is so neutral and natural, it honestly works year-round. Bring it out for Memorial Day, keep it through the Fourth of July, pull it back out for Veterans Day, it never feels out of place.
I’d love to see yours if you make it! Tag me @tabithablue on Instagram so I can cheer you on. 🤍
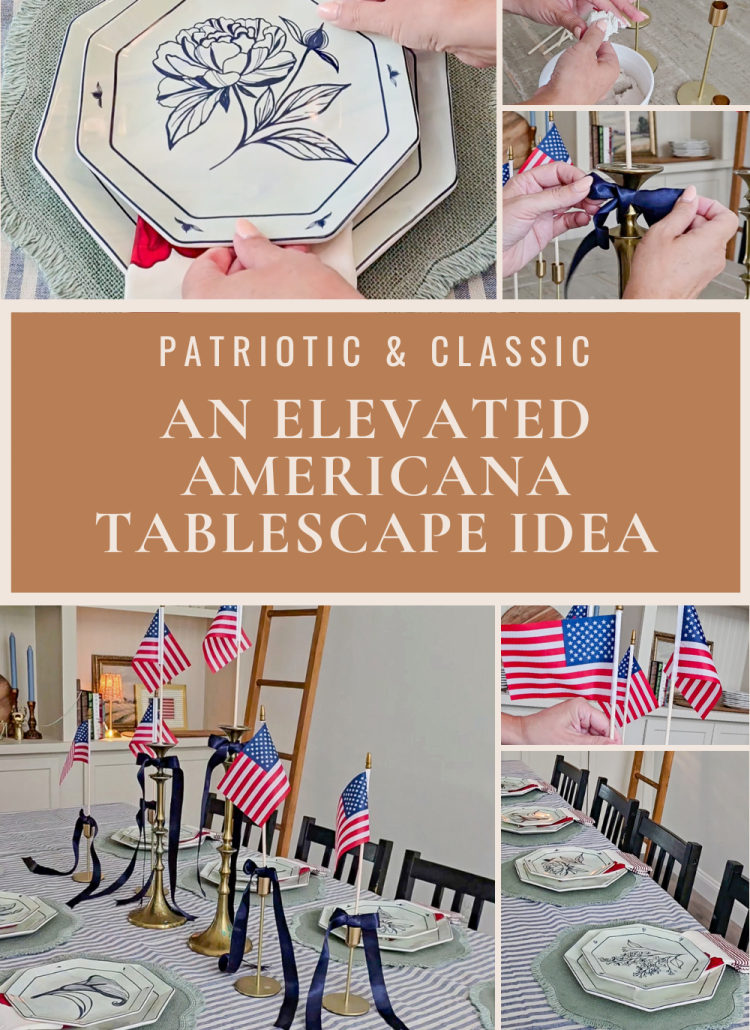
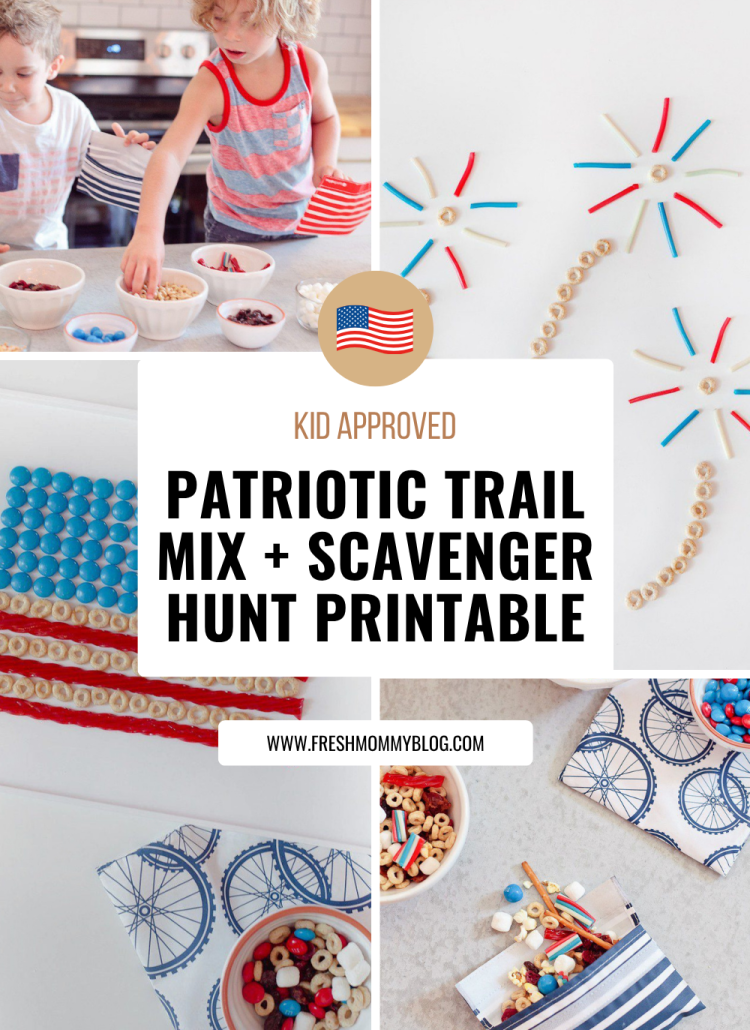
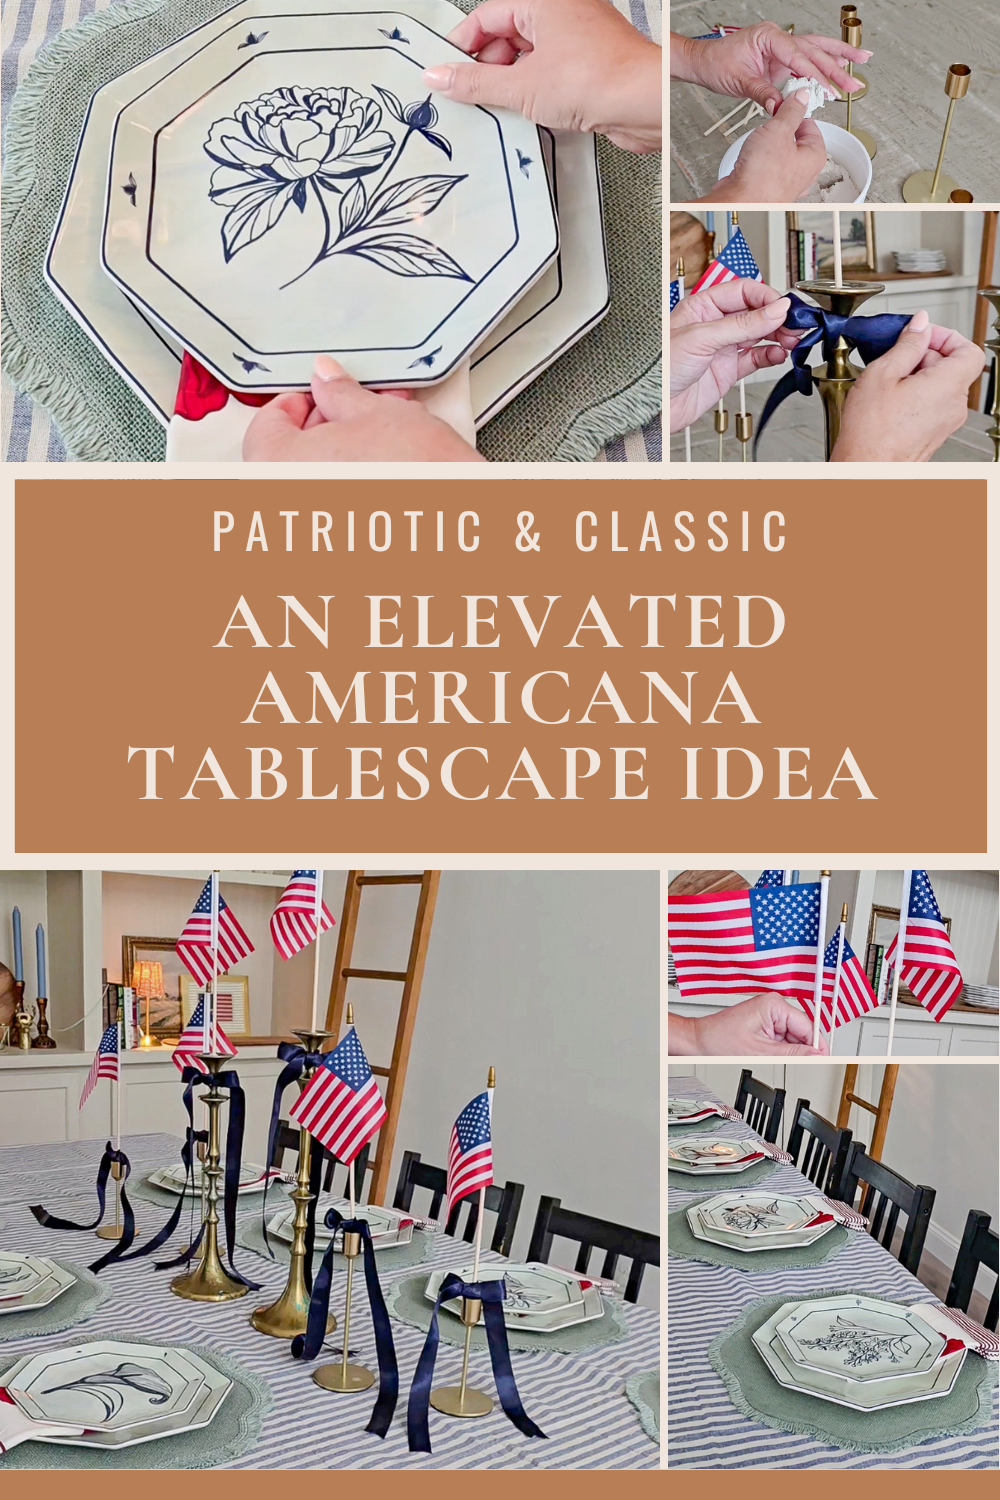
Looking for more easy patriotic projects? Check out the DIY Americana Bracelets Craft and this Patriotic Flag Snack Tray I have two more Americana-inspired ideas coming your way this season!


Leave a Reply