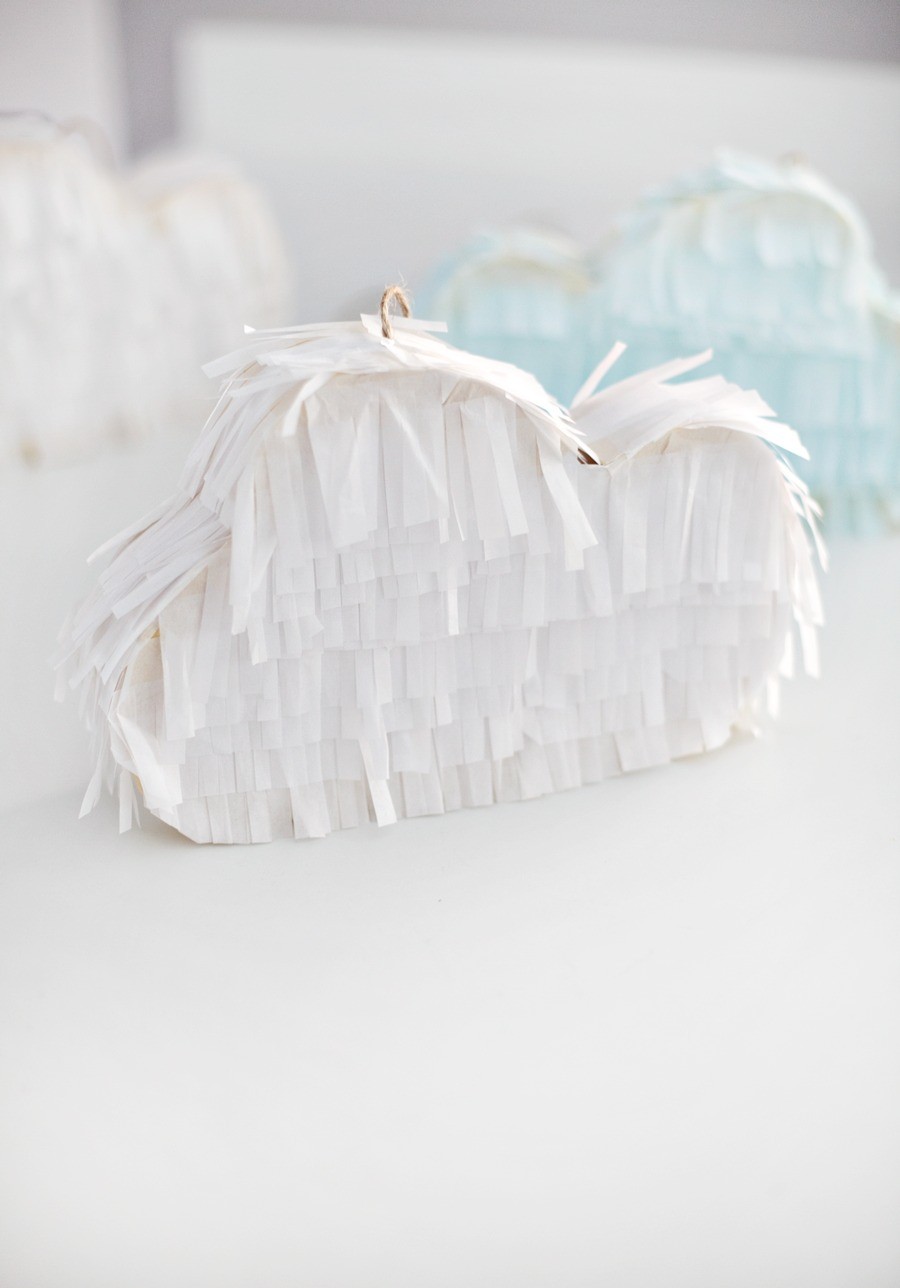
There’s nothing that says “party” like a piñata, and it’s actually fairly simple to make your own DIY mini piñata fit in with any theme!! For our sky party this past weekend, I was all about these cute mini cloud piñatas! Yes, it’s a tad bit time consuming, but just hunker down with all of your supplies in front of the Hallmark channel for an evening and you’ll be all set. I’m not the only one who uses that channel as a crafting guilty-pleasure, right? One really big upside, you can save some serious cash by making your own. Since I had most of the supplies on hand, it cost me less than a dollar to make these!

Items needed//
– Card-stock Paper or Poster Board
– Masking Tape
– Scissors
– School Glue
– A Pen or Pencil
– Tissue Paper (Whatever Colors You’d Like)
– String or Twine
Instructions//
Step One: Trace your shape, I drew a cloud shape, onto your poster board or card stock and cut out. Use your cut-out to trace a second matching shape and cut out. This will be your front and back of the piñata. With your remaining paper, cut out long strips about 1 1/2 inches wide. If you’re using poster board, cut your strips lengthwise so that you have one or two long strips.
Step Two: With your masking tape, wrap your strips of paper around the shape that you cut and begin to attach. Continue to follow the shape, attaching with masking tape all the way around, until you’ve reached the top. Leave about 2 inches of space open at the top at this point. This will be the front of your piñata. Using your second matching shape, repeat with the masking tape attaching to the back side of your piñata.
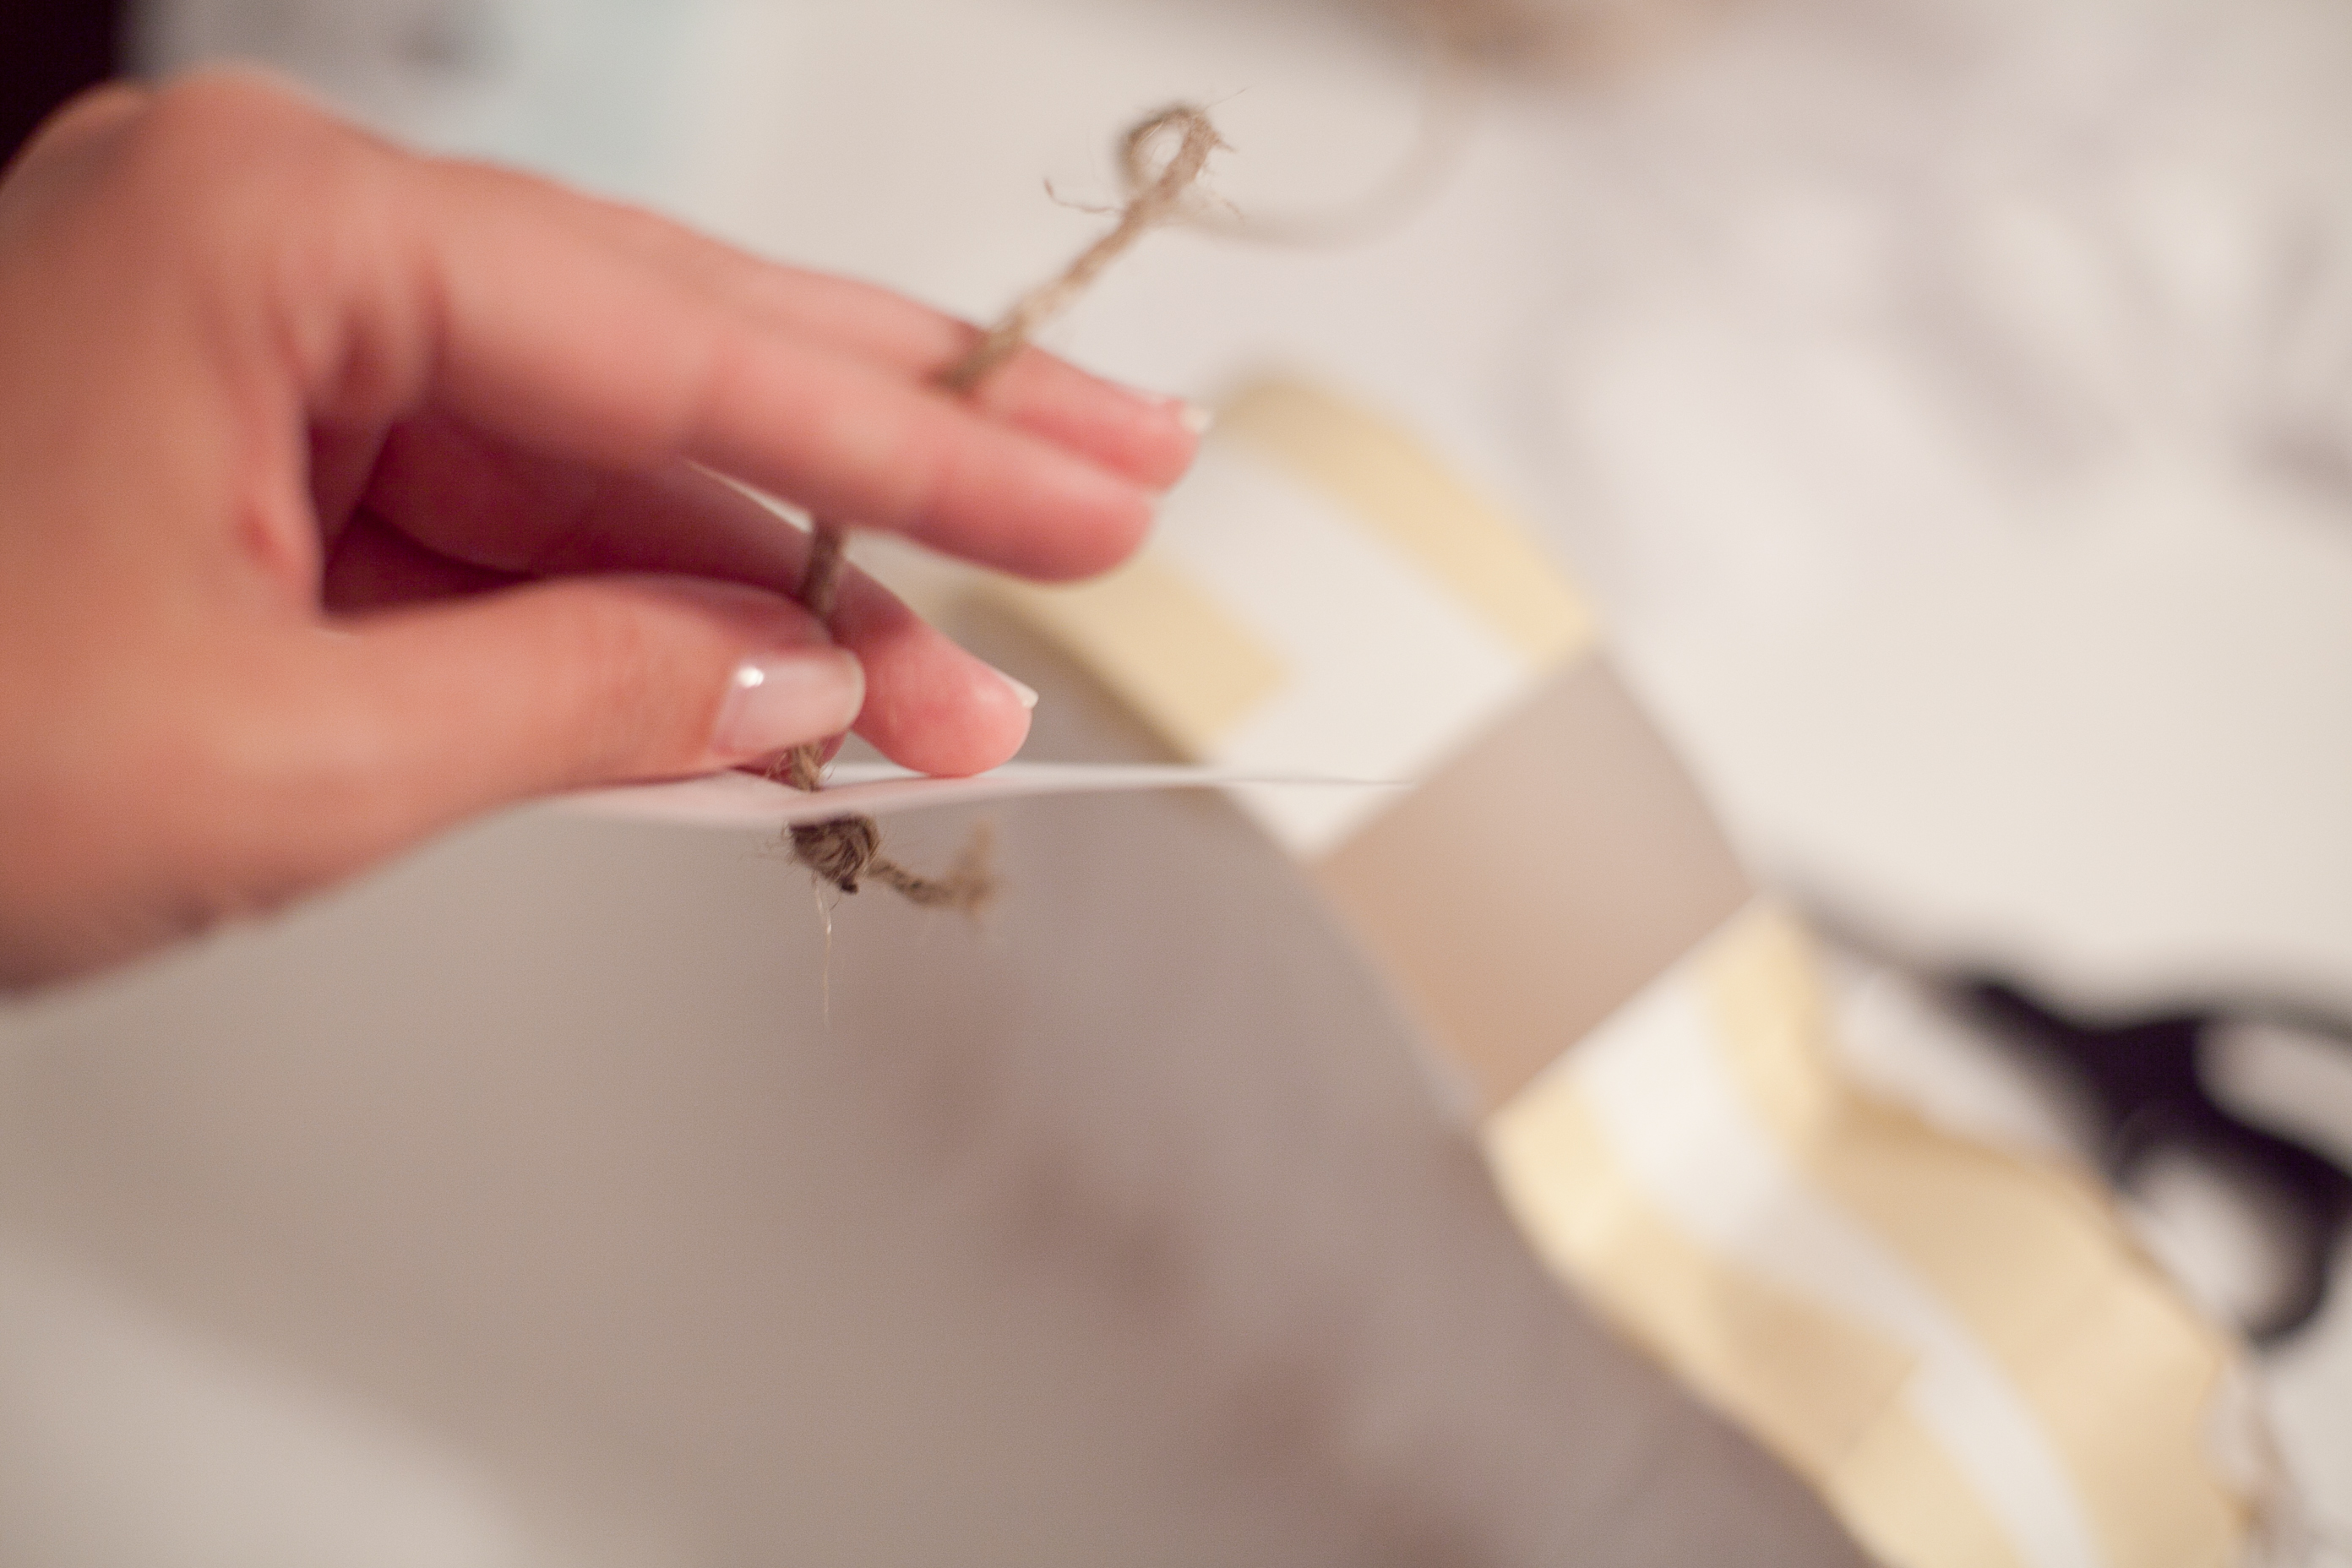
Step Three: Fill your piñata with candy or favors. Cut another strip that is just a tad longer than the opening at the top of your piñata and pierce a small hole in it. Thread your string or twine through the hole and tie a thick knot underneath. This will close off the top of your piñata once it’s attached. Using your masking tape again, attach this small strip to the cover the opening of the piñata, and make sure to attach well. The weight of the piñata hangs on this piece.
Step Four: Cut strips of tissue paper about 1 1/2 inches thick and then score the paper creating a fringe effect. Make sure not to cut all the way through when scoring, and leave about 1/4 inch at the top. Once you’ve got a good amount of fringe, go ahead and start gluing to the piñata beginning at the base and working your way to the top, overlapping as you go. After the front and back are covered, trim the excess, and then glue strips around the sides, trimming as you go.
These little piñatas are just so cute and adorable, making them just made me want to find excuses to make more and perfect my crafting! So, don’t be surprised if you see more of these little things popping up around here. Thank you for following along in our Birthday series this week, there’s still more to come!! And if you missed our Confetti Popcorn recipe with free popcorn box printable templates, or our post on how to make you own smash cake, go ahead and check them out! I promise, more birthday party photos are coming soon.
xo


Leave a Reply