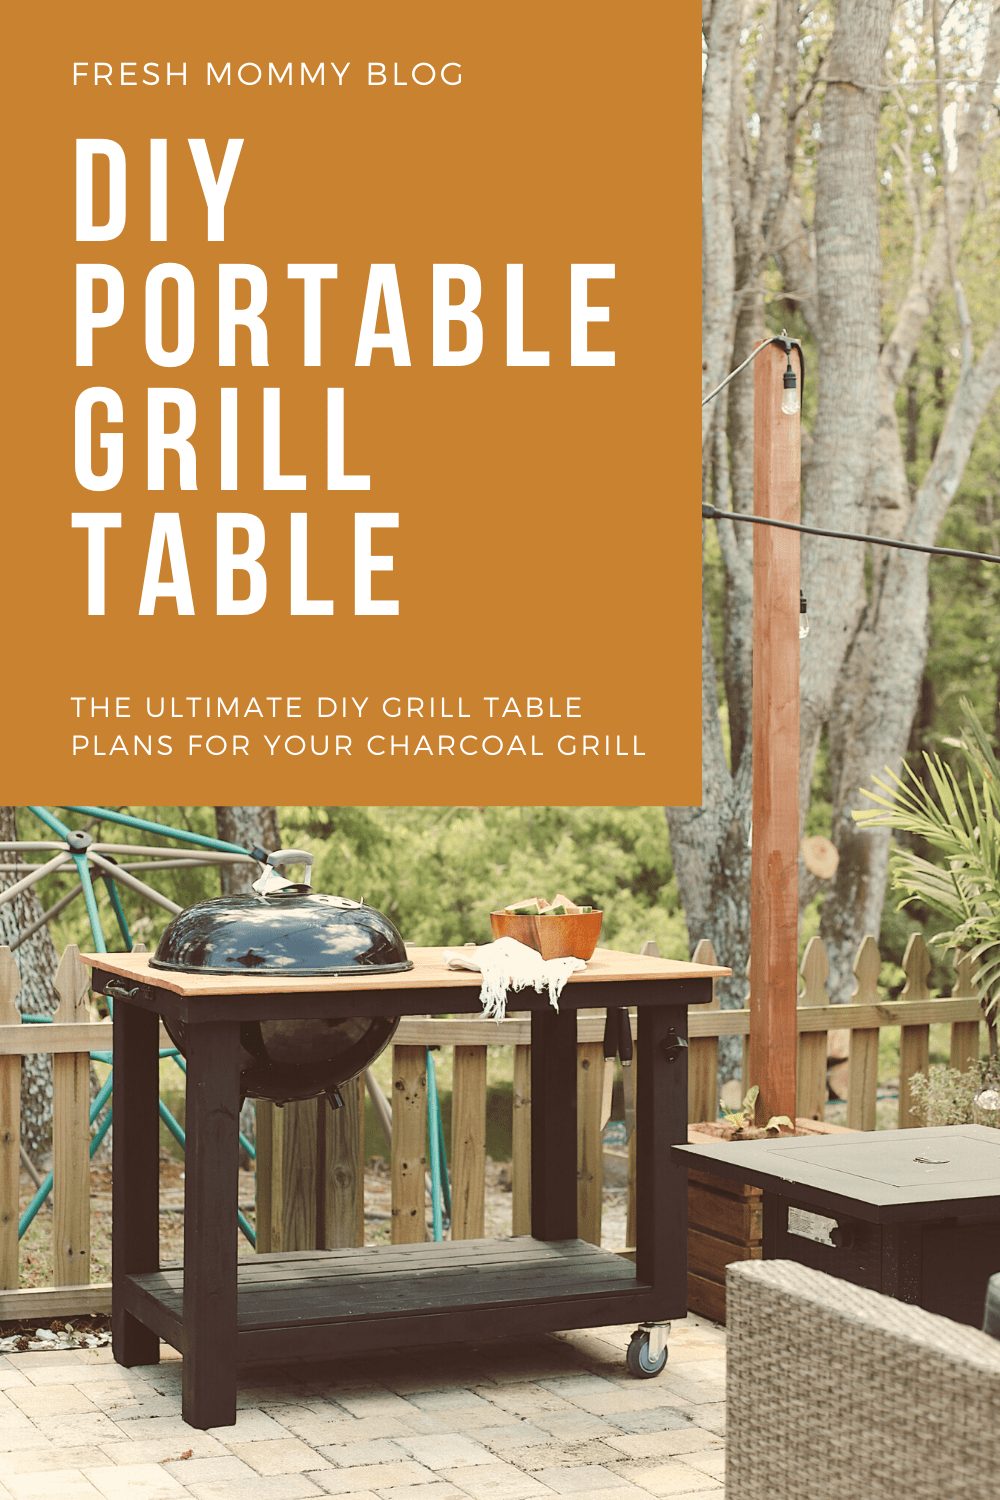
Are you ready to take your patio to the next level with a DIY BBQ table? It’s an awesome way to give your outdoor living space an added touch of luxury. And since you are making your DIY BBQ grill you can make it custom, just the way you want it, so your DIY grill table works best for the way your family lives.

We are OBSESSED with how this DIY portable BBQ table turned out! It was easy to do and fits our weber charcoal grill perfectly. Apologies for the quality of this video. As you can see, we originally just shot Instagram stories as we shared how to build a weber grill cart. It got so popular on Instagram that I thought I would share here as well!
Don’t worry if you haven’t done a DIY before. It doesn’t have to be scary. We have you covered with our quick tips to get you ready, and all the instructions we used to make our DIY Weber grill.
You can do it!
So, keep reading for what we think is the best post on how to make a DIY grill table.


Table of Contents
How to Get Started on a DIY BBQ Table
There are a few steps you should take before starting your first DIY. Whenever I get the question of how do you get started in DIY, I answer with “just start.” You’ll never be able to if you don’t get pick up a drill or a piece of wood and start doing something with it. By following these tips you are a lot more likely to have a successful project and a more enjoyable time making it.
Find Inspiration
Hey, you’re so good at this DIY stuff you’ve already done this step by reading this post. We hope our DIY grill table is the inspiration for your first project. But we recommend that you search for inspiration resources (such as Pinterest, home improvement store sites, or right here on the Fresh Mommy Blog) for all of your future projects.
They can be very helpful with pictures, instructions, and do’s and don’ts. These tips will guide you on your way through your DIY whether it’s a DIY BBQ grill, something simpler like a DIY coloring wall, or something a little bigger like a DIY slat fence.
Gather Your Supplies
Gathering your supplies sounds pretty basic, but any DIYer can run into the problem of thinking they have supplies on hand to only find out they didn’t. Don’t risk breaking your workflow, or worse having to stop completely if you can’t find what you need at the store.
Take the time to gather all of the supplies and tools you need before you even start. You will be glad you did when you can complete the project quickly.
Go Through the Directions
Be sure to read through all of the directions before starting. If you don’t understand what something is or means do a little research before you get going. And if you aren’t sure if your skills are up to the level you need you can always have cuts done in-store at your local hardware center.
Often, the first few cuts are free.
But whatever you do make sure you understand what you are getting into before you are in the middle of it.
Ask for Help
If you don’t understand something ask a pro. This could be a helpful friend or relative, but many times it is likely the person at the hardware store. Your local hardware store is happy to help you—after all, they want you to come back with more DIY projects.
If you happen to be working off of a tutorial like this one, carefully reading through the instructions a couple of times can help, and if you’re still stuck, reach out to the person who wrote them! Send a DM on social or comment on the post.
Don’t be embarrassed to ask, that’s what they are there for.
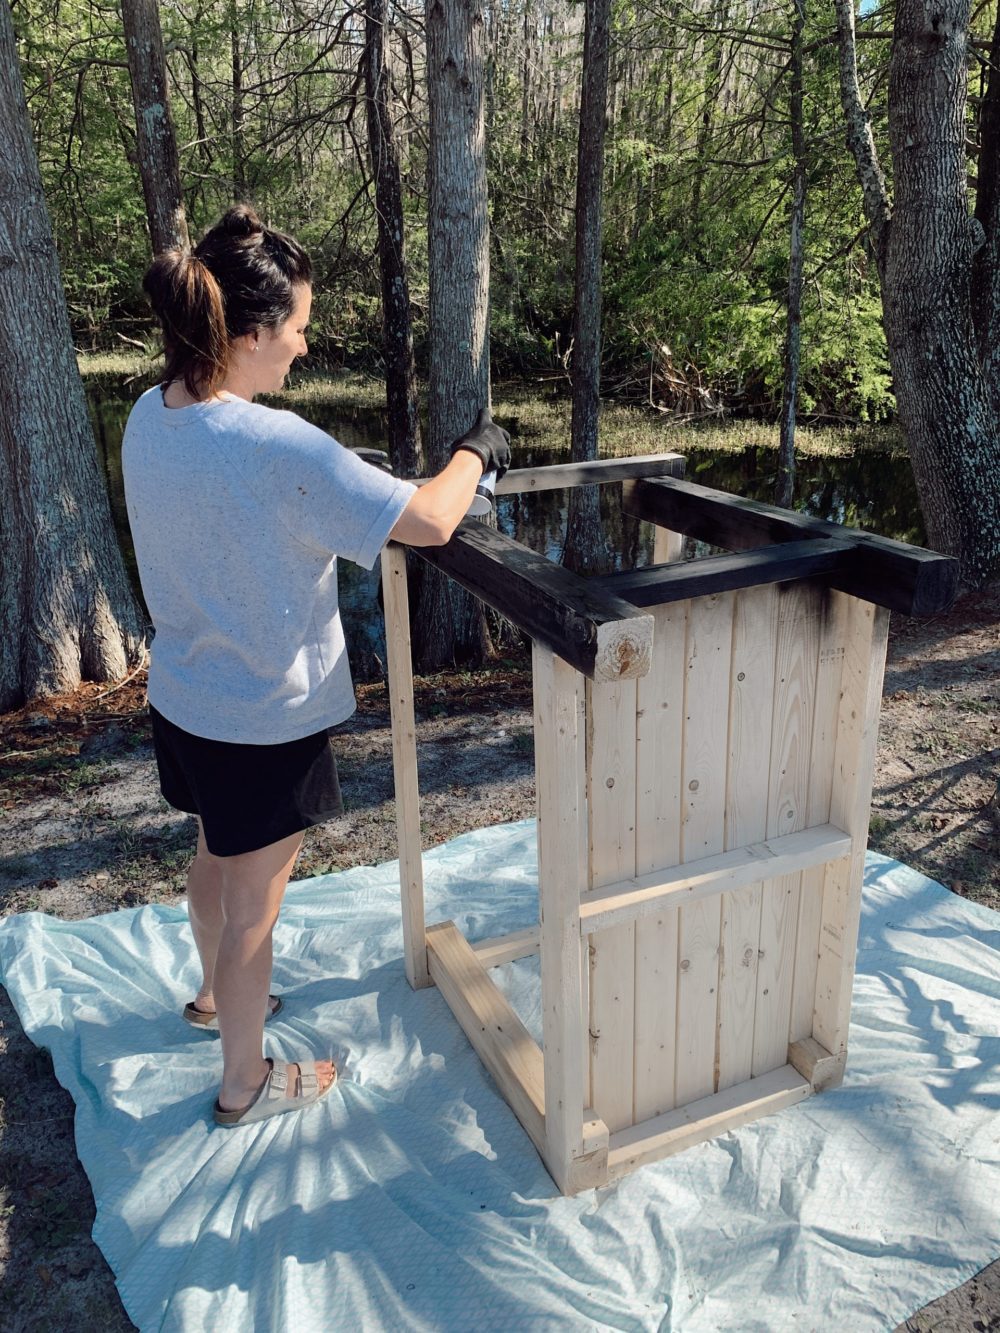
Setup a Work Space
If you are lucky enough to have a workbench then that should be your go-to space. But for the rest of us we need to decide where we are going to work. This can be your garage, a table, or even the floor. The important factors to consider are having enough space to work and the need to transfer any parts.
For example, I might cut all of my wood in the garage, but I will put together my DIY BBQ grill on the back patio. After it is fully assembled it becomes pretty heavy to move.
Make sure that your space is big enough, clear of obstacles, safe, and absent from distractions before you start.


Add Your Joy
Sometimes tackling a big DIY can be actual work. So, I like to recommend adding your own personal touch of joy to your project. This could be enjoying a special drink, a snack, or music while you work.
And if you are diving into a big project think about an easy solution for meals. You might get takeout, delivery, or my recommendation is an easy one-pot meal or prepping a slow cooker meal ahead of time.
Do a couple little things to make your experience the best possible, and then the awesome feeling of accomplishment, when you are done, does the rest.



DIY Grill Table Supply List
(2) 4x4x8 – non treated lumber
(10) 1x4x8 – common boards
(6) 2x3x8 – common boards
(50) Deck screws (star heads) 2 1/2’’ length
(50) Deck screws (star heads) 1 1/2’’ length
(2) Casters – 5 1/2” height
Plastic Wood
Stain
(3) Behr Black Outdoor Spray Can
Bottle Opener
Metal Hooks
Handle
Tools Needed to Build a DIY Weber Grill Cart
Jig Saw
Chop Saw
Drill
Pencil
90 Square
Sander
DIY Grill Table Instructions


Outdoor Grill Table DIY | How To Build a Mobile Grill Cart
A DIY grill table is an awesome way to give your outdoor living space an added touch of luxury. And since you are making your DIY BBQ grill you can customize your grill table plans, just the way you want it, so your DIY grill table works best for the way your family lives.
Materials
- (2) 4x4x8 – non treated lumber
- (10) 1x4x8 – common boards
- (6) 2x3x8 – common boards
- (50) Deck screws (star heads) 2 1/2'’ length
- (50) Deck screws (star heads) 1 1/2'’ length
- (2) Casters – 5 1/2” height
- Plastic Wood
- Stain
- (3) Behr Black Outdoor Spray Can
- Bottle Opener
- Metal Hooks
- Handle
Tools
- Jig Saw
- Chop Saw
- Drill
- Pencil
- 90 Square
- Sander
Instructions
- Figure the desired height of your grill table (add ¾” for the top 1x4 boards) - 36” was our height
- Cut (2) 4x4's at 35 1/4” length
- Cut (2) 4x4's at 29 3/4” length (this is the 35 1/4” height minus the height of casters - adjust as needed for your own casters)
- Attach casters to the shorter legs to make sure they all equal the same length, making the top level
- We can now cut 2x3’s to use as braces for the table-top boards. Cut (3) 2x3's at 25”. This will be for the tabletop outside left frame, right frame, and center brace.
- Cut (2) 2x3's at 4’ to create the tabletop front and back frame around the outside of the 4x4.
- On a flat, level surface, lay the 4x4 posts out and attach the 25” cuts flush-mounted on the outside edge of 4x4 posts using 2 1/2” screws. Attaching the two 4x4's with the casters together and the two longer 4x4's together.
- Attach 4' 2x3 and flush mount at 90 Degrees with 25” cut pieces to form a frame. Attach using 2 ½” screws.
- Cut (2) 2x3's at 18 ¼” (bottom outside left/right)
- Cut (2) 2x3's at 38” (bottom outside front/back)
- Cut (1) 2x3's at 23” (cross brace running center from front to back)
- Install the frame for bottom shelf boards by using 2 1/2” screws to mount brace flush to outside of 4x4’s. All 4 sides will be close to outer edge of 4x4’s. (Screw at angle from inside and attach to 4x4.
- Attach a cross piece to bottom frame at the center running from front to back.
- Cut (9) 1x4's at 50” - top shelf boards
- Cut (5) 1x4's at 45” - bottom shelf boards
- Cut (2) 1x4's at 38 ¼” - bottom shelf, mounted between the 4x4 legs
- Evenly space bottom boards and attach to frame and cross piece using 1 ½” screws. (This should be flush to outside and front and back posts)
- If you are painting the bottom a different color from the top, you'll want to fill in holes with putty, sand, and paint before moving on to the top.
- Evenly space top shelf boards allowing for overlap of approx 1” all around.
- Double-check you are square before attaching boards.
- Attach using 1 ½” screws.
- Measure the diameter of your round grill (leave space for the lip of the charcoal grill to catch on your tabletop. Most round grills are approx 22” diameter).
- If you have a circle template cutter for your jigsaw then you can measure and make your cut (locate your cross piece and stay clear when cutting). See video in post for an example of how to measure and draw a circle.
- Using a drill, drill a starter hole inside your cut line for a starting point for your jigsaw.
- Using your jigsaw slowly cut your circle.
- Now you can dry test your grill. (If you are repurposing a Weber charcoal grill or something similar, first remove legs and cut handle off in order to fit.)
- Mark any spots that inhibit your grill from sitting flush and trim to fit. Should be a snug fit.
- Once you have a good fit set grill aside.
- Next, with a small putty knife, fill in gaps and screw heads with wood putty. (Screw heads should be slightly countersunk if you wish to hide them with putty.)
- Allow time per instructions to dry then sand all wood pieces to desired smoothness (we used 60 grit sandpaper ourselves).
- Stain tabletop boards to the desired color.
- After the stain has dried. Apply the heat resistant clear coat to the tabletop and especially around the inner edge of your circle cutout.
- Once the clear coat is dry, set the grill in place.
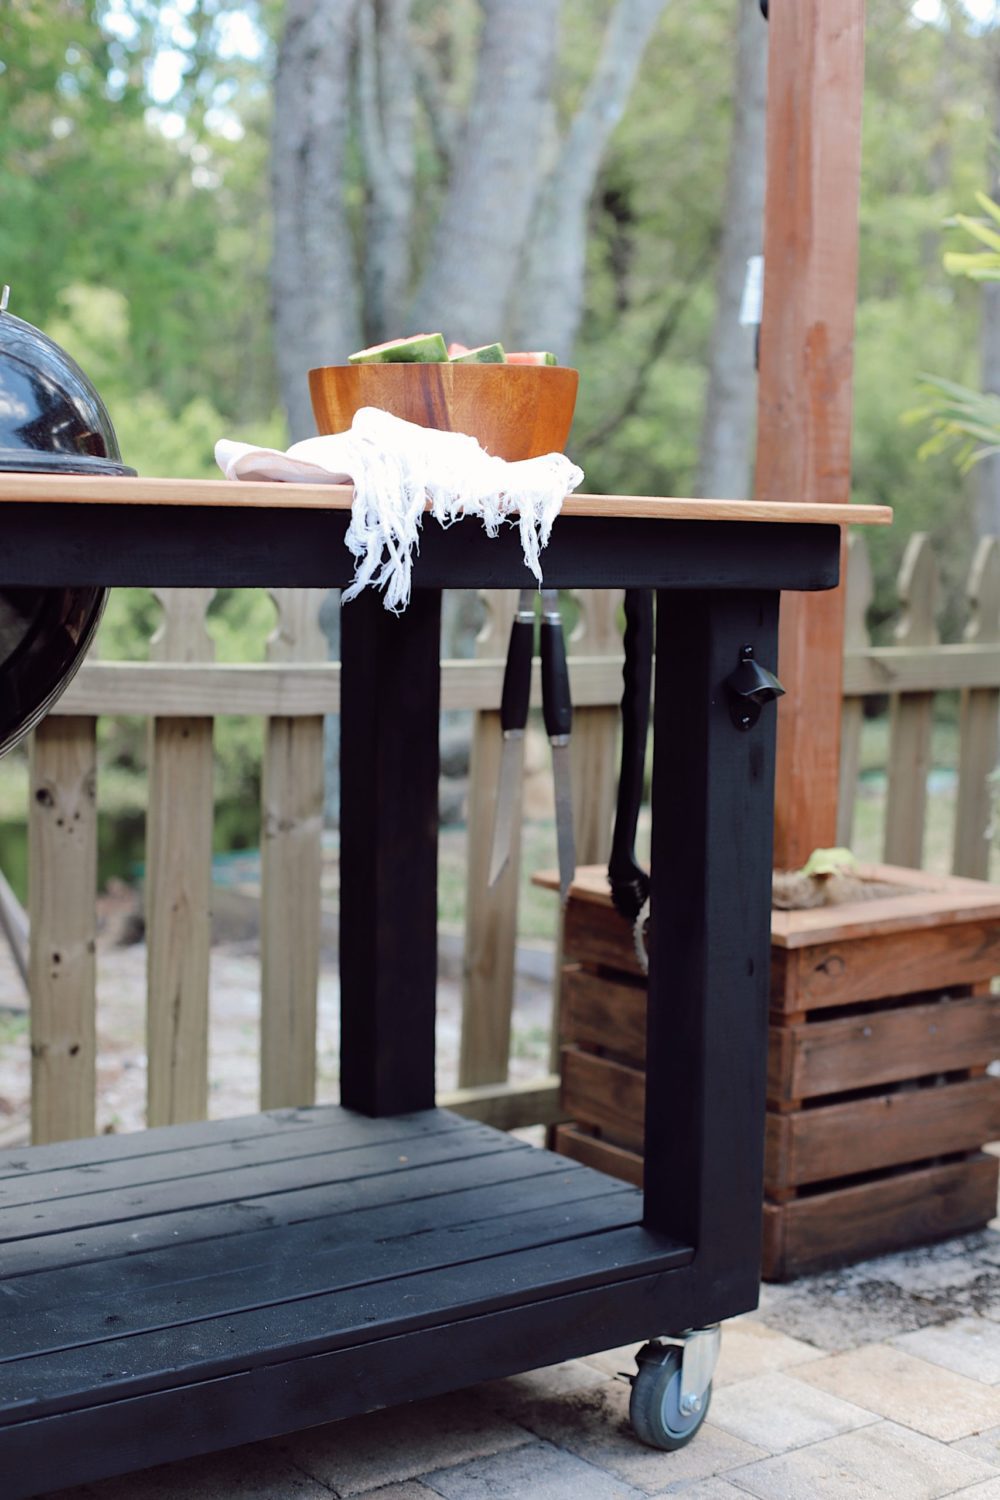
- Attach any hardware to the outside of grill such as handle, hooks and/or bottle opener.
Recommended Products
As an Amazon Associate and member of other affiliate programs, I earn from qualifying purchases.
Get Started on Your DIY Weber grill
I often get asked how to start a DIY and I hope these tips have helped you get started not only making a DIY Weber grill but any DIY you are thinking about. My biggest piece of advice is just to get started.
We didn’t know what we were doing when we began DIYing our new home. I started just like you, going on YouTube to find my inspiration and instructions. But we went for it and learned all along the way.
And we’re still learning.
You will gain skills as you go and feel more confident with each DIY you complete. So, I hope this post helps you get going on a DIY grill table for your family to love and enjoy, but if you are looking for different DIY ideas check out the DIY section on my blog.
Have you made a DIY BBQ table before? Do you have any questions about this tutorial? Let me know in a comment below!





Michelle says
Well that is certainly a looot of work, but the end result is super cool. Great idea putting the two casters on it too so it’s easy to move around, but doesn’t end up rolling around all over the place like it would if you had used 4 (which is probably what I would’ve done because mistakes like that are just the kind of thing I like to do)
Angelia Harris says
I just love this grill table!!! I need it minus the grill and I can’t wait to show my boyfriend the easy step by step process so he can help 🙂 Thank you for sharing!
Alice Linda Lewis says
I have a few questions 🙂
1) What are the overall dimensions – I can not seem to find them.
2) Do you have a photo with your ash catcher attached at the bottom?
3) I am thinking about putting a lid hinge on the base – we have a tiny patio space. Do you think this will effect the set up of the table?
kurt says
if you remove a key feature of Weber kettles, the ability to hang the lid on the lip of the kettle, the design is flawed.
Bryan says
This is a little work, but a fun project with summer almost here. With the inflation you can definitely save by making it yourself. Great ideal!