Looking for under bed storage DIY ideas? This storage drawer looks built in, is easy to make in an afternoon, and won’t break the bank.
Ikea bunk beds are good starting places for those looking to save some money on furniture, but sometimes the storage that comes with the bunk bed isn’t quite enough. If you find yourself in this situation, check out our DIY under bed storage drawers with wheels for bunk bed hack.
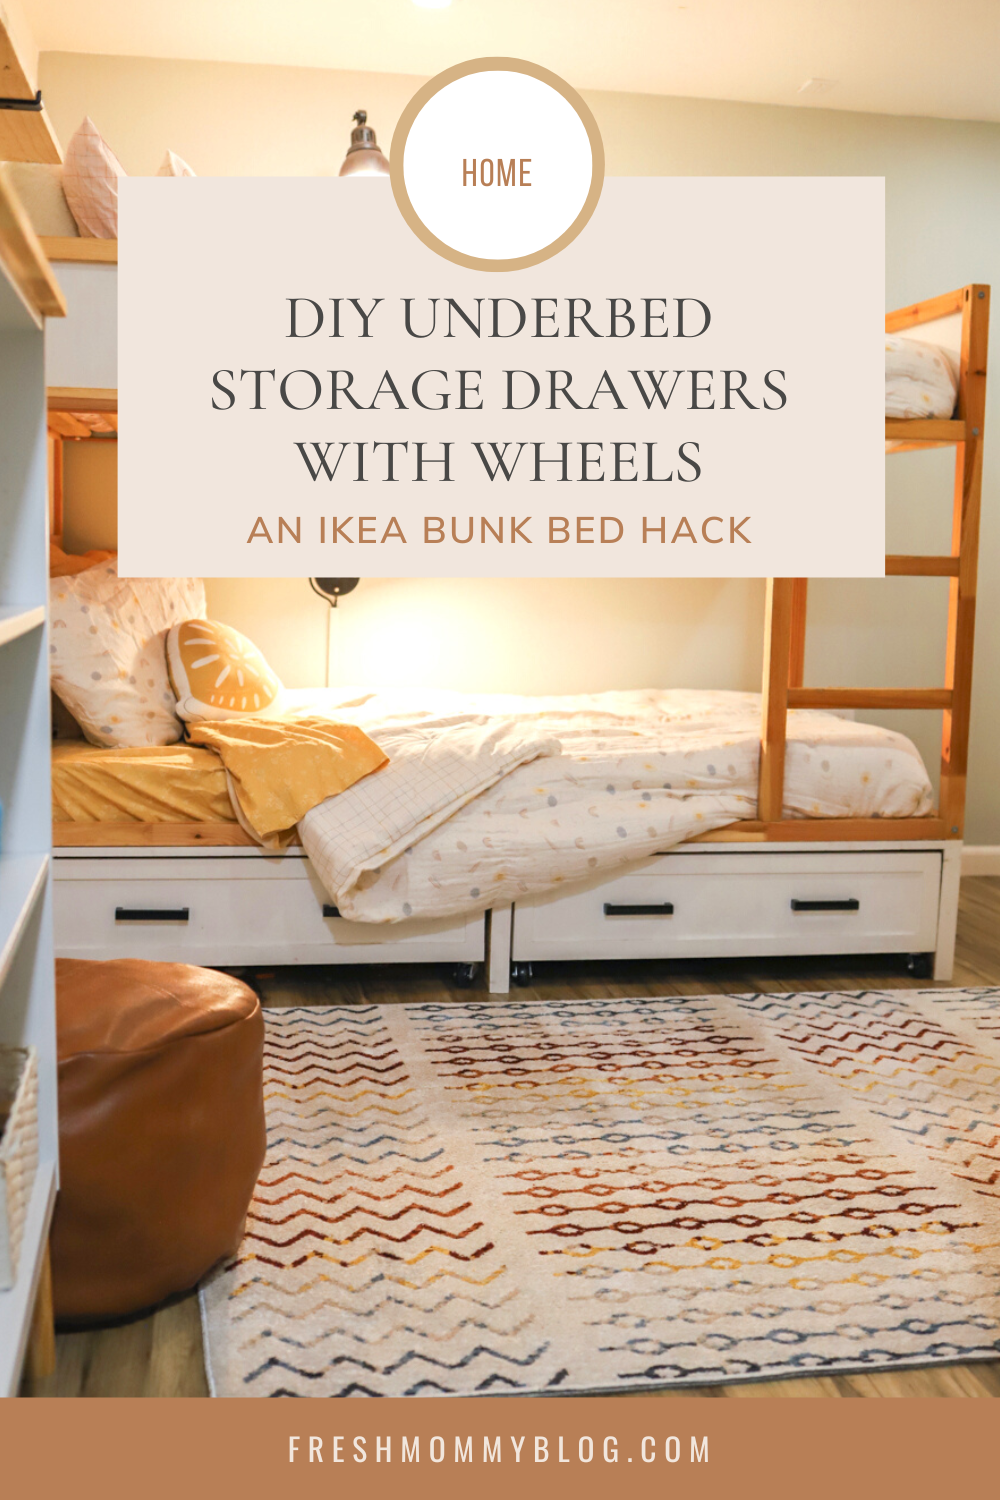
We started with the Ikea Kura Bunk Bed, which even according to their website is a low bed, perfect for younger children — yet it can also grow with them. We’ve had ours for years, at least 6 years, and it has been used for many of our different kids and in different rooms and combinations. This bed can flip to be a regular bed or be used as a low bunk.
Adding drawers underneath this bunk bed gives us ample storage space without taking up ANY extra floor space in the room, which is a huge commodity!
The good news? We’ve had these drawers in our home and in use for about 2 years now and they’ve held up great! Our kids use them (and I’ve often found the kids sitting IN them while playing with toys)… and you know that kids aren’t easy on furniture.


Table of Contents
Bunkbed Drawers DIY to Save Space in a Kids Room
These DIY under bed drawers could work with any bed or any bunk bed — you just may need to make adjustments to the measurements and size. We shared which bed we began with for this project to show where our measurements came from.
Also to note, because the Kura bed is a low bed and sits right on the floor, we did have to build a platform first before we could add the drawers, so this is where our tutorial will begin.
Chris started by measuring the length of our kids’ bunk bed from end to end, as well as the width. We then used 2X12 boards and plywood to create a riser for the entire bunk bed, so there would be ample room for our underbed drawers on wheels. Then he built the drawers. Keep reading for the full tutorial!
The Basics for DIY Under Bunk Bed Storage Drawers
After some planning and shopping, we set out to build a set of drawers that could slide under our kids’ bunk bed. It was going to be the perfect space-saving storage solution! It took about 2 hours to build this do-it-yourself project for under bed storage drawers with wheels for bunk bed with storage.

Part of keeping kid’s rooms clean and organized, is having the right tools to make it happen! See our kid’s room favorites on our Amazon shopping list!
Gather Supplies
Materials you will need to make the storage drawers with wheels, including the risers to create a platform are listed below:
Materials list:
- 3 – 4 x 8 x 1/2“ sanded plywood
- 2 – 2 x 12 x 8’ pine
- 3 – 5/32” x 1-1/8” x 8ft PVC White Lattice Molding
- 1 – box 1” screws
- 1 – box 2.5” screws
- 1 – Gorilla wood glue
- 1 – brad nails
- 8 – 2” rubber swivel casters (4 per drawer)
- 2-4 – drawer pulls of choice
Tools list:


Raise the Bed
Raising the bed with a different frame might require you to attach it securely to the wall or your headboard, so be make sure to secure it all properly if you’re using a different type of frame.
For the Ikea Kura bed, we made a riser to match the size of the bed frame and attached the bed to the riser — Length: 78 3/8″ Width: 41 3/8″.


Make the Drawer Frames
Next in the process is to build a drawer frame that will fit inside the riser you made for the bed, or underneath the current bed height if using a different bed. Measure out the dimensions well — remember that old saying, measure twice and cut once!
Once you’ve measured and cut, according to our directions below, line up your boards to set them in place. We like to use wood glue AND nails to secure the boards together.


Assemble the Bed
To make the space under the bed more usable and add more storage, we added drawer units that could roll out from under the bed. These drawer units have heavy-duty casters on the bottom of them to allow for easy movement — and you know that kids aren’t easy on furniture, so we needed to make sure these would last!
Before we completed the whole design, we did a dry run to make sure everything fit. We set the bunk bed on top of the riser, and we slid the under-bed drawers into the openings of the riser. Once we knew it was all a great fit, we were able to secure it all and get to our last step…

Add Hardware and Finishing Touches
To give our drawers, and added riser for the bed, a nice finished look, we used lattice for the finish work.
For the front of the riser, we measured the three vertical riser pieces and the long vertical piece along the top, and added lattice with a brad nailer to complete the look.
For each drawer, we used lattice all the way around each front edge to create a shaker-style look.
Once the lattice was in place, we used calk to smooth the edges and nail holes. And paint to finish.
Don’t forget to add those drawer pulls! Here is a simple way to attach them…

See more of our Kid’s Room Organization Essentials here on Amazon!
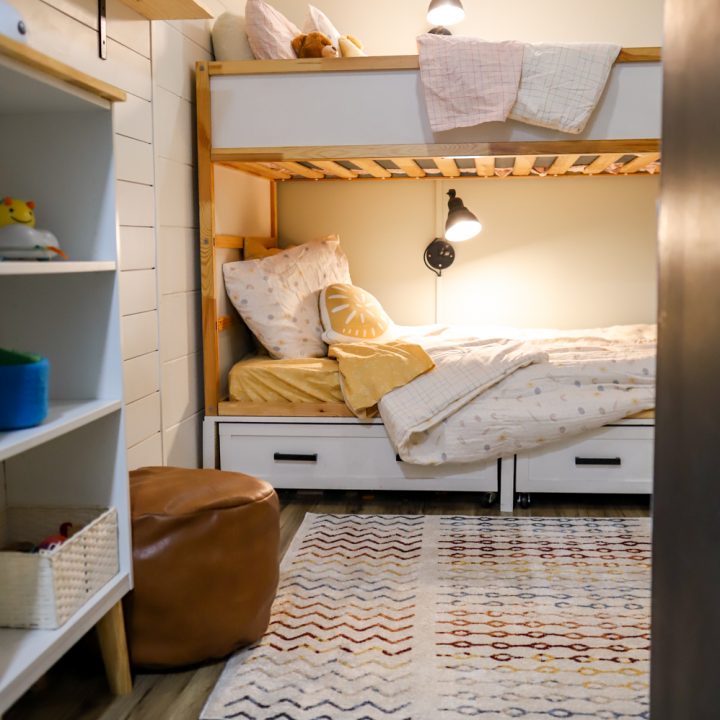
An Ikea Bunk Bed Hack: DIY Underbed Storage Drawers With Wheels
Materials
- 3 – 4 x 8 x 1/2“ sanded plywood
- 2 – 2 x 12 x 8’ pine
- 3 – 5/32” x 1-1/8” x 8ft PVC White Lattice Molding
- 1 – box 1” screws
- 1 – box 2.5” screws
- 1 – Gorilla wood glue
- 1 – box brad nails
- 8 – 2” rubber swivel casters (4 per drawer)
- 2-4 – drawer pulls of choice
Tools
- 1 – paintable caulk tube
- 1 – drill bit box
- Brad Finish Nailer 18 Gauge
- Skill Saw/Drill set
Instructions
Instructions: Base (lift)
Plywood cut:
1 Cut to 78 3/8” x 41 3/8”
2 X 12 Plank Cuts:
1 – 78 3/8” length
3 – 39 ¾” length
Set plank 78 3/8” to the long edge of cut plywood. Should mount flush to the edge of the plywood.
Set 2 planks (39 3/4”) to inside edges of plywood on both ends and measure to find the center of the plywood.
Set last cut plank to the center of plywood, butting up to the long plank (frame should form a W shape all flush to edge of plywood.
Attach all 2 x 12 planks to each other using 1” screws creating a frame for the riser.
Remove the plywood, apply wood glue to the top edges of the riser frame and place the plywood on top of the frame, making sure the edges are flush. Use 1” screws to secure plywood to riser frame.
Place bunk bed on top of the riser (with the openings of the riser facing forward) and attach frame of bed to base by drilling pilot holes through base of bunk bed frame to the riser, and then using 2.5" screws to secure.
Instructions: Per One Drawer (Double for two)
Determine length and width of drawer needed
(Ours are 36” wide x 36” deep x 12” tall)
Plywood Cuts:
1 – 36”x36”
2 – 36” x 12”
2 – 35” x 12”
Molding Cuts:
2 – 36” length (top/bottom trim
2 – 9 -3/4” length (sides)
Dry assemble drawer by placing 36”x12” on edge to make the front of the drawer. Place 2nd 36”x12” opposite (even) with 1st piece.
Place 35”x12” pieces on adjacent edges between the 36” pieces to form your drawer frame. Use wood glue and finish nails to hold the frame together while assembling.
Run a small bead of wood glue on edge of the drawer frame and place 36”x36” on top, flush and finish nail with 1” to attach (6-8 nails, be careful to point nailer at 90degrees so you won’t cause nail to pierce the side of your boards.
Allow 2 hours for glue to dry.
Place ¾” screw every 4 inches along entire bottom edge of drawer.
Stand the drawer up on its edge to finish the front of the drawer.
Place 36” lattice cut on front of drawer flush to top edge. Run glue bead on back of lattice and attach.
Apply a 5/8” brad nail every 6 inches beginning from edge.
Repeat with bottom trim.
Place 9-3/4” length trim on right edge of front of drawer and glue then nail
Repeat with left edge trim.
Allow 30 minutes to dry.
Caulk all the seams of the trim.
Allow 30 minutes for caulk to dry.
Paint desired color.
Allow 1-2 hours for paint to dry.
Add casters to all four corners of the bottom of drawer.
Add the drawer pull measuring from outer edges to center the pull.
Instructions: Finishing bed base trim
Cut PVC molding to 78 1/8” and rip to match the height of the plywood – attach using ¾” brad nails to top of the drawer riser.
Cut 3 pieces of pvc molding to 11 ¼” and attach using ¾” brad nails to 2 x 12 legs facing outward.
Caulk all seams.
Paint to match drawers.












Jessica Gibbs says
Did you add slats under the bottom mattress or is it just resting on the plywood?
Tabitha Blue says
It’s just resting on the plywood!