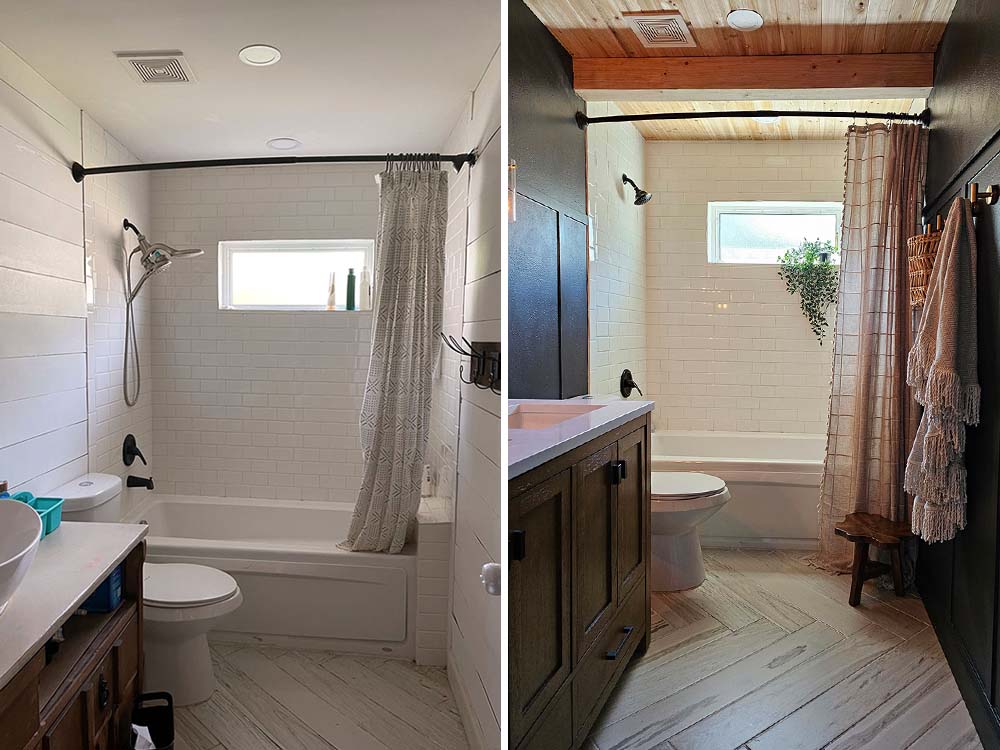
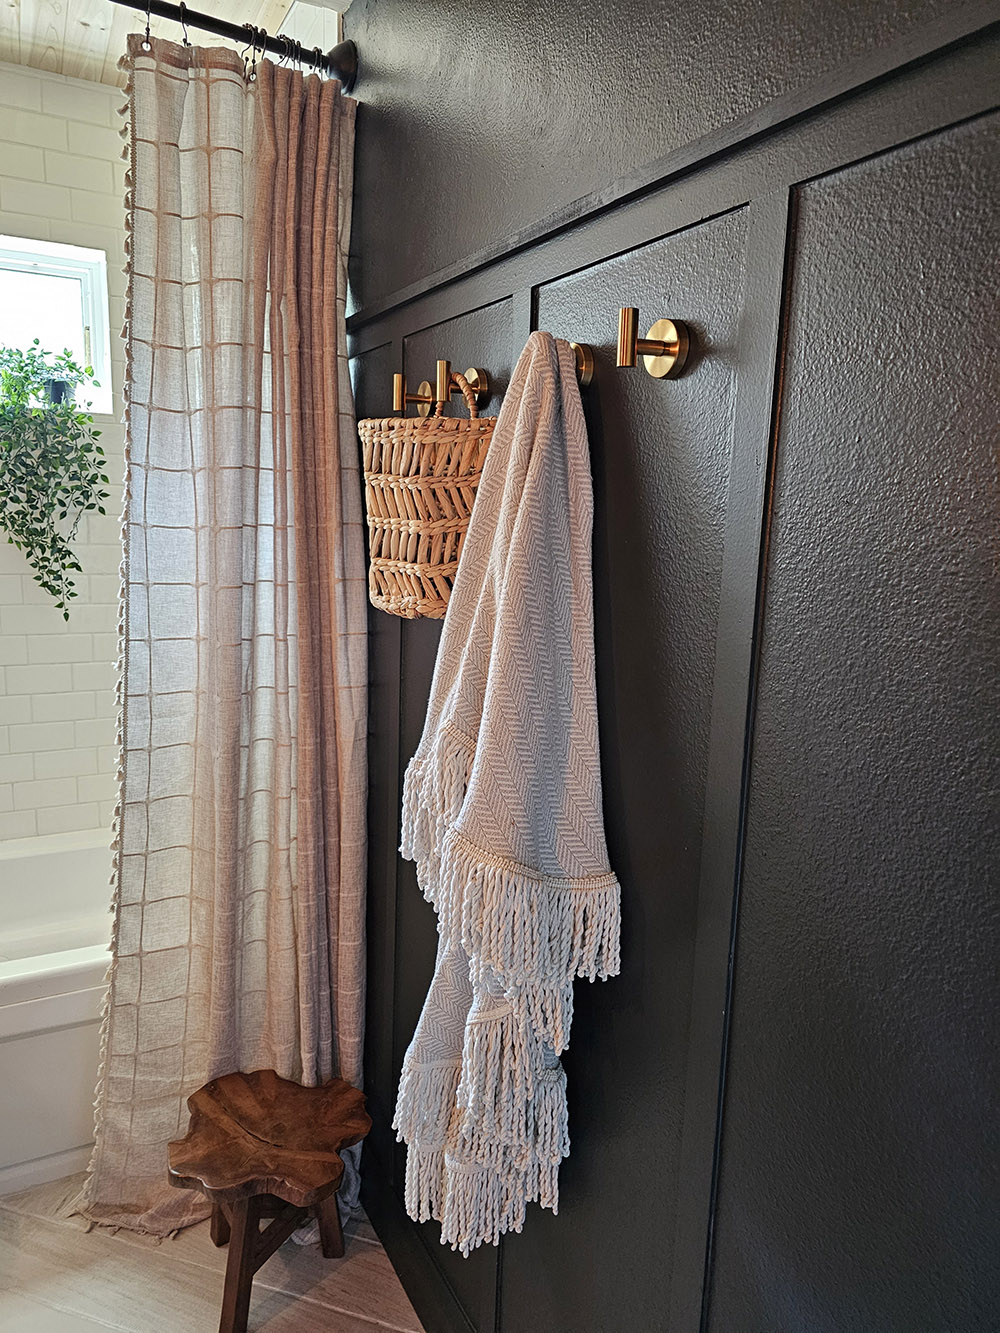
This bathroom has been one of the most-talked-about transformations on FreshMommy Blog, and after seeing the before and after, it’s easy to understand why. The entire look starts here, with this budget board and batten treatment that added so much drama and texture to the walls. Best of all? This part of the project cost us under $50 total. We’re sharing every step, every material, and every tip so you can do it too, no experience required. And no, you don’t have to remove the baseboard!
This is Part 1 of our Moody Main Bathroom Transformation series, the project that completely changed how we feel about this space! After installing the board and batten, head to Part 2: Dark & Moody Paint Makeover to see how we primed and painted everything in one dramatic sweep, and Part 3: DIY Wood Beam Ceiling for the finishing touch that really made it feel custom.

Since the U.S. was first settled, board and batten were used for outbuildings, such as barns and sheds. That’s why some areas of the country still call it “barn siding.” Batten strips were used over the seams of the panel boards, creating a siding that helped to stop the outside elements from entering through the joints, keeping farm animals warm through the harsh winters.
LP Corp
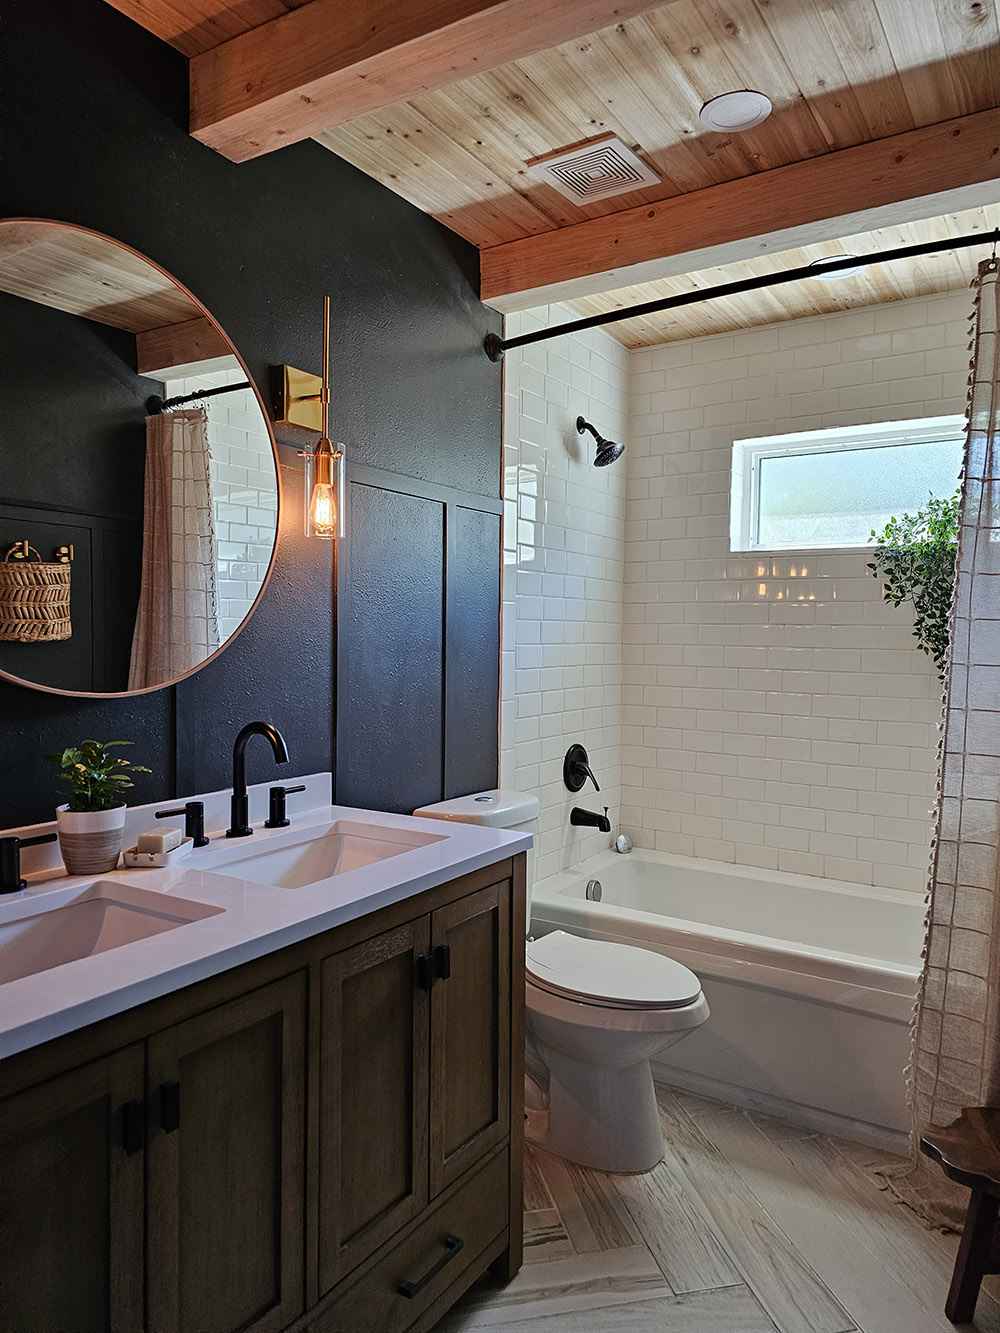
Table of Contents
What is the difference between board and batten and wainscoting?
Typically, wainscoting is installed on the lower ⅓ of the wall, like a skirt for the wall. This is also traditionally accomplished by adding a “skirt” of wood to the lower third of the wall to protect it from high-traffic areas or from dents and dings from things like dining room chairs.
Board and batten is a paneling style that is oftentimes installed to cover the full height of the wall, usually made up of a pattern of boards separated by strips of wood (battens) to add drama and texture to a room.
With all of that said, this project covers about the lower TWO-thirds of our wall, leaving the top third blank… not completely falling into either category. But I will say, I have noticed the typical “rules” of the board and batten style as well as wainscoting fly out the window as of late.
For a reference point, we’re going to go ahead and call this our inexpensive and easy board and batten on a budget, because our materials ran us under $50 and the drama to this bathroom is INCREDIBLE!
Board and batten is a siding and paneling style that uses narrow strips of wood placed over the joints of wide boards for a geometric, layered effect. Historically and traditionally, a wooden batten would be placed over a seam between the wide boards, creating a stronger and more energy-efficient siding.
The Spruce

Does board and batten make a room look smaller or larger?
Not only does a feature or full room wall treatment like board and batten, along with a statement color, create drama and contrast in a room, but it also makes a room feel larger.
Going into this project, I wasn’t CERTAIN if the dark color I chose would make the room feel smaller, but with the addition of this inexpensive board and batten on a budget and a moody color, the whole space actually feels much larger!

Supply List for Board & Batten on a Budget
Because we typically have most of the below supplies on hand, we only had to purchase the moulding for this project and paint for the room, if you’re new to DIY, the full and expansive list is below.
Materials:
- PVC lattice moulding strips — vertical battens (measure your walls; we spaced ours 16″ on center)
- PVC or wood for the top horizontal rail (measure your wall width)
- Brad nails
- Wood glue
- Paintable caulk + caulk gun
- Nail/wood hole filler
- Sandpaper
- Paint primer (we used KILZ® Mold & Mildew — see Part 2)
- Paint of choice (we used Magnolia Home Aspen Stone — see Part 2)
Tools:
- Pencil
- Level
- Miter saw or chop saw (or ask your hardware store to cut to size)
- Caulk gun
- Paintbrush + paint roller


Check out the paint we used and tips for painting a bathroom AND using a moody color in this blog post:
Board and Batten Dark Bathroom Makeover: Moody Transformation Part 2


Inexpensive Board and Batten on a Budget
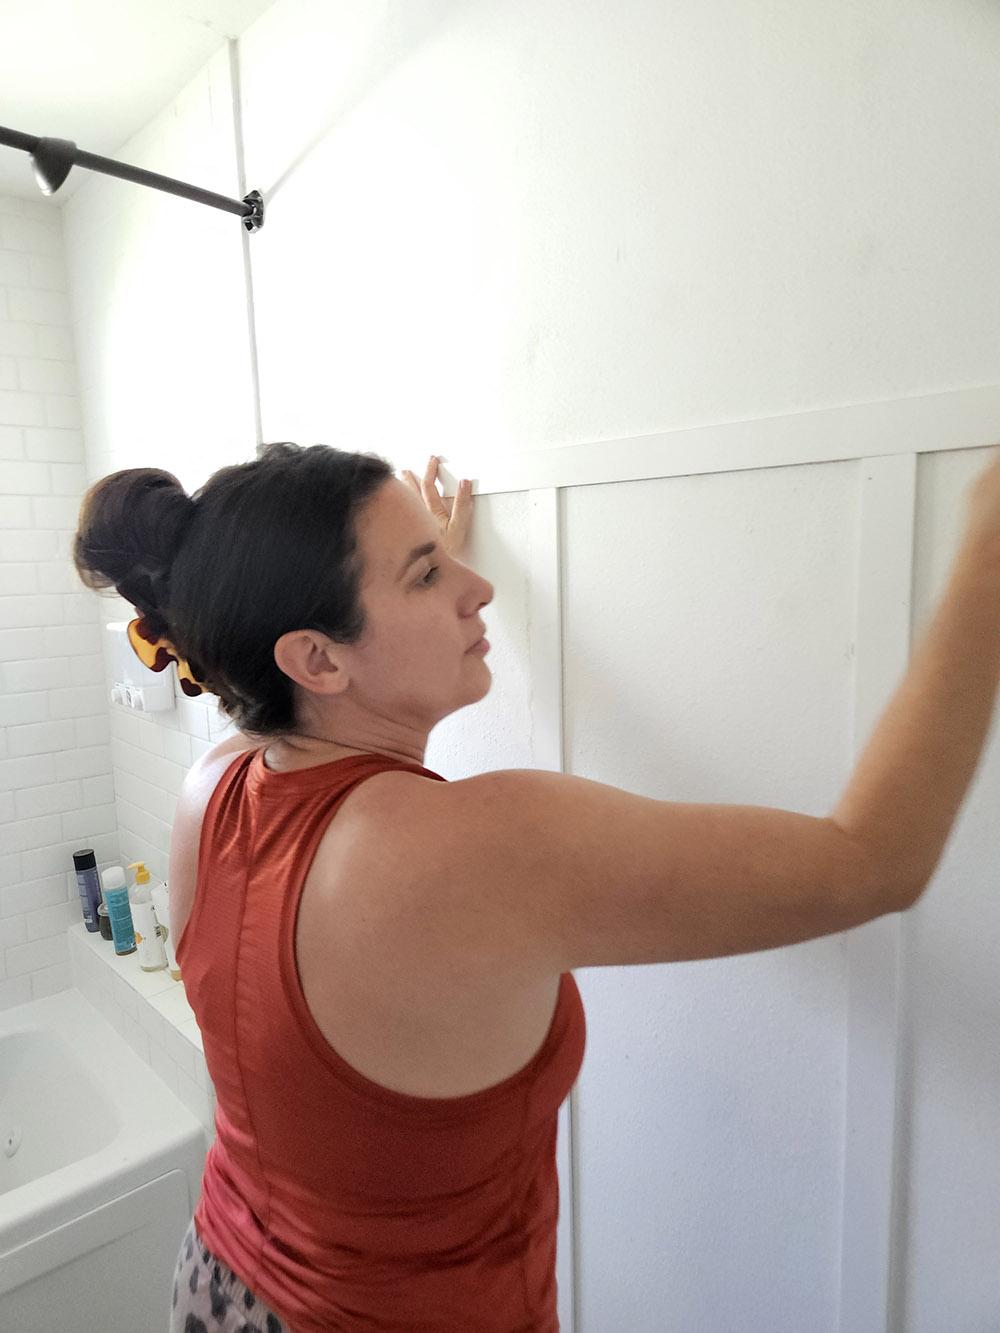
- Measure your wall and mark out where you want your vertical boards to be. We spaced ours at 16″ to center, so on our wall, we made a mark at every 16 inches. This will also show how many you need, don’t forget to measure and account for adding the top horizontal piece when calculating how many boards you’ll use.
- Using for the boards, cut to the height you want. We cut ours to 5′ (along with the baseboard, the height of our boards on the wall is 5.5′).
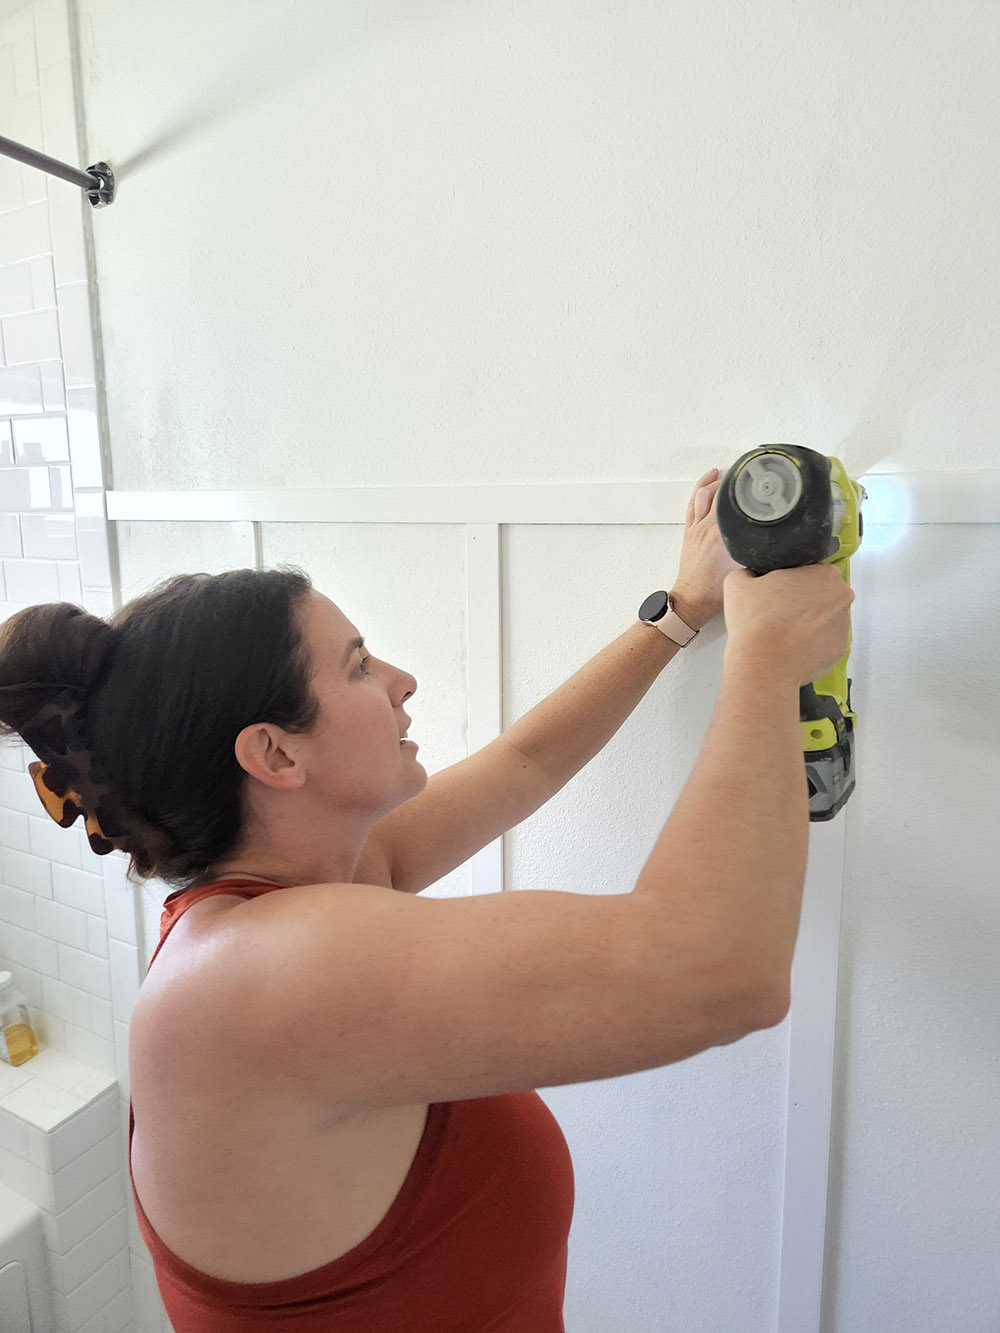
- Once measured and cut, use and nails to attach to the wall. Make sure to level them as you go.
- Using more , place it horizontally across the top of the vertical boards you’ve already attached to the wall, and attach it with glue and nails.
- To create a little more effect on the wall, we added a 1×1 (less than an inch) board attached to the wall above the horizontal lattice strip.
- After all of the lattice and wood are secure, caulk all of the edges and fill nail holes with filler.
- Once dry, sand the filler, prime, and paint!
Bathroom Sources:
Some of these items aren’t the exact match but they are very similar to what we used.
A Few Years Later: How This Has Held Up
This board and batten has been on our walls for a couple of years now and it still looks just as crisp and clean as the day we installed it. PVC moulding is especially smart for bathrooms because it doesn’t swell, warp, or absorb moisture the way wood can, a huge win for a high-humidity space. If you’re on the fence about doing this in a bathroom, don’t hesitate. It holds up beautifully.

More Home Renovations


Custom Potted Hanging Herb Garden DIY
A beautiful vertical garden, especially perfect for hanging herbs, but you could add any plant. Make with scraps for a budget-friendly, cost-effective potted hanging herb garden DIY!

Super Simple Homemade Fire Pit DIY That Anyone Can Do
You won't believe how super simple this homemade fire pit is, and the completed project made a big difference. Easy DIY firepit that anyone can do!


Leave a Reply