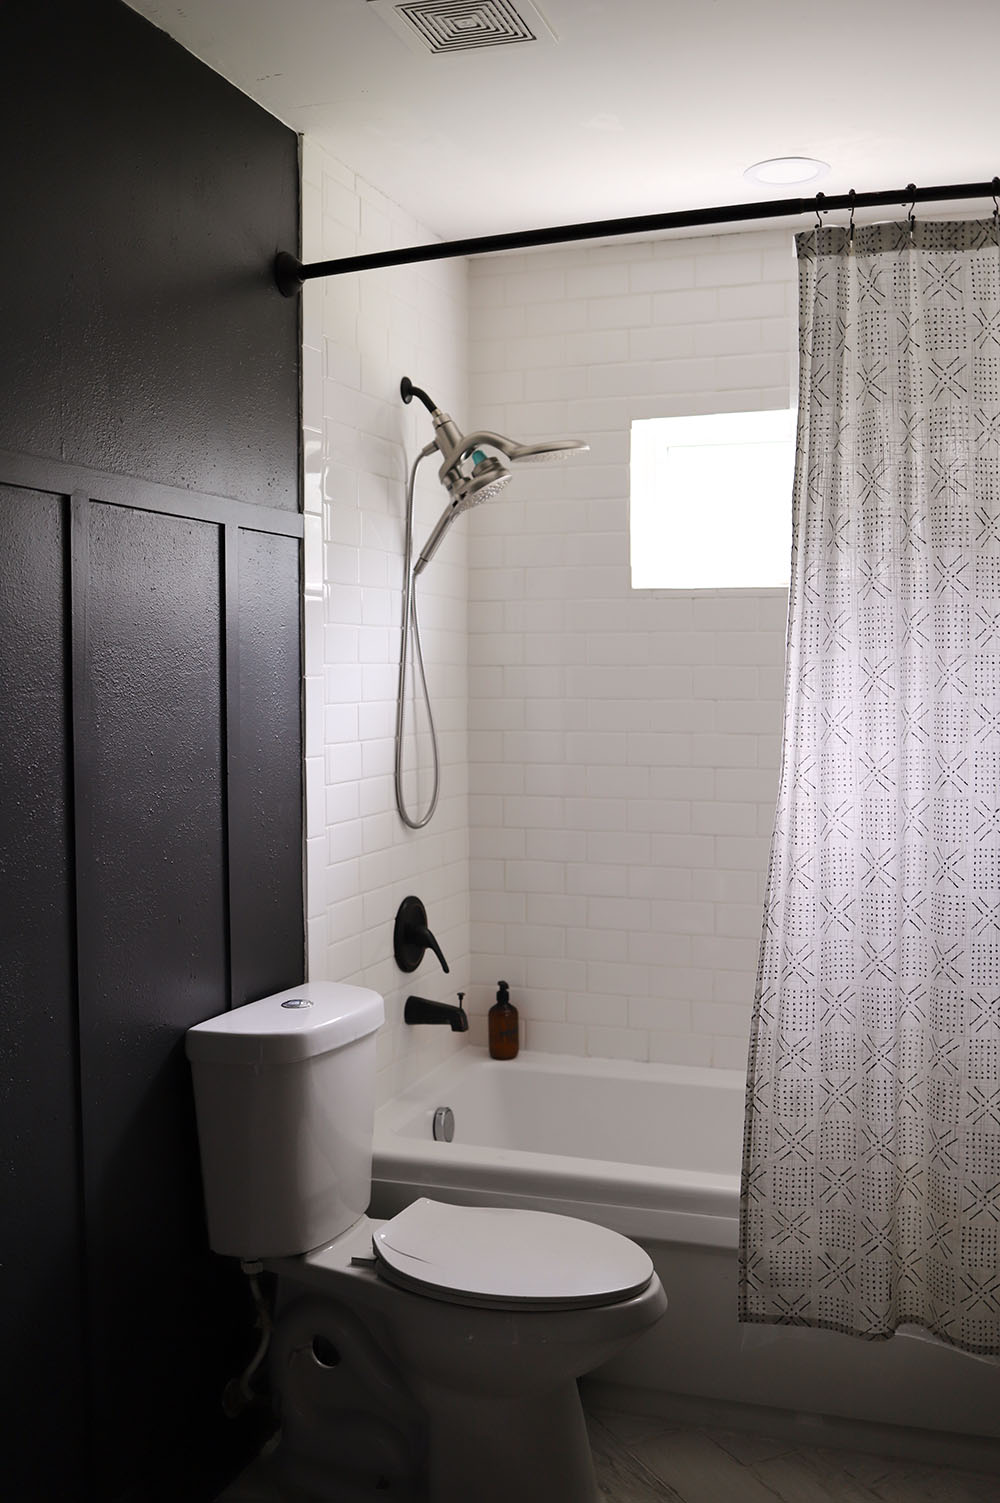
If you’re tired of the tired look of your bathroom, take some inspiration from this board and batten dark bathroom makeover! This dark and moody space was previously painted in white, with our faux shiplap (and after four years, it was time for an upgrade). Strangely, the white walls reflected bright light from the outside window but the lighter color didn’t make the room seem any larger.
To transform this small bathroom into something that seems larger and more modern, first, clean up the walls, and add a board and batten treatment. Use a primer to keep everything smooth and then paint in a deep, moody color… all the way to the baseboards!

A fresh coat of paint and primer in your home can result in a dramatic transformation. Your house is where you can have fun with color – from bold blues to moody blacks, colors can be on-trend AND timeless… but most of all, they can represent YOU and your own taste and style.
We’re teaming up with KILZ® to encourage you to tackle some projects around your home, and it’s our go-to primer for any space!
Table of Contents
Before: How We Started
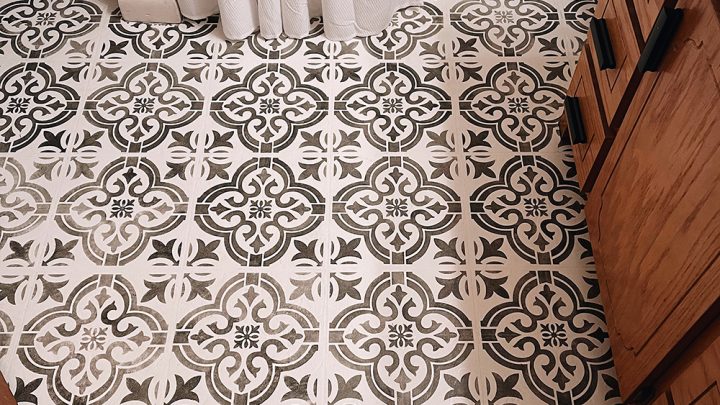
This bathroom was the first space we updated when we bought our home! We took it down to the studs, upgraded the bathtub, added subway tile (my husband never wants to install that again after hundreds of tiles!), and re-tiled the floor. From there we tackled our budget DIY projects with a faux shiplap on the walls, a refurbished dresser that we turned into a vanity, and a DIY cement countertop and sink we found on the side of the road.
This main kids + guest bathroom looked and felt great for the last four years, but it was time for an upgrade! I mean the dresser-turned-vanity was literally falling apart. And after four years in a humid space, that faux shiplap wasn’t its best.
During: The Design Process


Ready to check out our bathroom mood board and renovation plan?
We are in part ONE of this dark bathroom makeover process, and while I’m leaving the tub and tile, everything else is getting an update. Starting with the walls. For a dark and moody vibe, we decided on using Aspen Stone from Magnolia Home by Joanna Gaines® paint crafted by KILZ®, and I’m HERE FOR IT!
As I was adding the final touches of this color on the walls, my son walked in and said, “Woah. It looks so much larger and grander in here.”
And he’s not wrong. It really does.
Moody + Dark Bathroom Makeover Mood Board

After: Final Result of our Moody Bathroom Board and Batten Walls
The final result of our board and batten walls in our small bathroom is stunning! The space feels so much more dramatic and romantic with the deep, moody color. Plus, the added texture from the batten really makes the room pop. We’re so happy with how it turned out and would highly recommend this project to anyone looking for a quick and easy way to transform their space!
I’ll be sharing the tutorial for this simple and suuuper budget-friendly board and batten DIY soon.

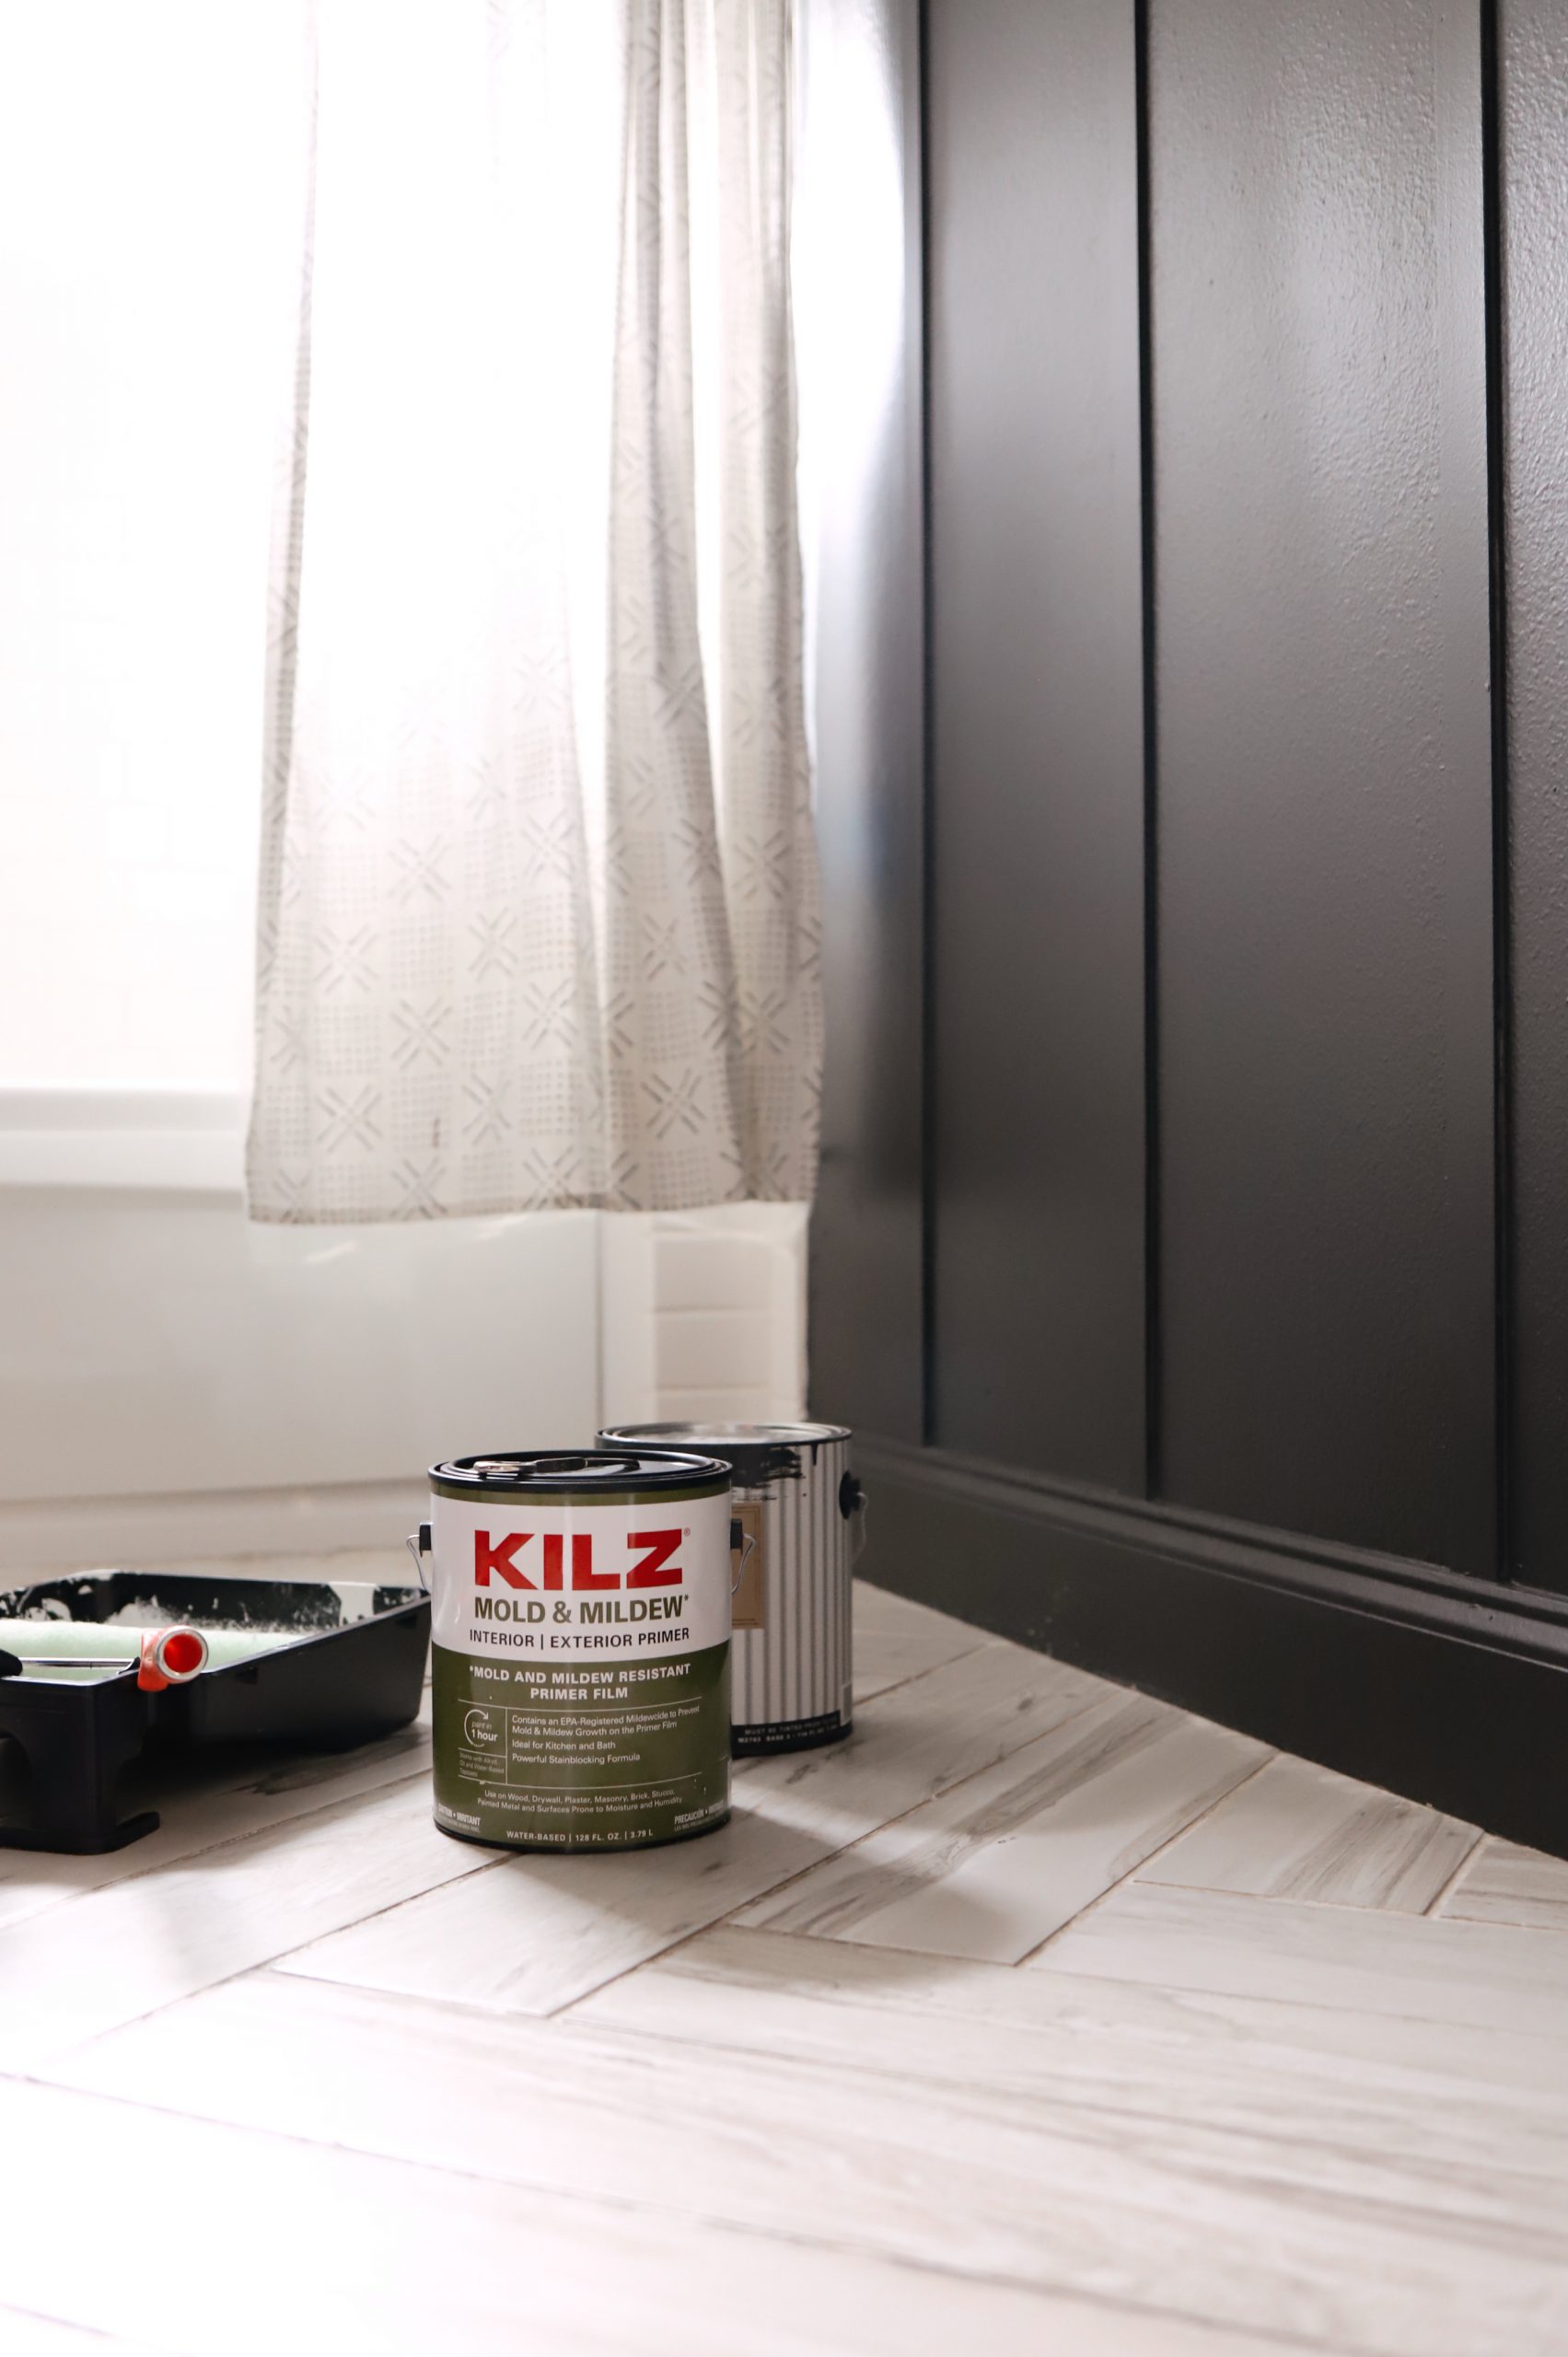
Step 1: Start With a Fresh Coat of KILZ® Primer!
I’m sure you might be asking if you really need a primer first when painting a bathroom. Did you know that besides providing a smooth, ready surface for your paint color, you should also add primer before painting in bathrooms due to the higher moisture and humidity?
A high-quality primer, like KILZ®, is definitely recommended… and what we use on our walls. With the temperature changes, high moisture content, and humidity in bathrooms, a good primer will help prevent your new moody bathroom paint from bubbling or peeling in the long run.
Before you start priming your walls, it is crucial to ensure the wall surfaces are prepped and ready to go!
Start by patching and filling any imperfections or nail holes before priming and painting. After removing our shiplap, we had quite the task ahead of us! We also used caulk on the board and batten, which we needed to be sure was dry before priming.
If your walls have paint peeling, scrape off any loose paint and sand to a nice and smooth surface. If you have a glossy surface, it is recommended that you scuff it up a bit with a sanding block before painting.
Clean off surfaces and then you’re good to go!
KILZ® MOLD and MILDEW Primer is a water based primer-sealer-stain blocker that is specially designed for residential surfaces in high humidity, moisture and temperature environments such as kitchens, bathrooms, powder rooms and laundry rooms.
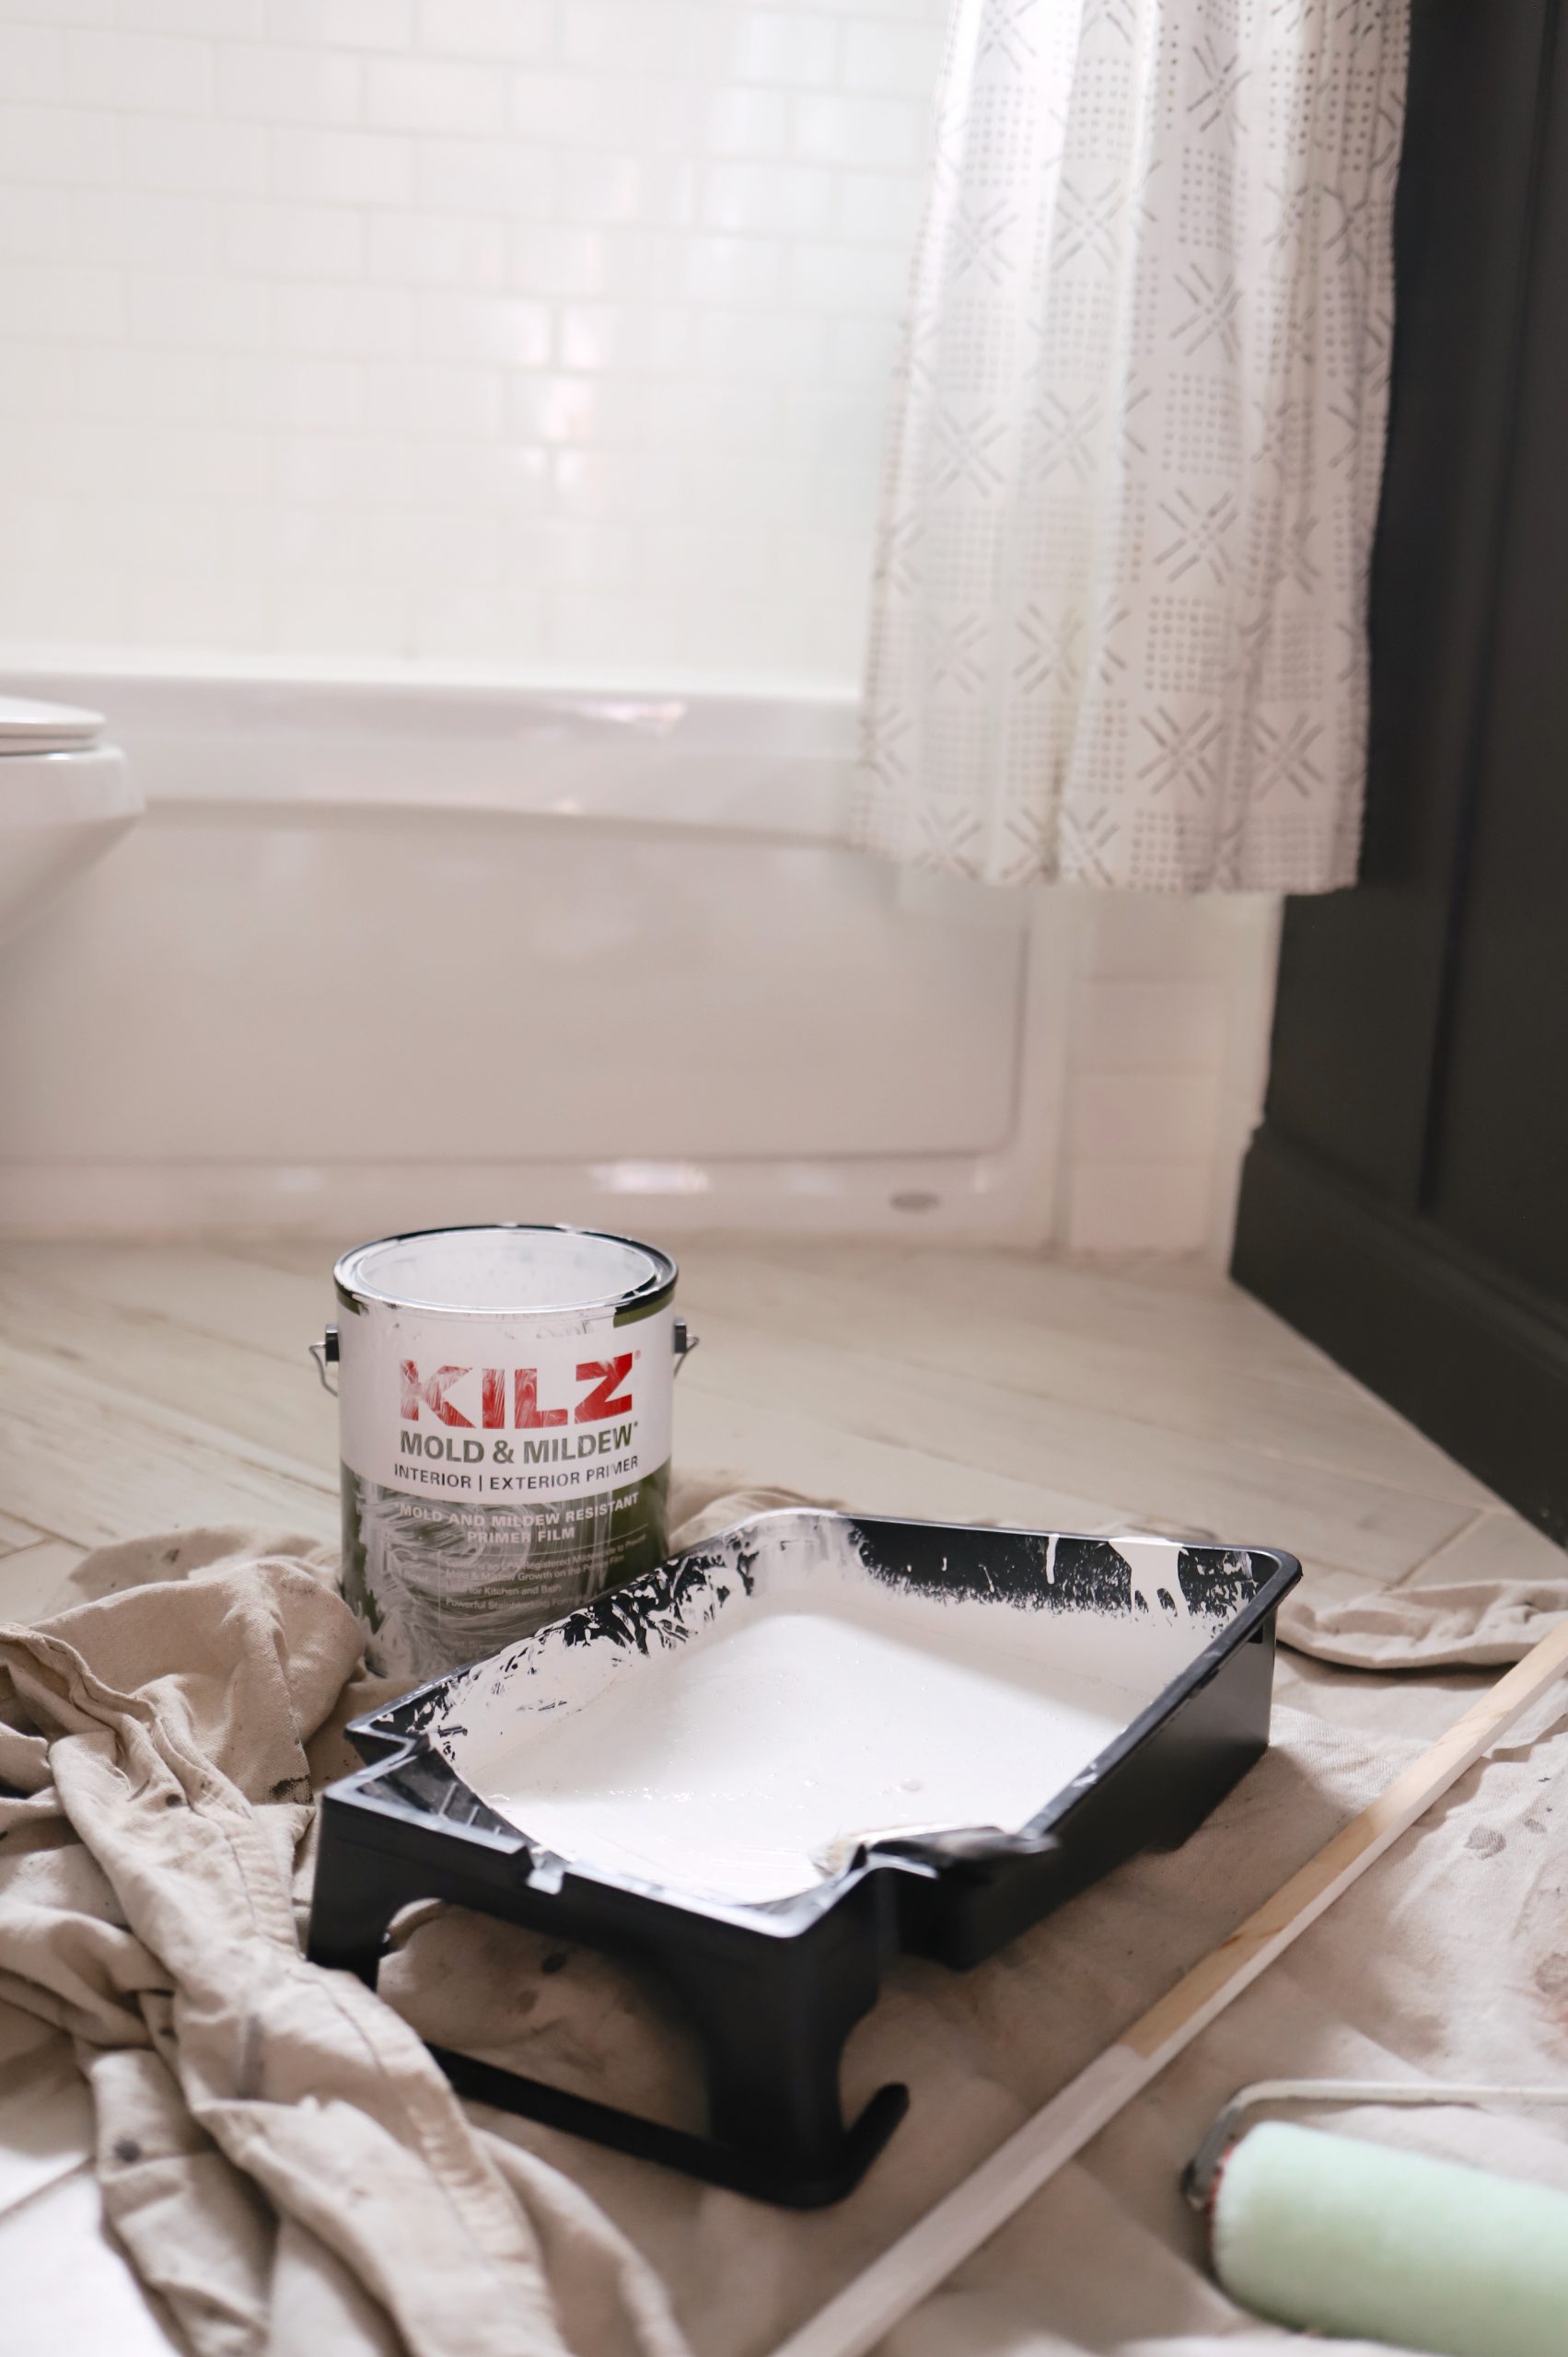
What’s The Best Primer for Bathroom Walls and Ceilings?
We used KILZ® Mold & Mildew Primer for our small bathroom makeover and I couldn’t be happier with how well it works!
I wanted to use a water-based primer on my walls and ceilings, which is easier to clean up if there are any spills. I just let it dry for 24 hours, then painted over it with a satin finish paint. The result was really dark and moody!
We love the way the KILZ Primer covers imperfections in our walls and it also gives the paint something to grip onto. The EPA-registered active ingredient in KILZ® Mold & Mildew Primer creates a mold and mildew-resistant film that protects the primer film from mold and mildew growth and it blocks most medium to heavy stains including felt marker, grease, ink, pencil, tannin, and water stains. It is a fast drying, low odor, very low VOC formula, while also being easy to clean with soap and water.
Don’t Forget To Prime the Walls Before Applying Paint! This Helps Prevent Brushstrokes and Makes Cleanup Easier. Allowing Time For the Primer to Dry Will Also Give You A Better Finished Product.
Step 2: Add Color and Interest by Repainting the Trim
In this Board and Batten Dark Bathroom Makeover, we added color and interest by repainting the trim. The existing white trim was looking a bit dull, so we decided to the color all the way to the floor to match the board and batten.
Step 3: Prep The Room
To prep the room for painting, we removed all of the hardware and taped off the edges.
For both the coats of primer and the coats of paint, we started with a paintbrush to “cut in” the edges. This just means we used a paintbrush to get into those harder-to-reach areas, and then used a roller to cover the larger, main surfaces, giving a smooth, even coat.

Step 4: Create Interest With Wood Accents
One way to add interest to your small bathroom is by using wood accents. You can add a board and batten feature wall, wainscoting, or even just some simple shelving. Wood provides both texture and warmth, making it the perfect material for creating an inviting space.
While we have the wall treatment to add visual interest, we have plans for more wood in the space for Part 2 of this bathroom transformation.
Plus, it’s easy to work with and sometimes can be relatively inexpensive, so you can save money while still getting the look you want.
Our budget-friendly Board and Batten DIY coming soon!

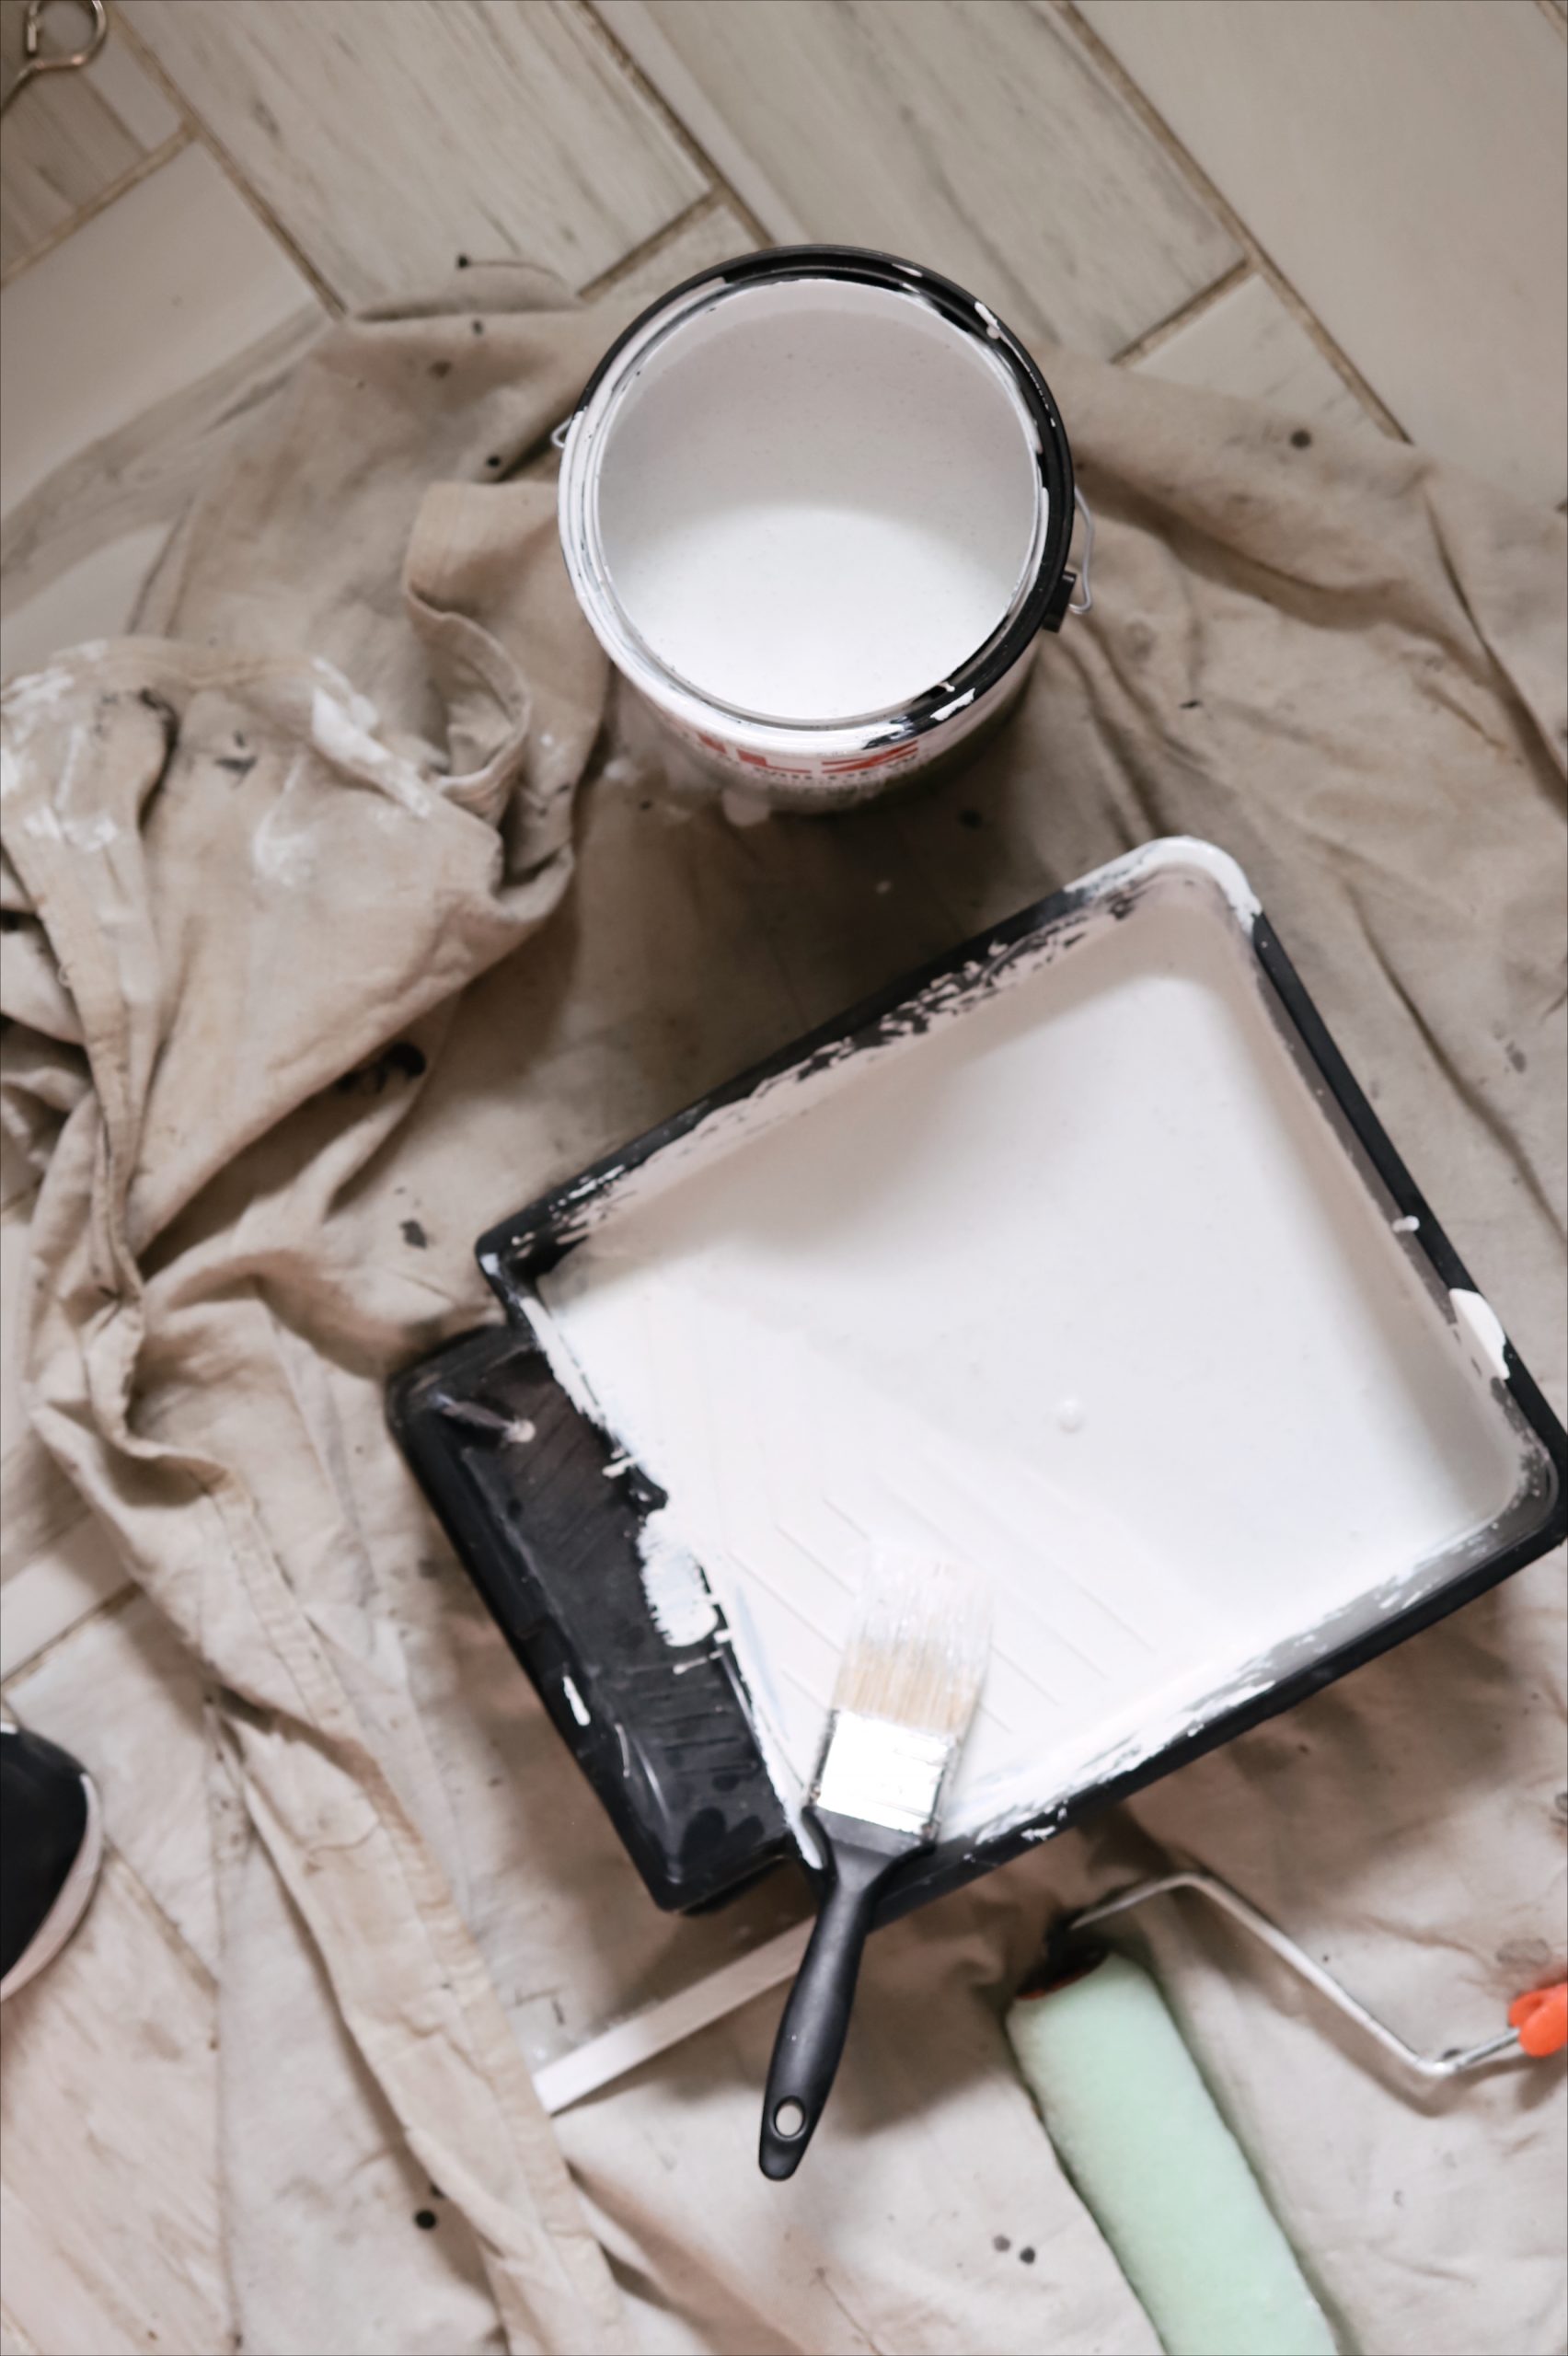

The Result
I love the results of my small bathroom makeover! I decided to go with a dark and moody color palette, and I used board and batten to add some visual interest to the space. The best part is that it only took me a few days to complete (mostly just between patching the walls and drying time), and it didn’t cost very much, either!
I’m thrilled with this update to the bathroom! I’d love to hear, have we inspired you to pull out some paintbrushes, grab some primer, and paint and get to that space you’ve been wanting to tackle?
More Home Renovations
Custom Potted Hanging Herb Garden DIY
A beautiful vertical garden, especially perfect for hanging herbs, but you could add any plant. Make with scraps for a budget-friendly, cost-effective potted hanging herb garden DIY!
Super Simple Homemade Fire Pit DIY That Anyone Can Do
You won't believe how super simple this homemade fire pit is, and the completed project made a big difference. Easy DIY firepit that anyone can do!




Leave a Reply