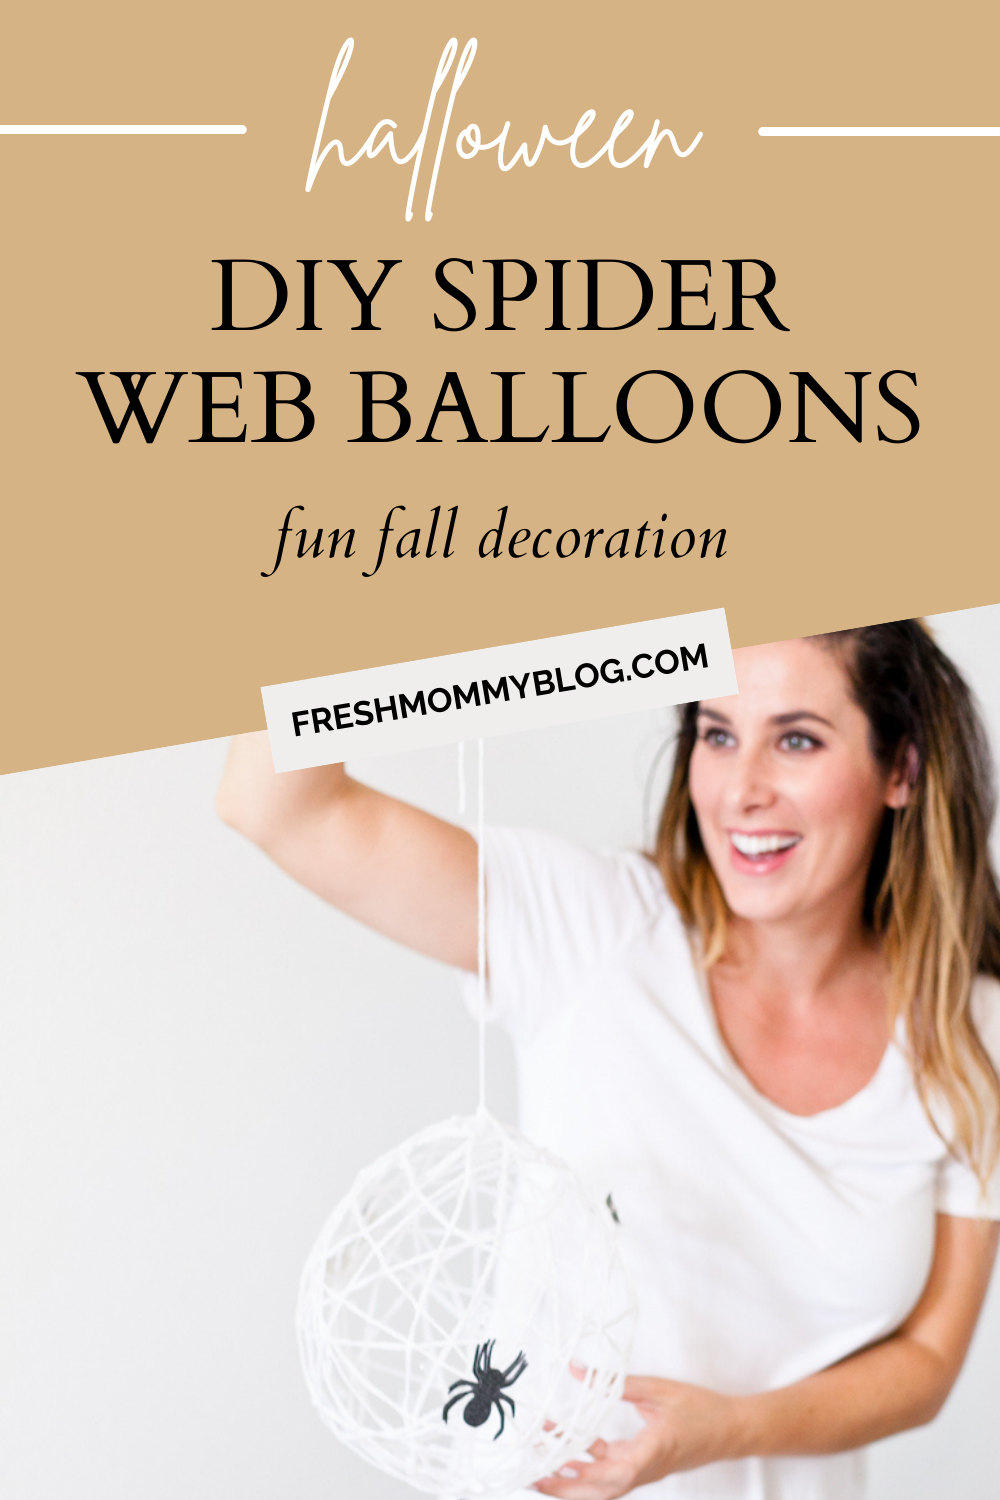
With the season of the #PSL (that is a season all to itself, no?) upon us, it’s time to start thinking about costumes, crazy decor, and yes, the spooky (or not so spooky) DIY craft or two! These spiderweb balloons are something I’ve had my eye on for awhile and I thought I’d put my crafting skills to the test and see just how easy it is to make. Turns out, it really is an easy to accomplish craft, you just have to have the time and patience to wait for it to dry.

So while it doesn’t take long to actually make it happen, there is a 24 hour waiting period from start to finish. But the overall look is oh so worth it!
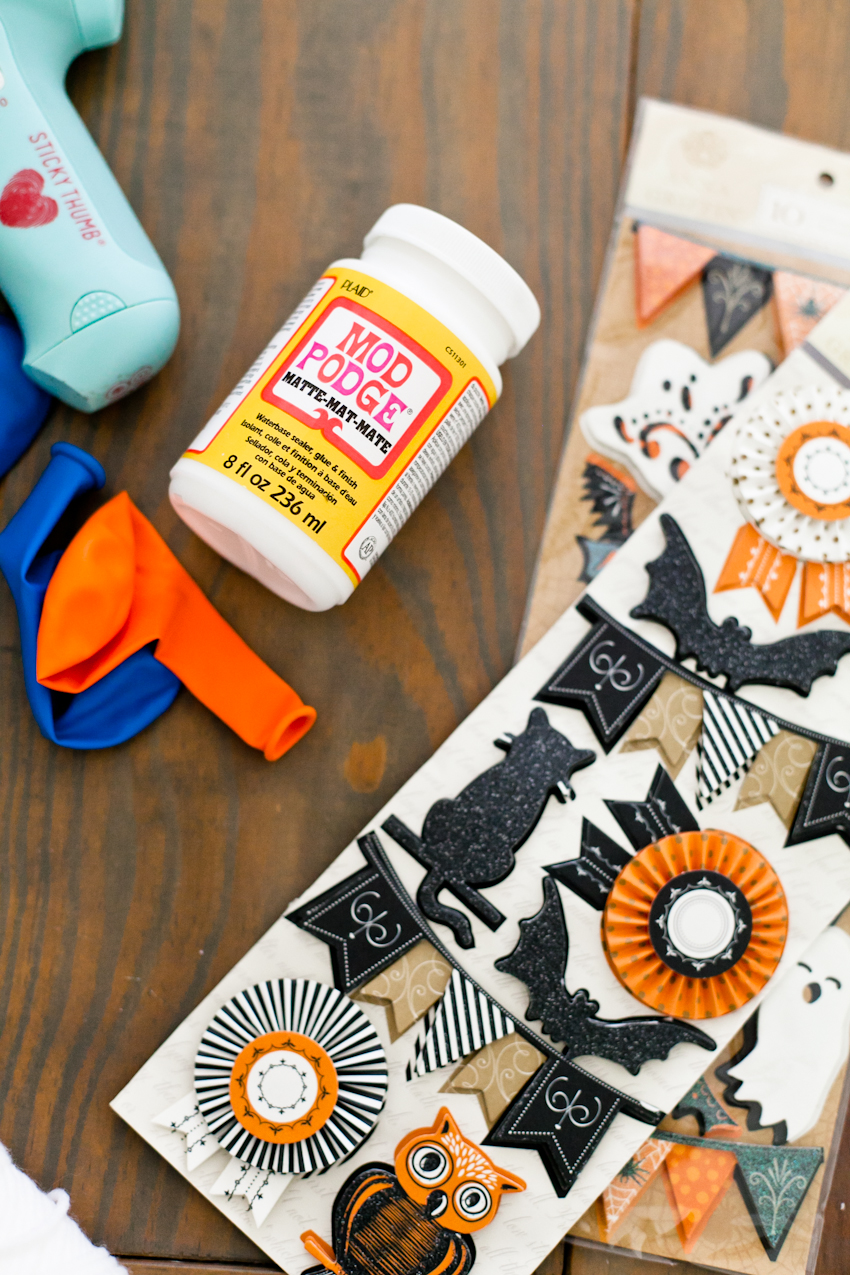


DIY Spiderweb Balloons
- Start by gathering supplies for the first step of the craft which includes multiple cut strands of , (or ) and a or two. You’ll use a balloon for each spider web you’re making.
- Inflate a balloon and using a strand of, hang it in a location that you can let dry for 24 hours (i.e., garage, shower, or even outside depending on the weather).
- Pour into a bowl and submerge all of your cut pieces of yarn. I cut each strand to approx. 18-24” in length.


- Pull out one strand at a time and scrape excess glue off of it and begin to wrap around inflated balloon. Continue with each strand and wrap at different angles. Once your balloon is pretty well covered (and looks a bit like a spider web), leave to let dry overnight!
- The next day, begin to press the balloon away from the glued on strands of yarn, this way when you deflate the balloon, it doesn’t pull the yarn inward with it. (This process took me a good five minutes!)

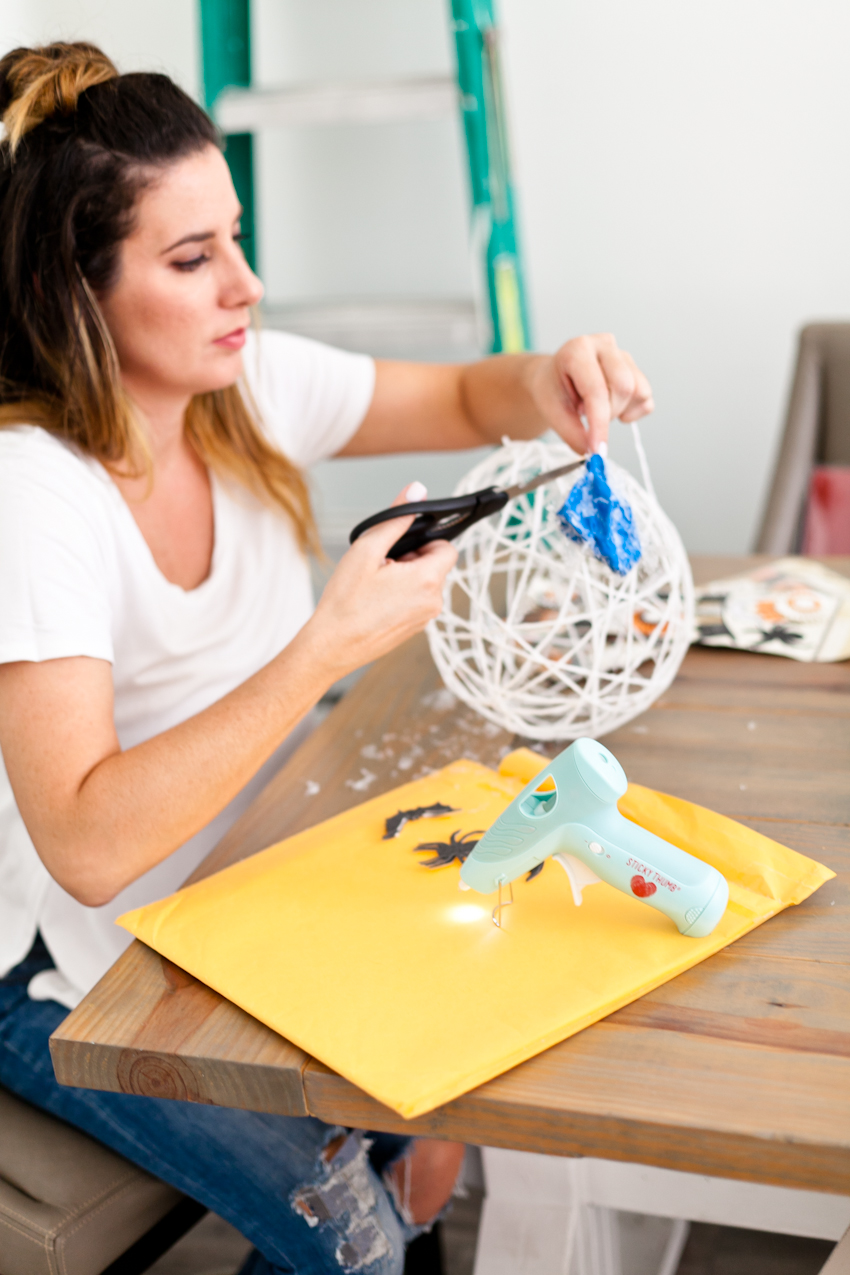
- Using a pin or a knife, deflate the balloon and remove from your web of yarn.
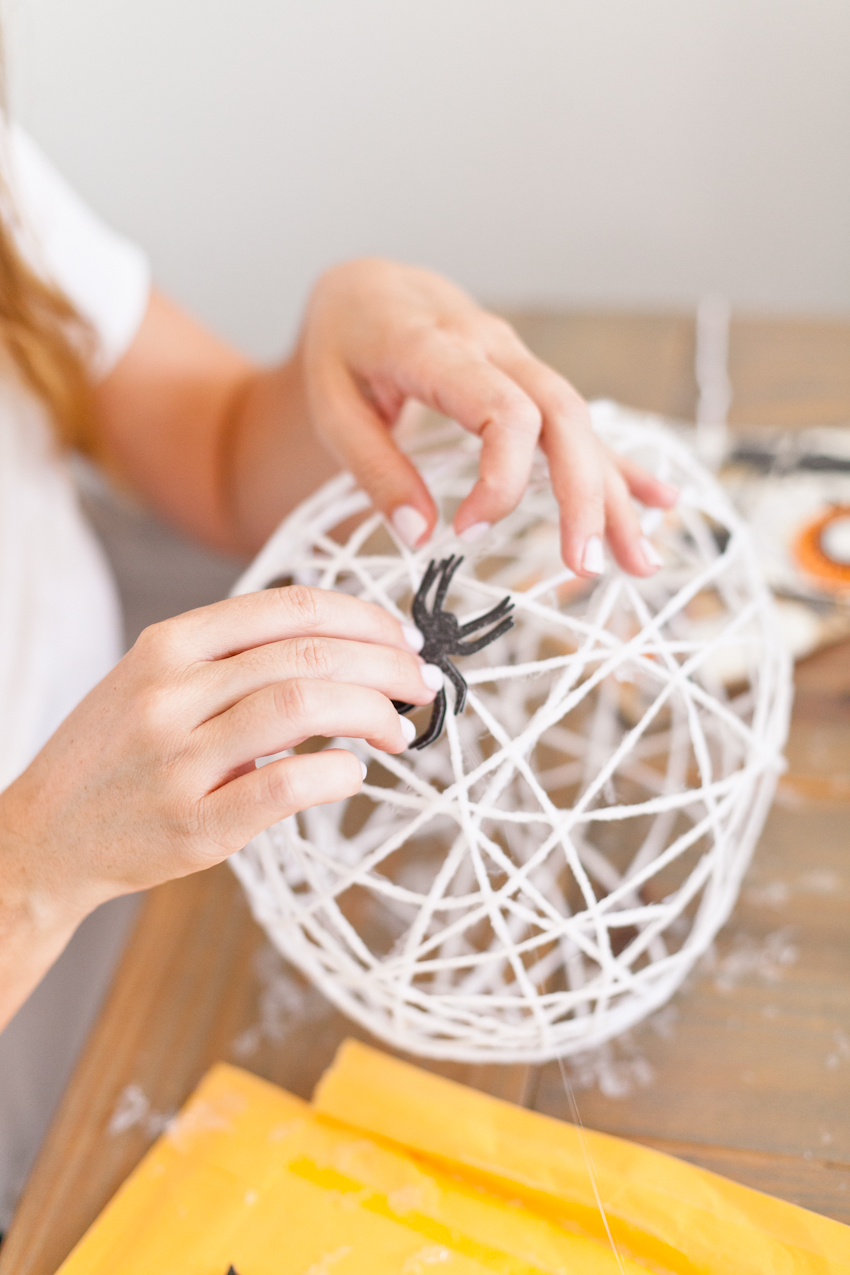
- Attach your (or other creepy-crawlies). I used a and two small and attached with a glue gun to various locations on the web.

- Hang and admire your handiwork!

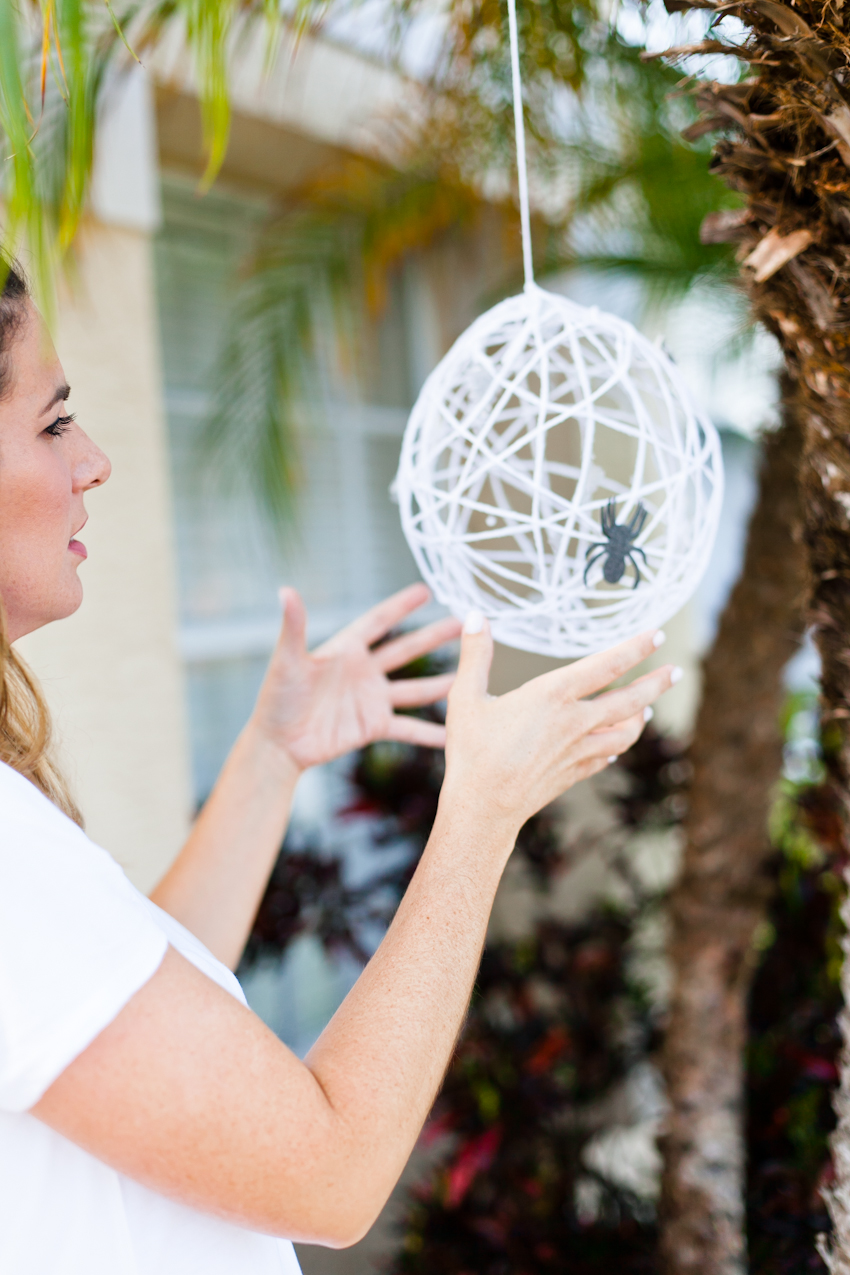
That’s it! It really is pretty straightforward… as long as you’re fine watching paint (err, I mean glue) dry. Really though, just have fun with it and hang in trees, in corners of your home or wherever else you want to add a bit of whimsy!
Shop the Post


Leave a Reply