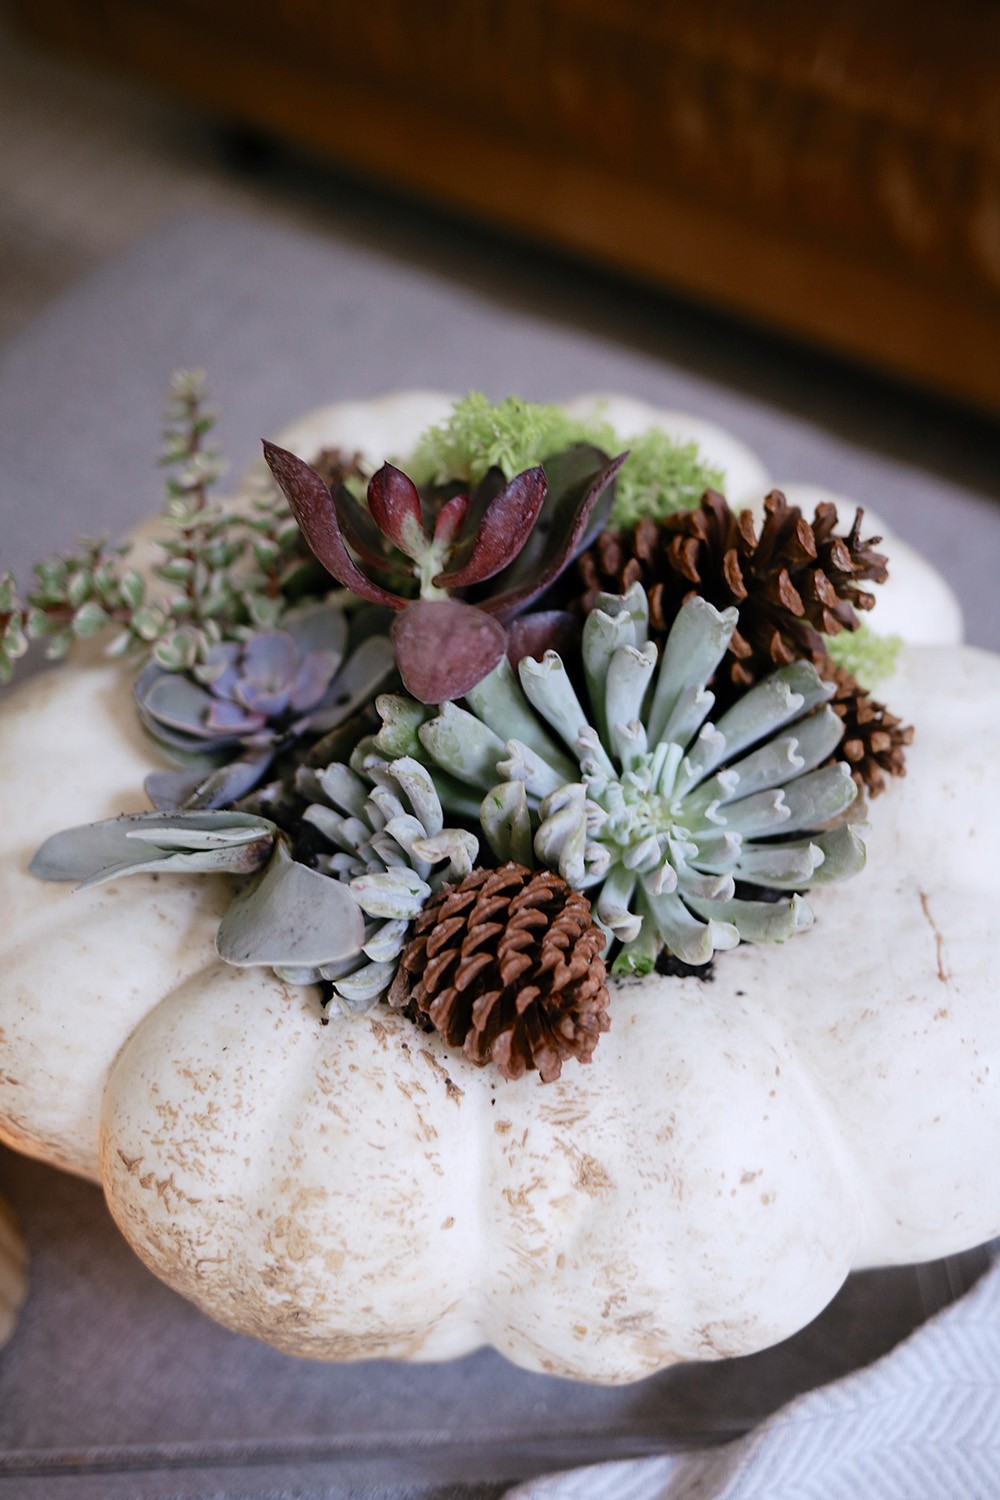
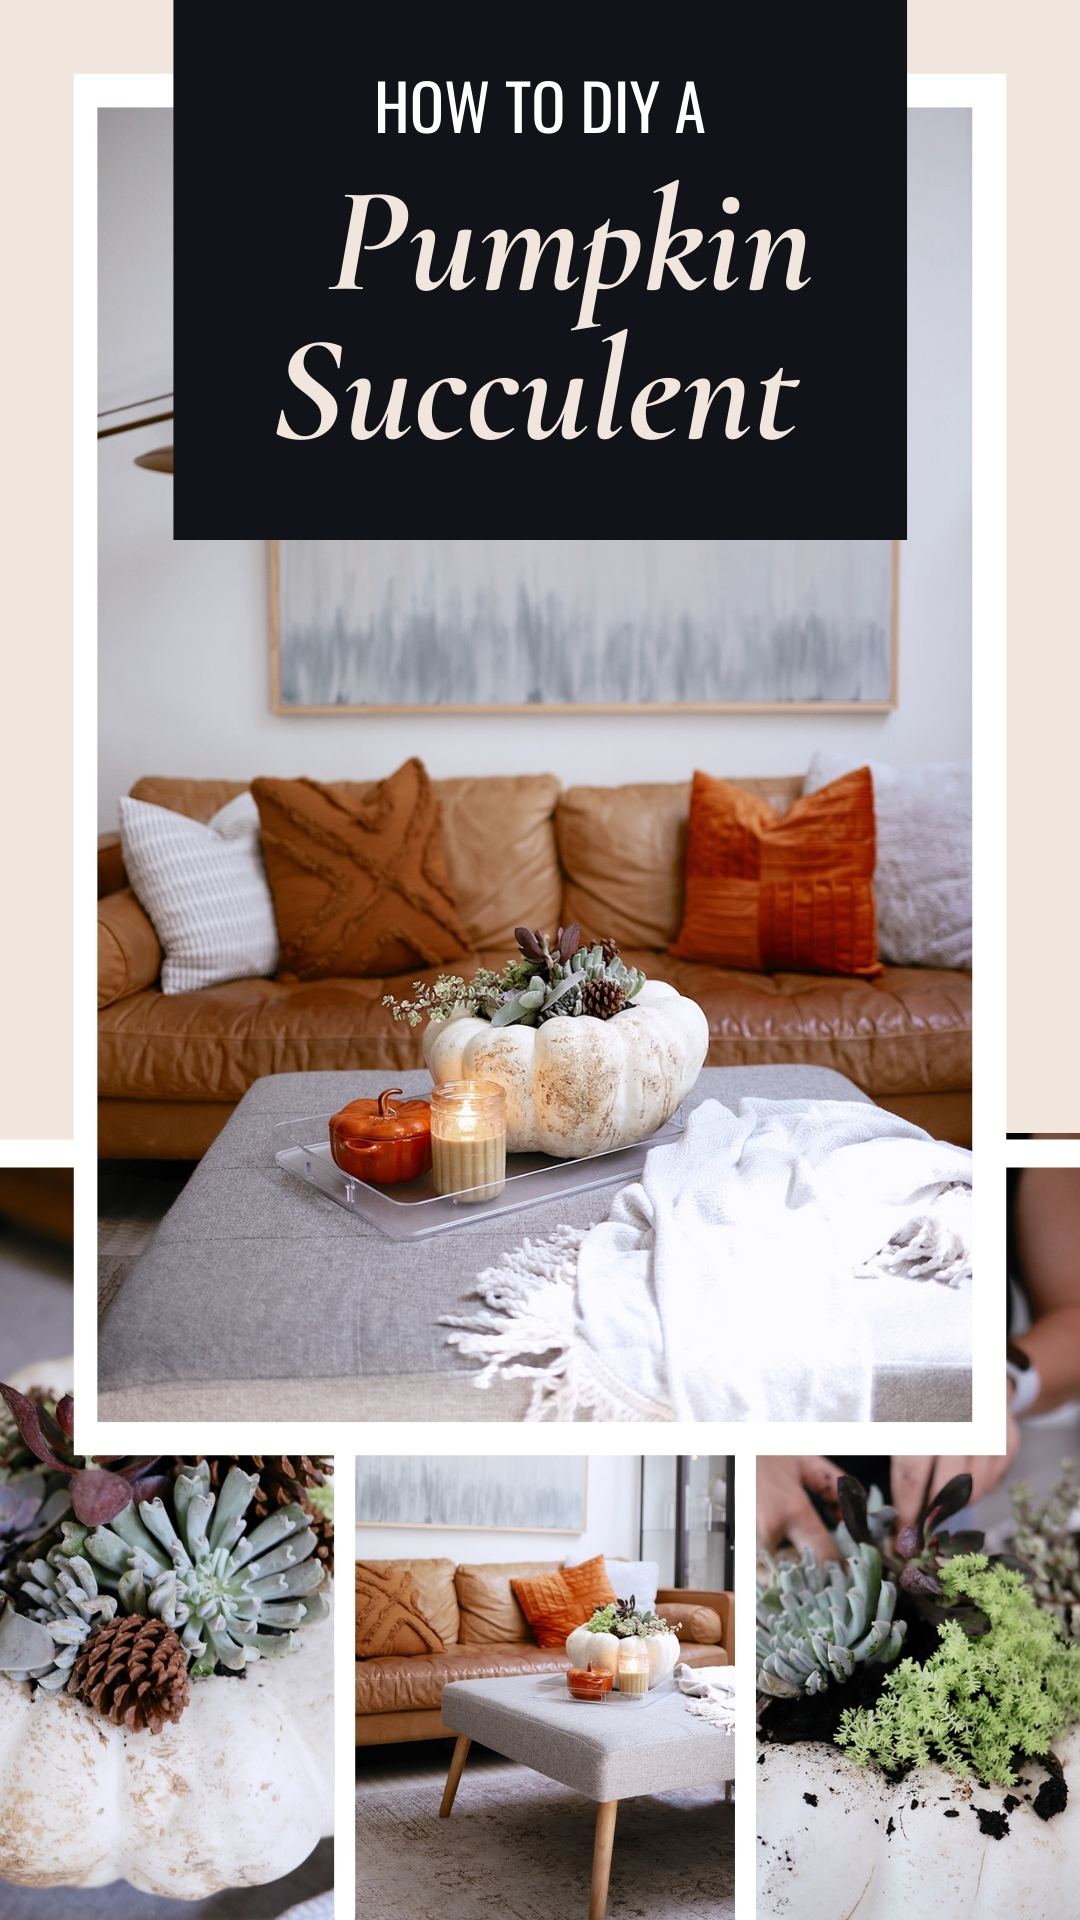
Over the past few years, succulents have become extremely popular houseplants because of their low maintenance requirements, varied colors and shapes, and ease of propagation. For Halloween this year, why not display them in an adorable pumpkin centerpiece? Here’s how to make a pumpkin succulent centerpiece at home!
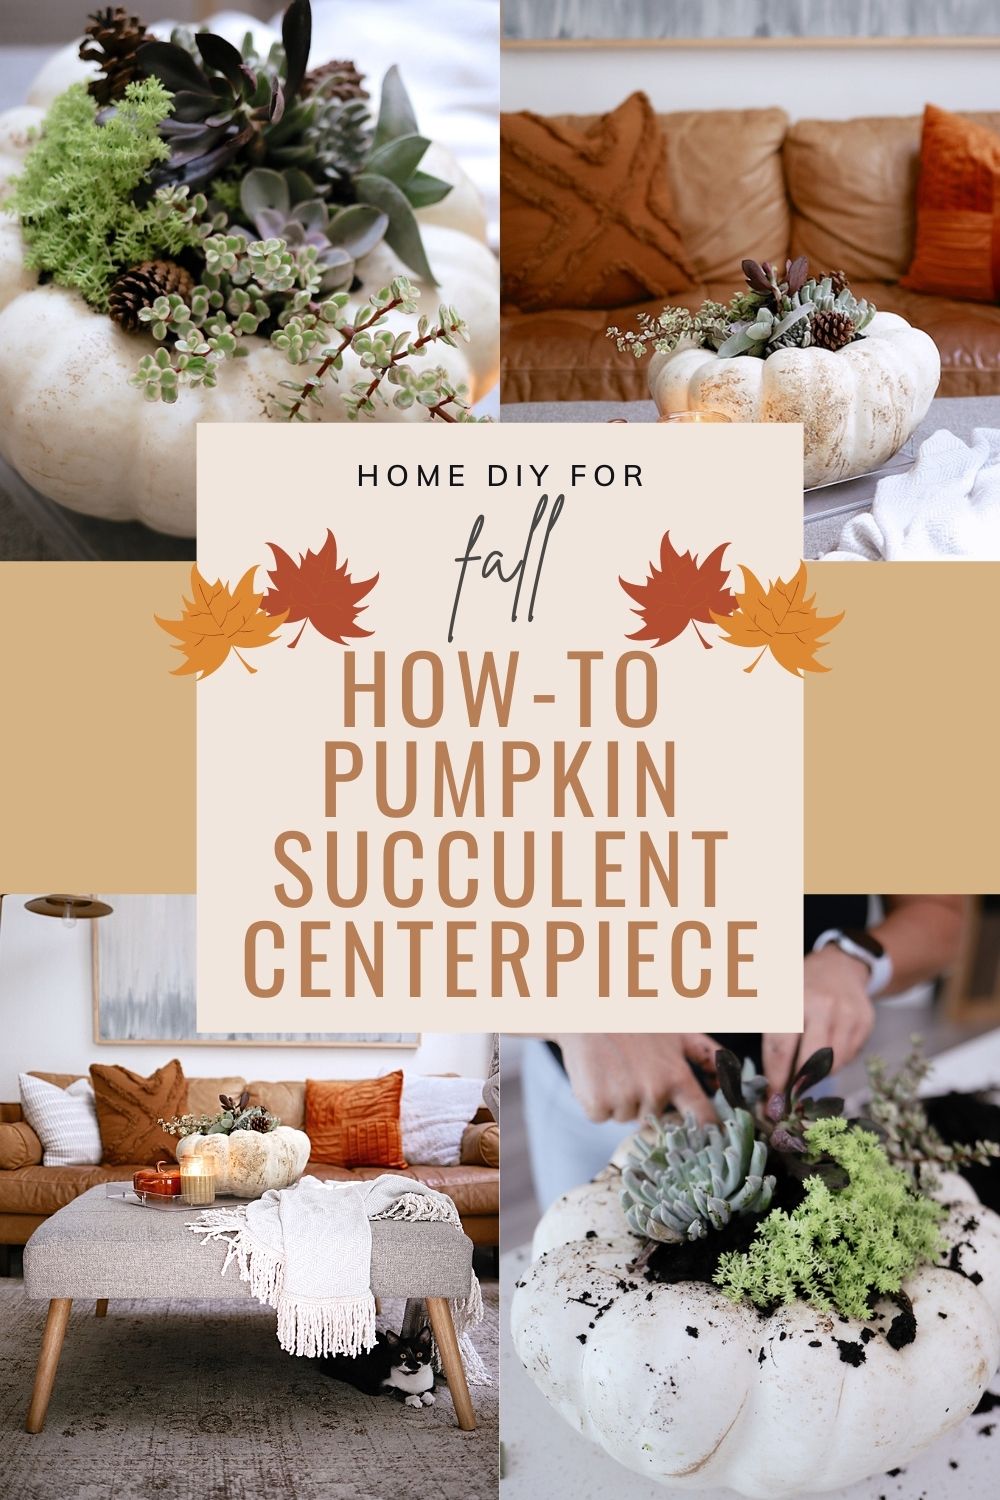

How to Make a DIY Pumpkin Succulent Planter
With only a couple of simple main ingredients and just a little effort, you can create one (or several) DIY pumpkin succulent planters that will spice up your fall decor. The best part is that they’re very easy and inexpensive to make.
1) What You’ll Need for your Pumpkin Succulent Planter:
In order to make your succulent centerpiece, you’ll need several succulents of varying sizes. These can be found at most garden centers and nurseries. You’ll also need a small(ish) pumpkin that will hold the succulents you choose and also fit within your table decor. Meaning, I wouldn’t go with a tall pumpkin.
Did you know: The word “pumpkin” showed up for the first time in the fairy tale Cinderella.
A French explorer in 1584 first called them “gros melons,” which was translated into English as “pompions,” according to History. It wasn’t until the 17th century that they were first referred to as pumpkins.
Good housekeeping
With these supplies in hand, it’s time to get planting! We’ve made a shortlist of steps for you below, but we encourage you to watch our video on how to make your own succulent centerpiece as well.
2) Materials
- 1 pumpkin (you can use real or faux for this DIY centerpiece). I went with a real pumpkin because I wanted all-natural pieces, we wanted to bake the pumpkin seeds (so good), and I wanted to plant the pumpkin when finished.
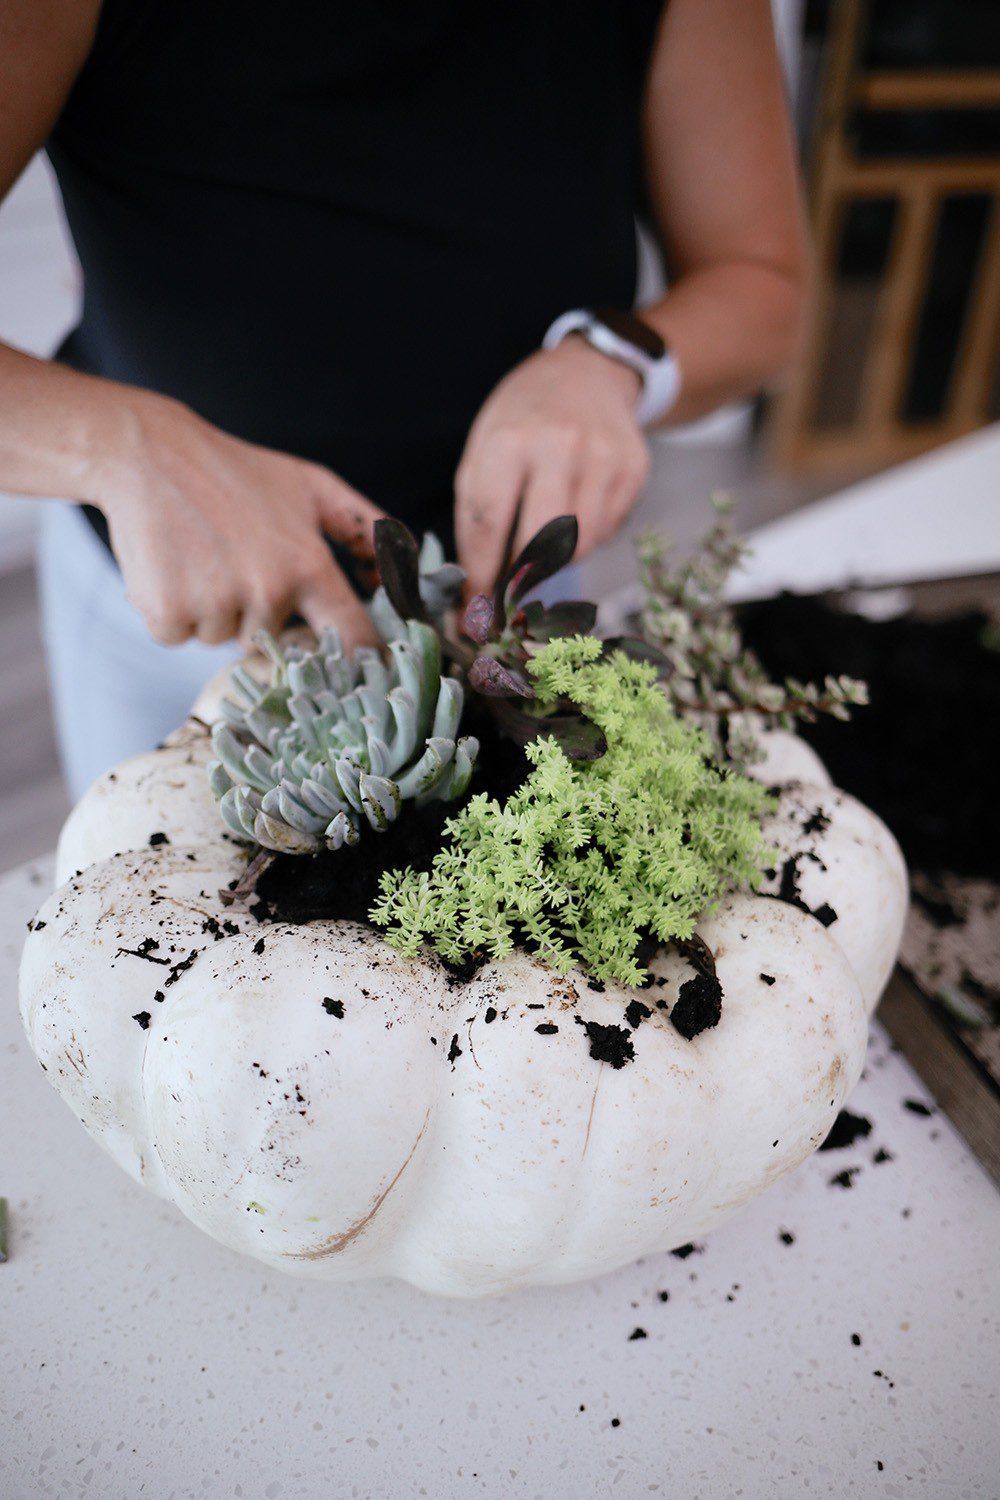
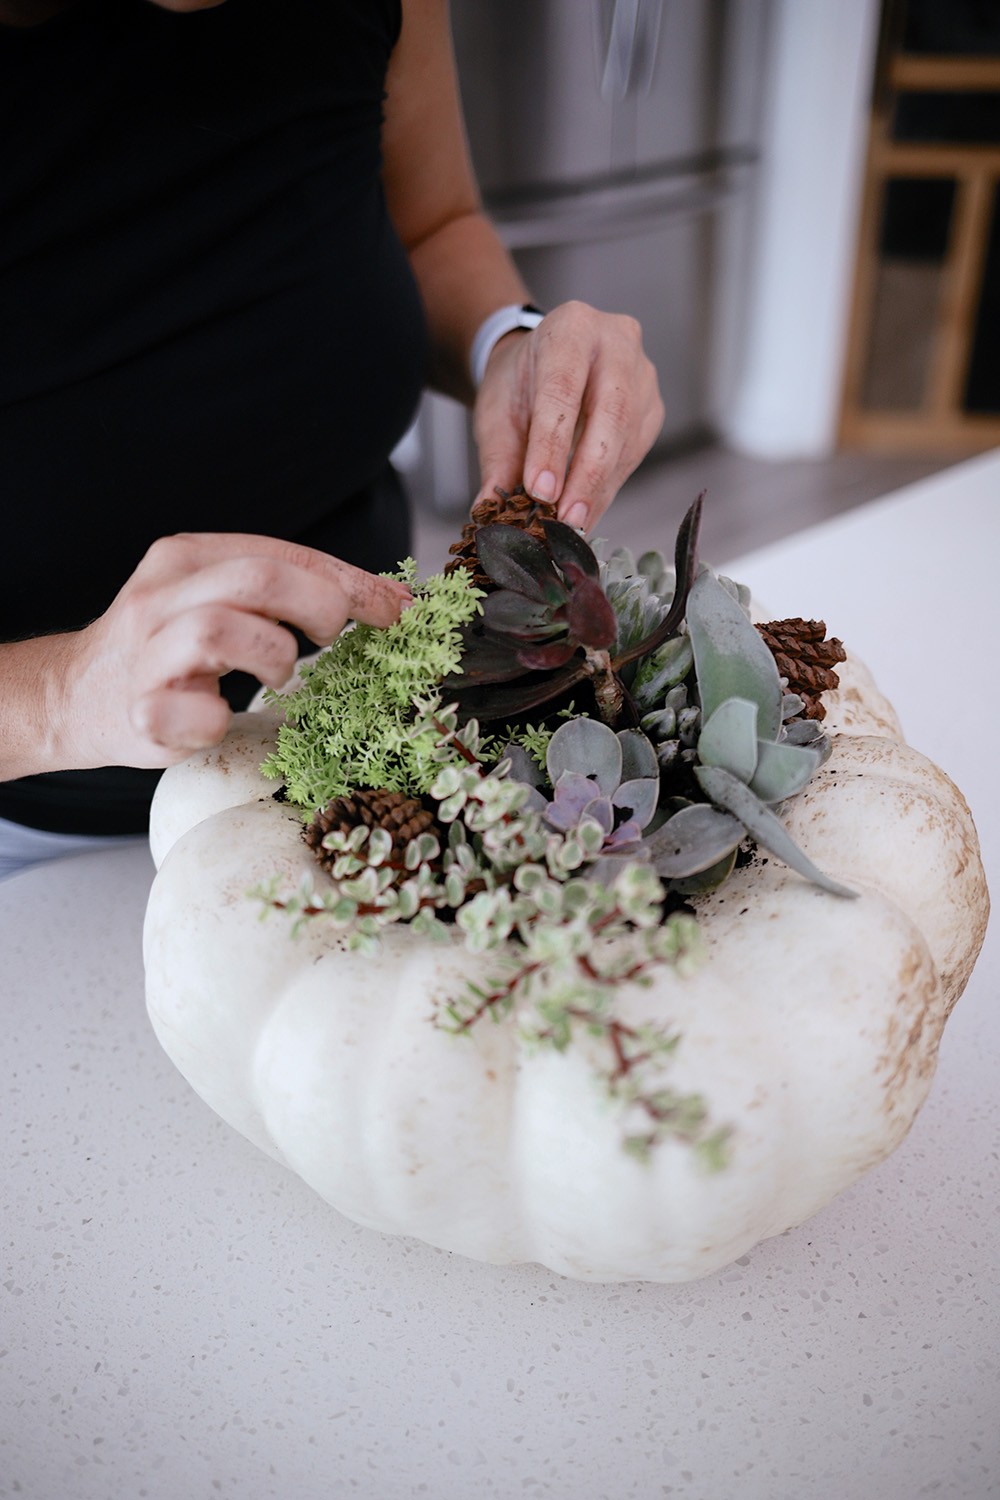
- 3-7 succulents per pumpkin, depending on the size of the pumpkin.
- Potting soil, dirt or moss for the inside of pumpkin – most potted succulents will already have this so you don’t have to purchase more.
- Spray bottle or plant mister
- Cinnamon sticks, mini gourds, pinecones, seeds or acorns (optional if you want to fill in with something other than succulents).
3) Preparing the Pumpkin
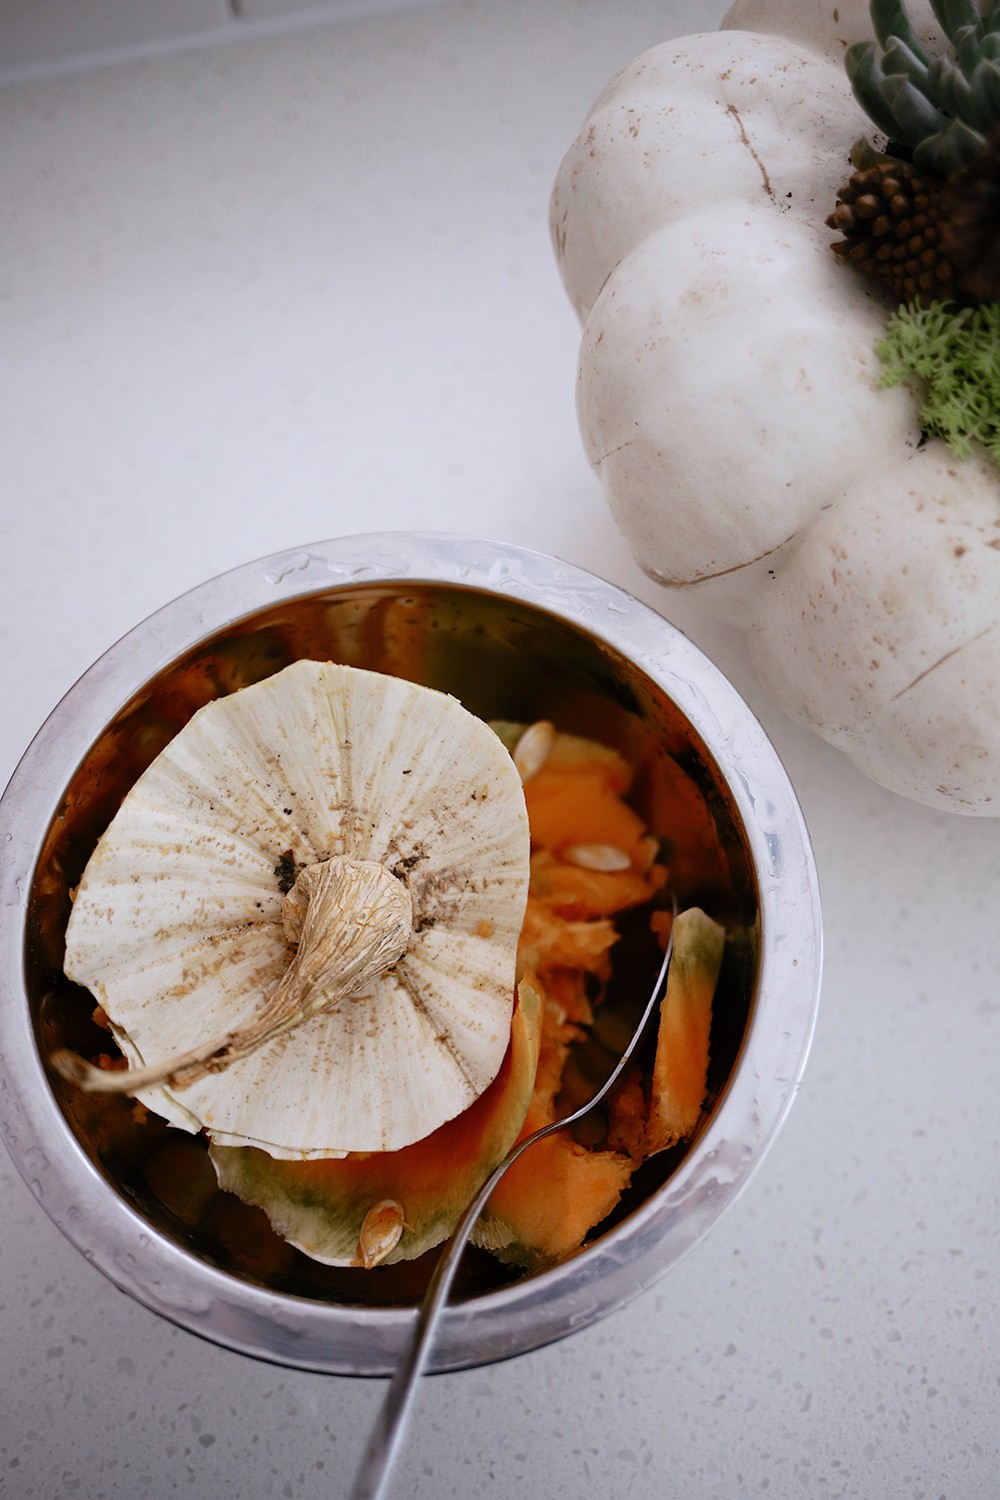
Before you can plant succulents in your pumpkin, you’ll need to prepare it. First, remove all of its guts. Slice off its stem, which should be about 2 inches in diameter (make sure it won’t fall apart when you scoop out its insides). Then use a large spoon or an ice cream scoop to take out all of the seeds and stringy flesh.
4) Adding Moss to Create Depth TO YOUR PLANTER (optional)
Moss is a great addition to any succulent arrangement because it helps create depth and dimension in your design. Moss is pretty forgiving, so if you mess up or want to redo something, just cut off any unwanted parts and you’re good to go. For your centerpiece, remove any old soil from your succulents and place your moss in each container – before adding succulents – until they look full and natural with moss spilling out around the edges.
Did you know: 80% of the U.S.’s pumpkin crop is available during October.
good housekeeping
How long do succulent pumpkin plantrs last?
When it comes to succulents, there aren’t really hard and fast rules to how long they’ll last. However, most succulents can survive indoors for several months (or even years).
The caveat with a carved real pumpkin, pumpkin does not last so long this way. Cut pumpkins last about 5-10 days, depending on temperature – or up to two weeks if you live in a colder climate — before beginning to wilt. If you go this route because the look is such a fun, festive way to celebrate the season, the succulent plants can easily be moved to another container or planted in the ground.

How do you take care of pumpkin succulents?
The best way to take care of your pumpkin succulents is by watering them. Pumpkin succulents like their soil wet, but not soggy. You can tell when your pumpkin succulents need water because you will see dry, shriveled leaves and stems that have turned brown or gray. When you see these signs, it’s already past time to water!
It’s easy to do so is by taking a spray bottle and misting with water every 2 days. Be sure your succulents get plenty of natural light — about 6 hours/day.
When your cut pumpkin starts to wilt, you can just plant the entire thing in your yard with the succulents sticking up from the ground!

What type of pumpkins can I use for a pumpkin succulent centerpiece?
There are two kinds of pumpkins you can use for succulents: real carving pumpkins and faux pumpkins. Both will do well for your project.
Real pumpkins will give you seeds to plant or bake, and that real texture that is hard to duplicate – the caveat, they don’t last as long. But you can still replant the succulents once the pumpkin begins to wilt.
Faux pumpkins will keep your succulent planter alive and well all fall season long, and once it’s time for the pumpkins to go back to their storage, you can replant the succulents in another pot.
Once you decide on real or faux pumpkins, you can choose pumpkins with white, orange, brown, or green skin and choose a more traditional shape or opt for more interesting textures and grooves on the skin.


Displaying your Pumpkin Succulent Centerpiece
Once you’ve put all your effort into crafting your succulent centerpiece, it’s time to show it off! Find a prominent place in your home where you can display it. Place a small dish underneath to catch any water that might spill. Change out succulents as they start to wilt or get too large, and bring them inside during frosty weather for optimal care.








Leave a Reply